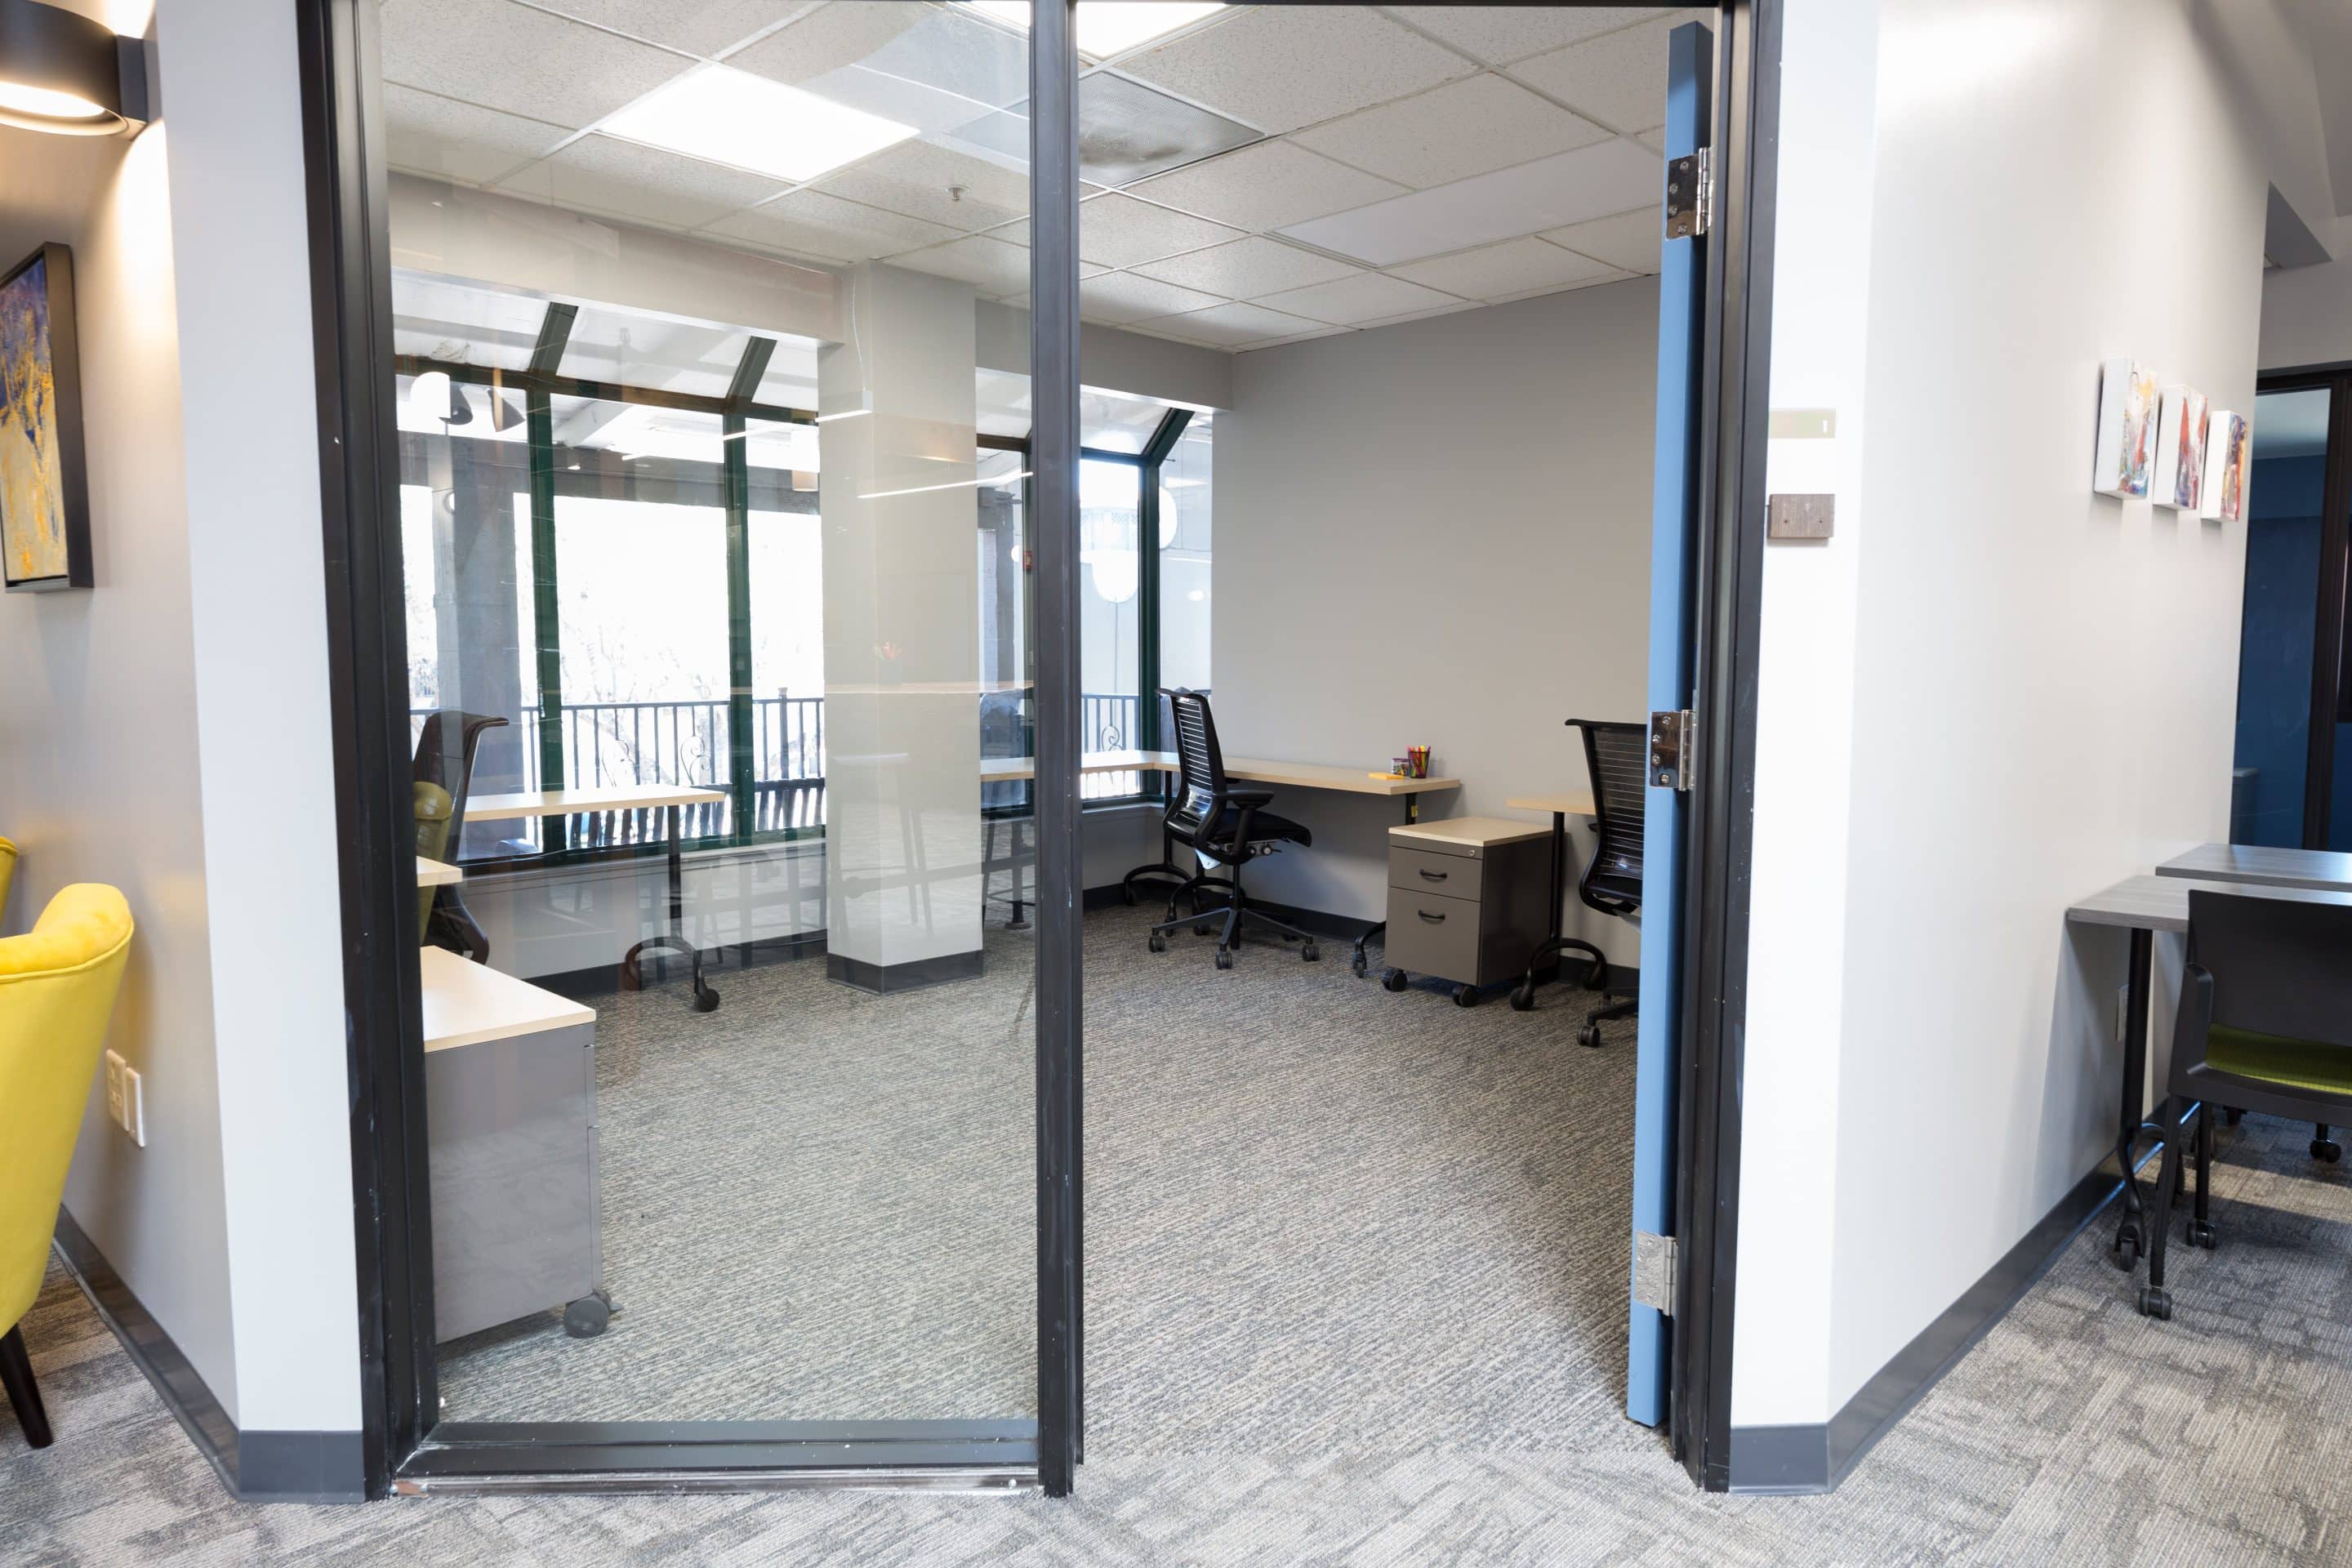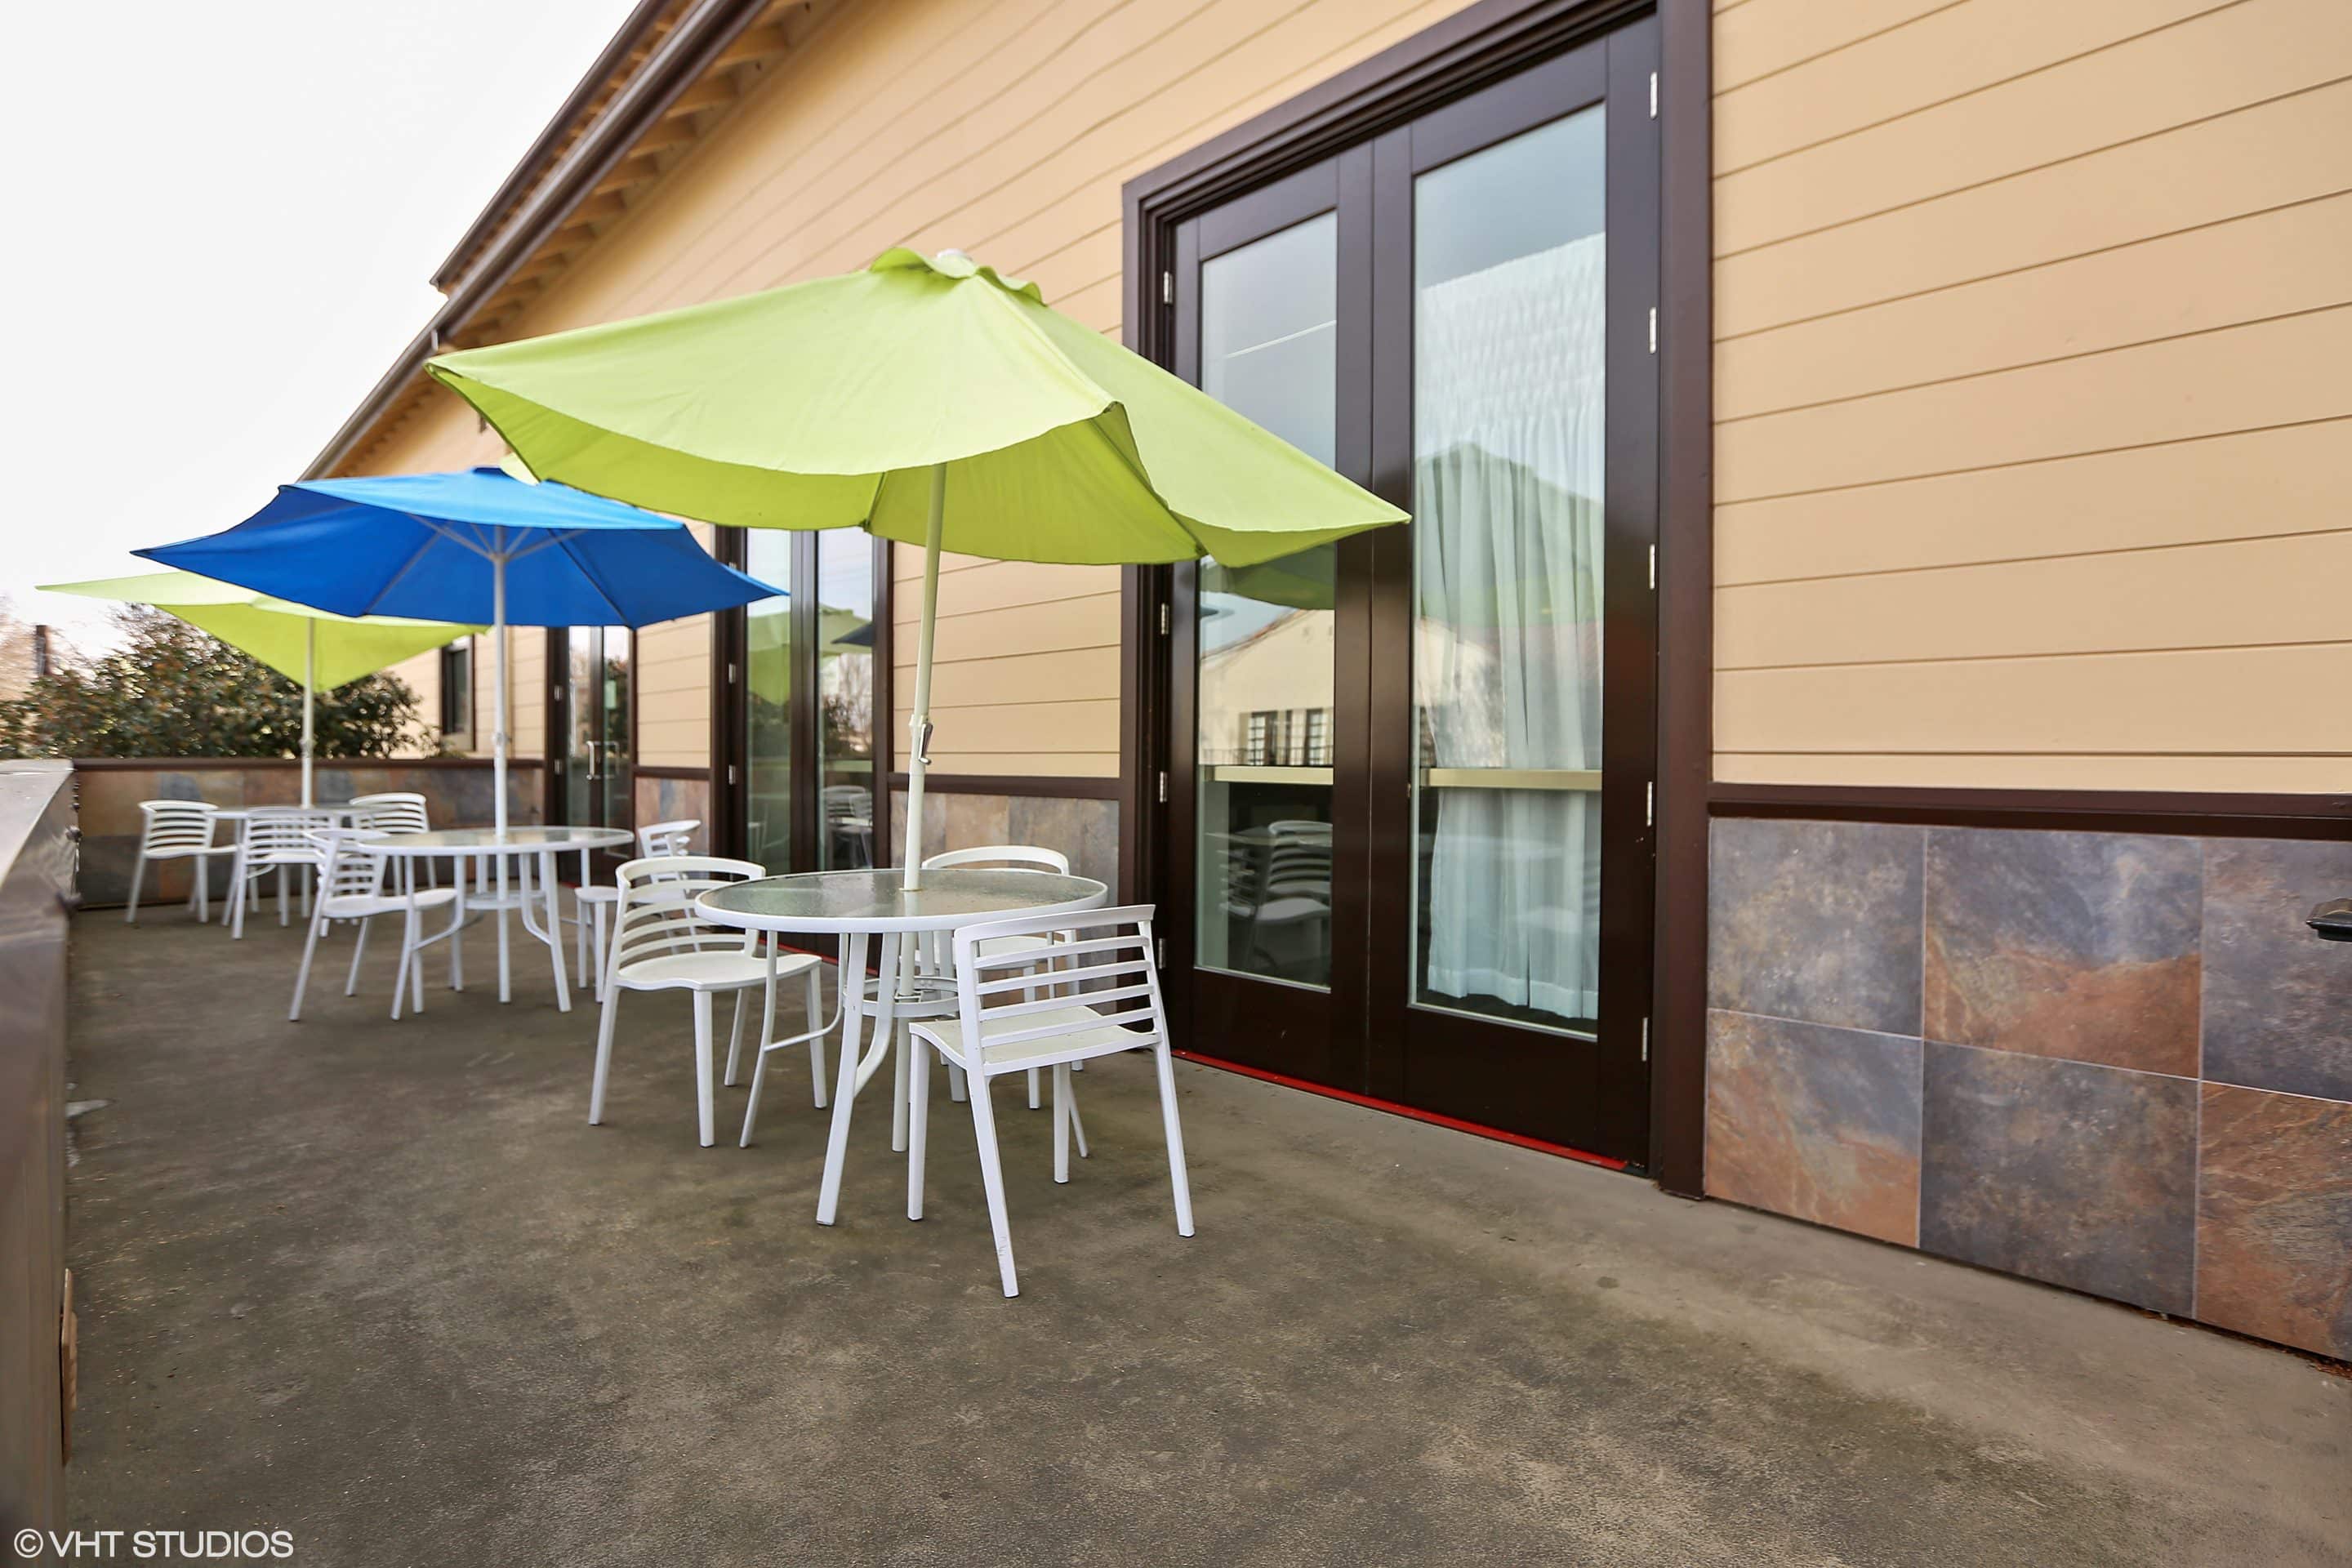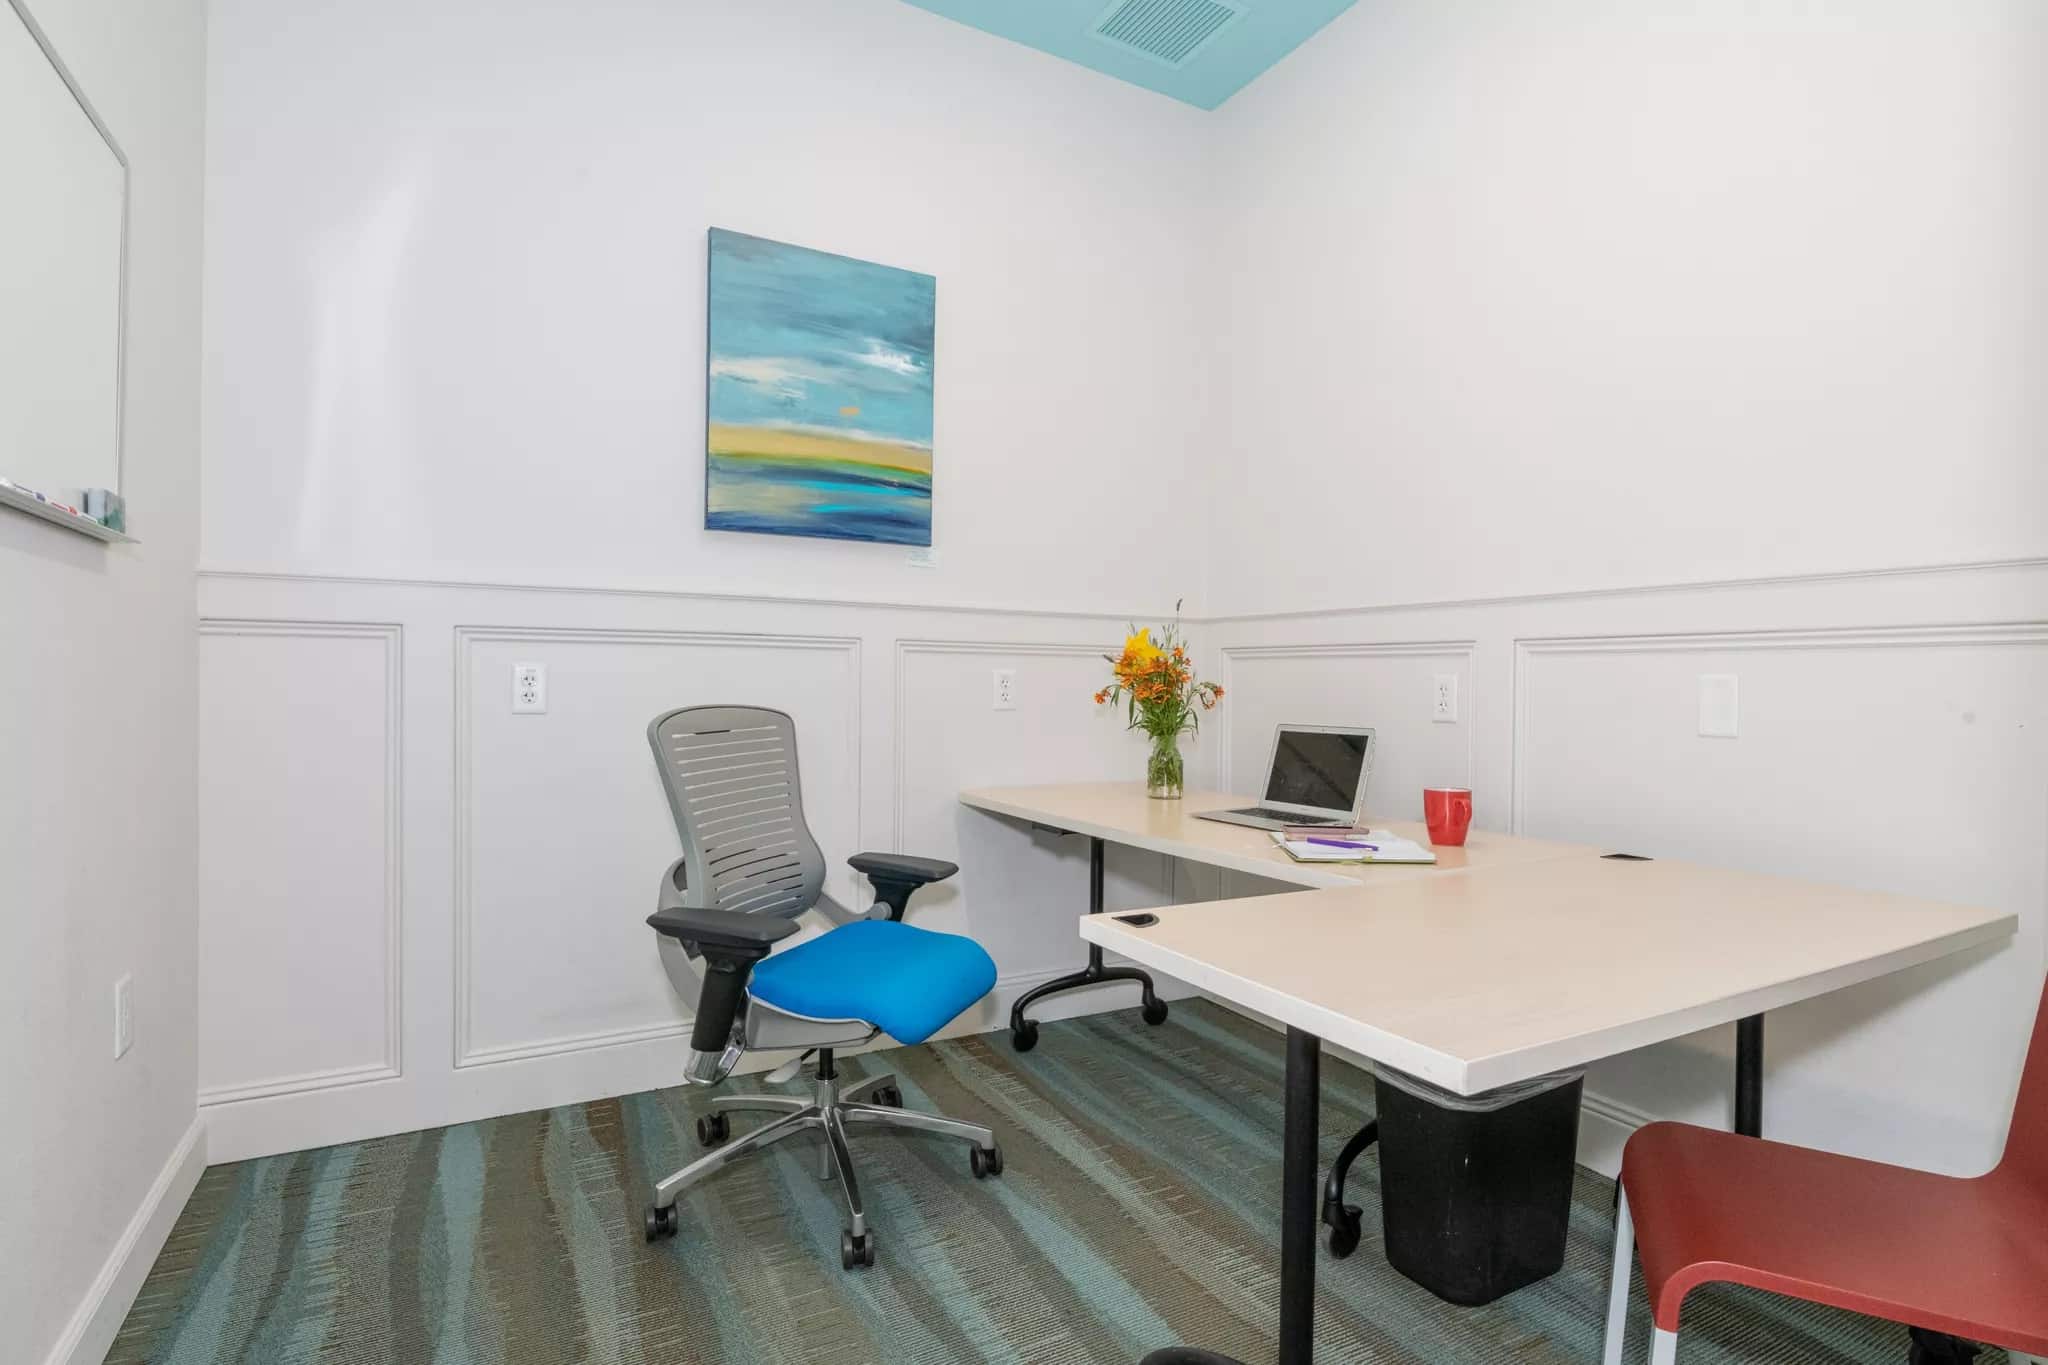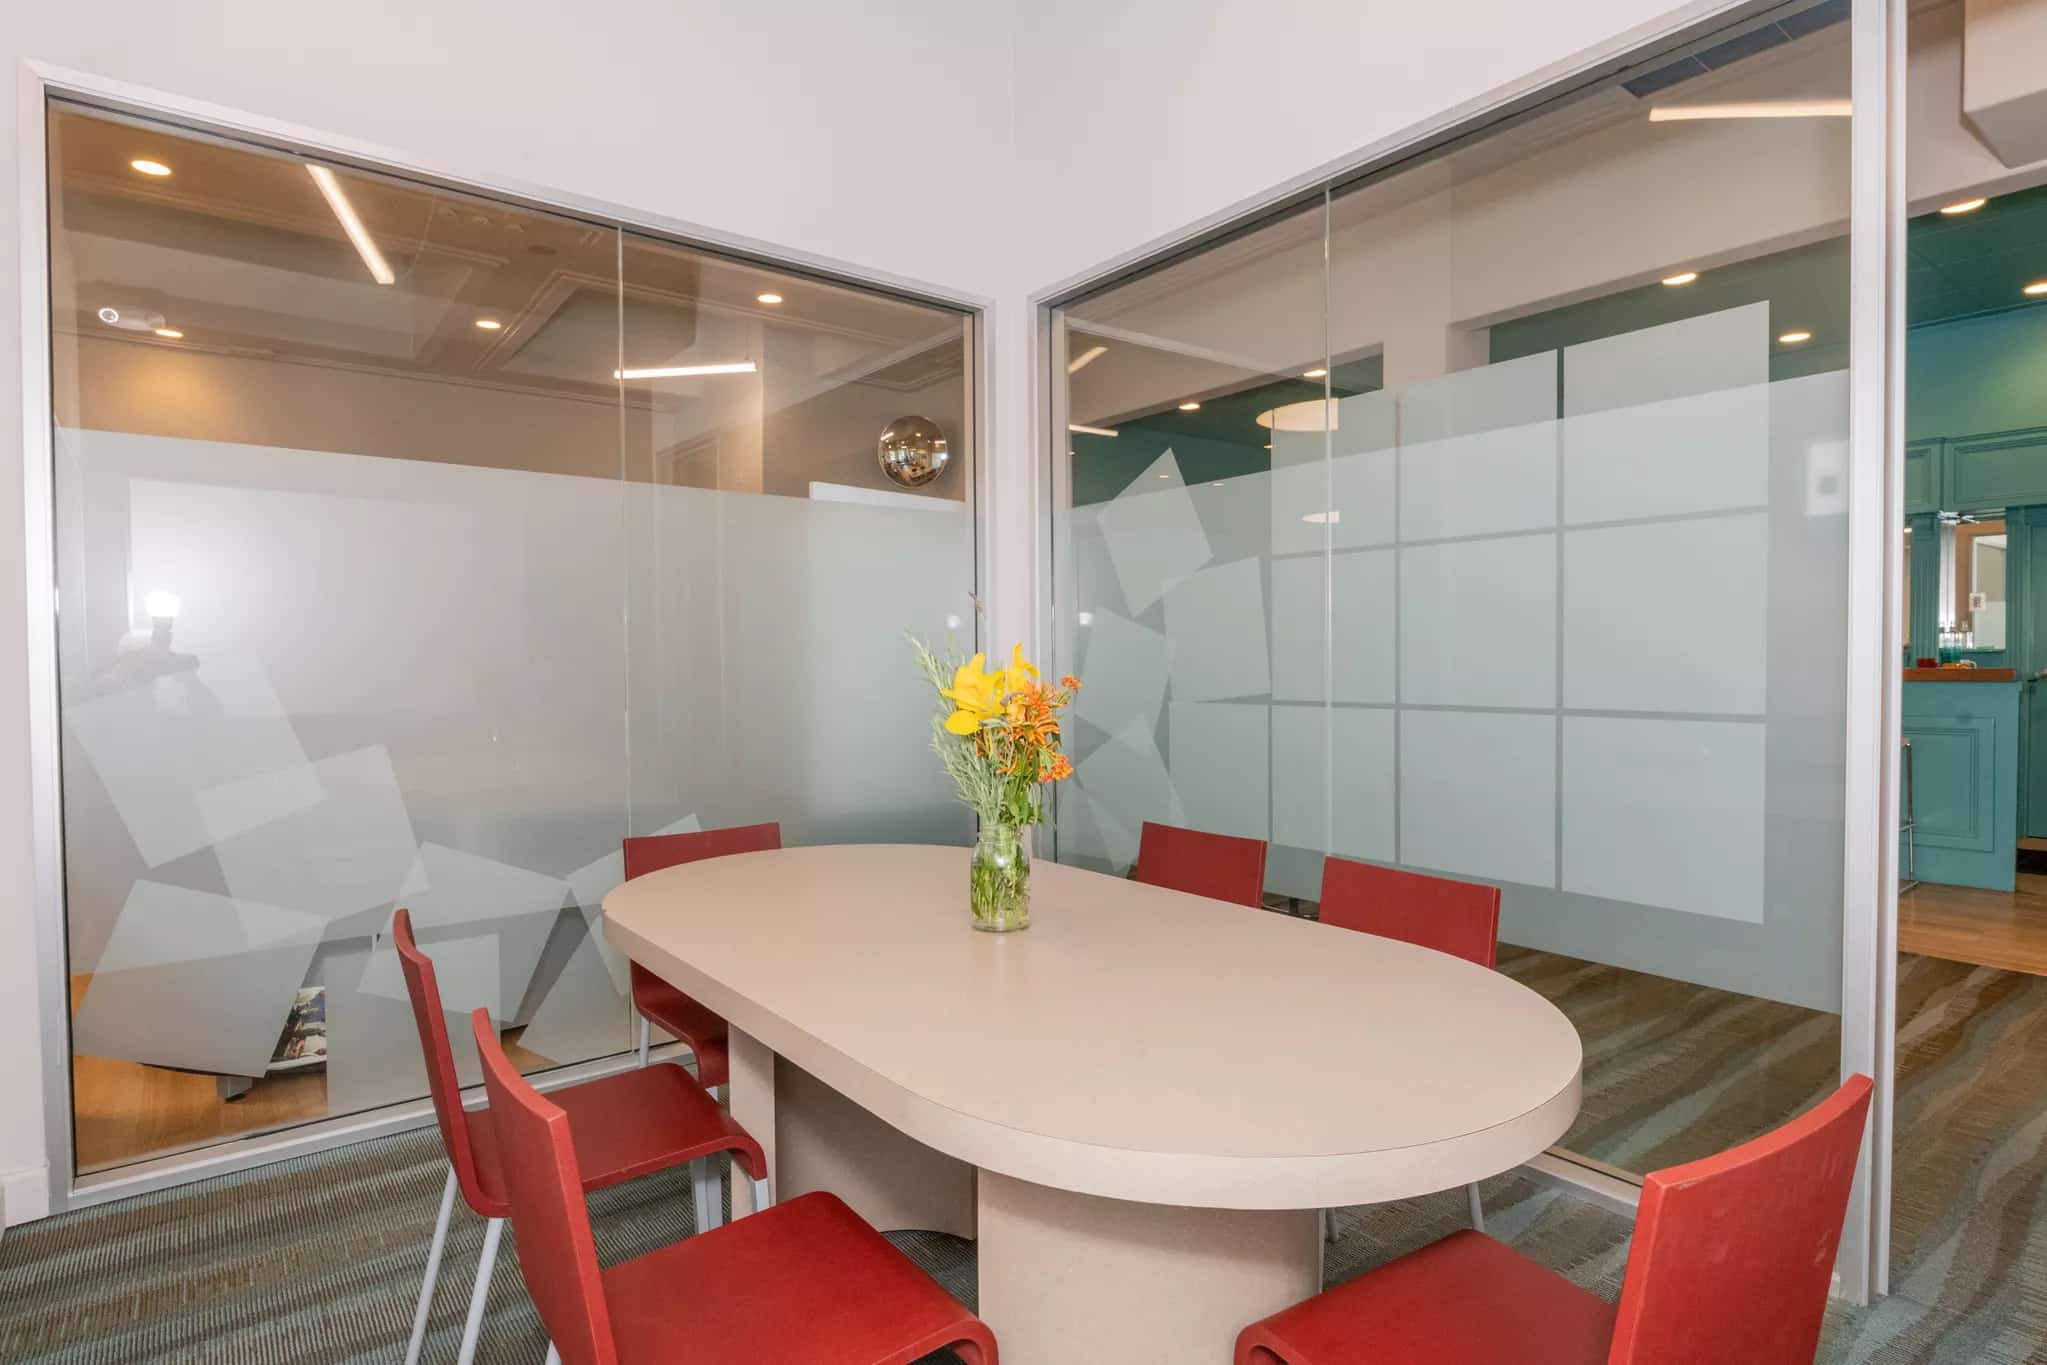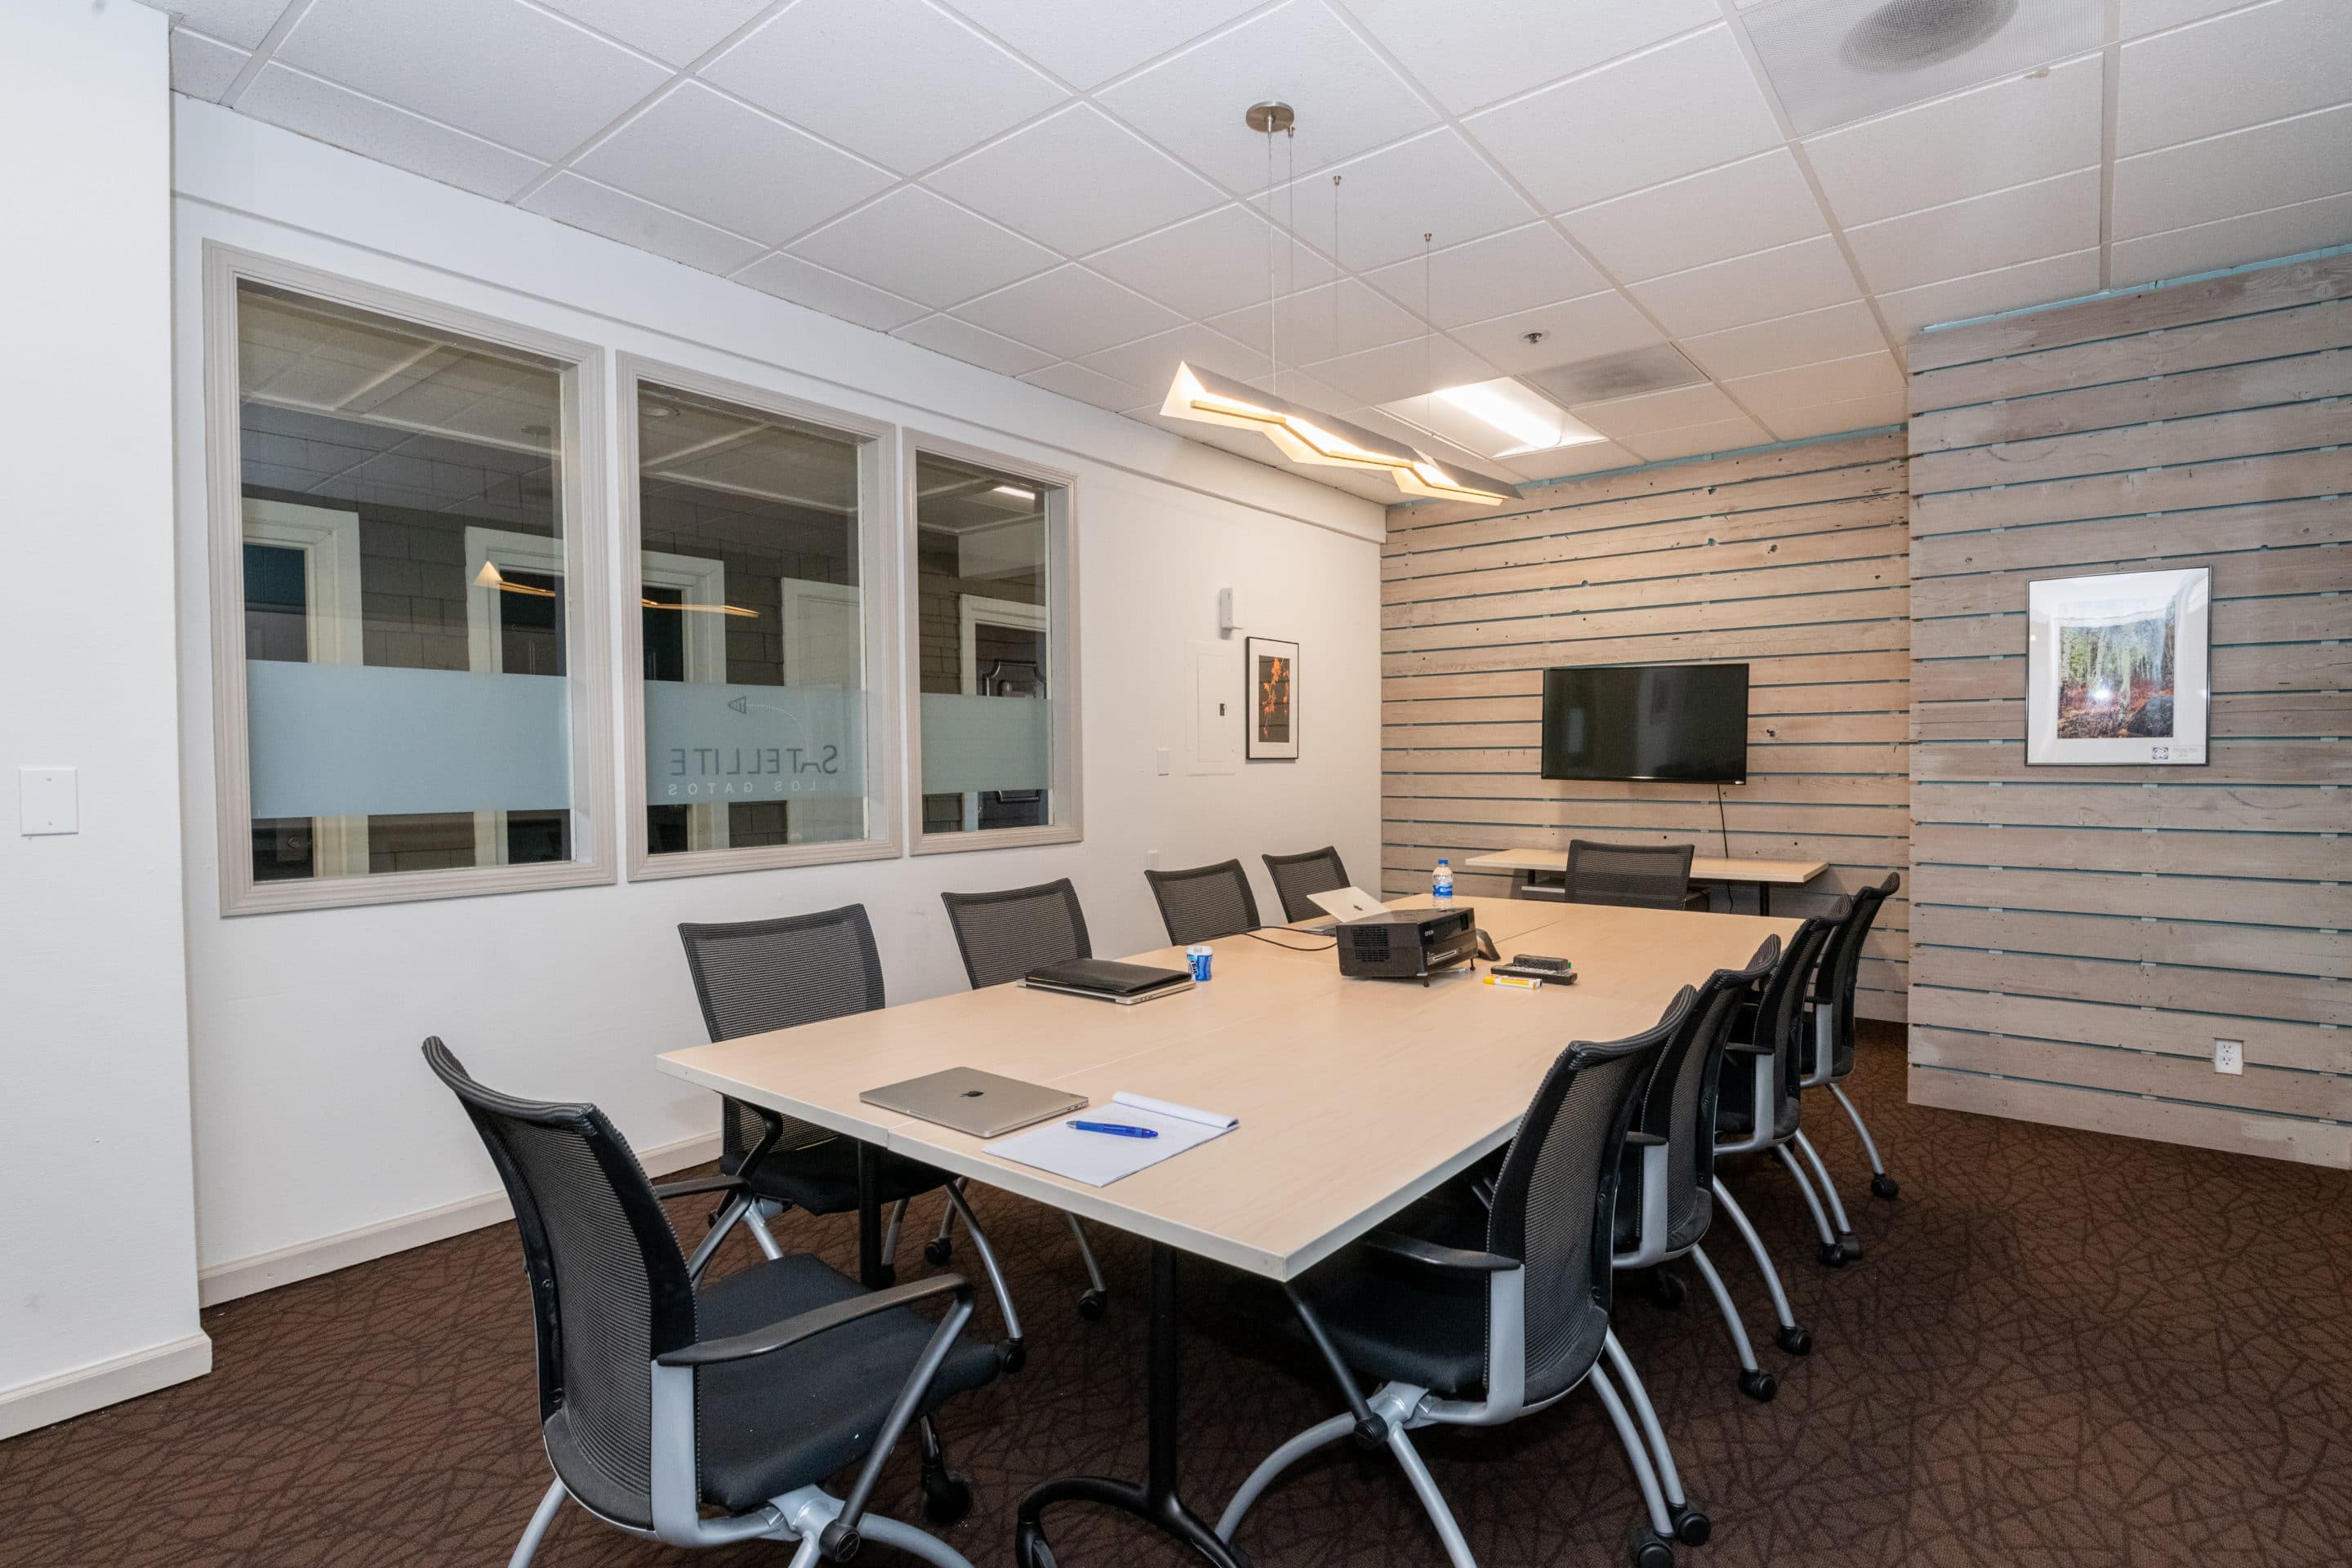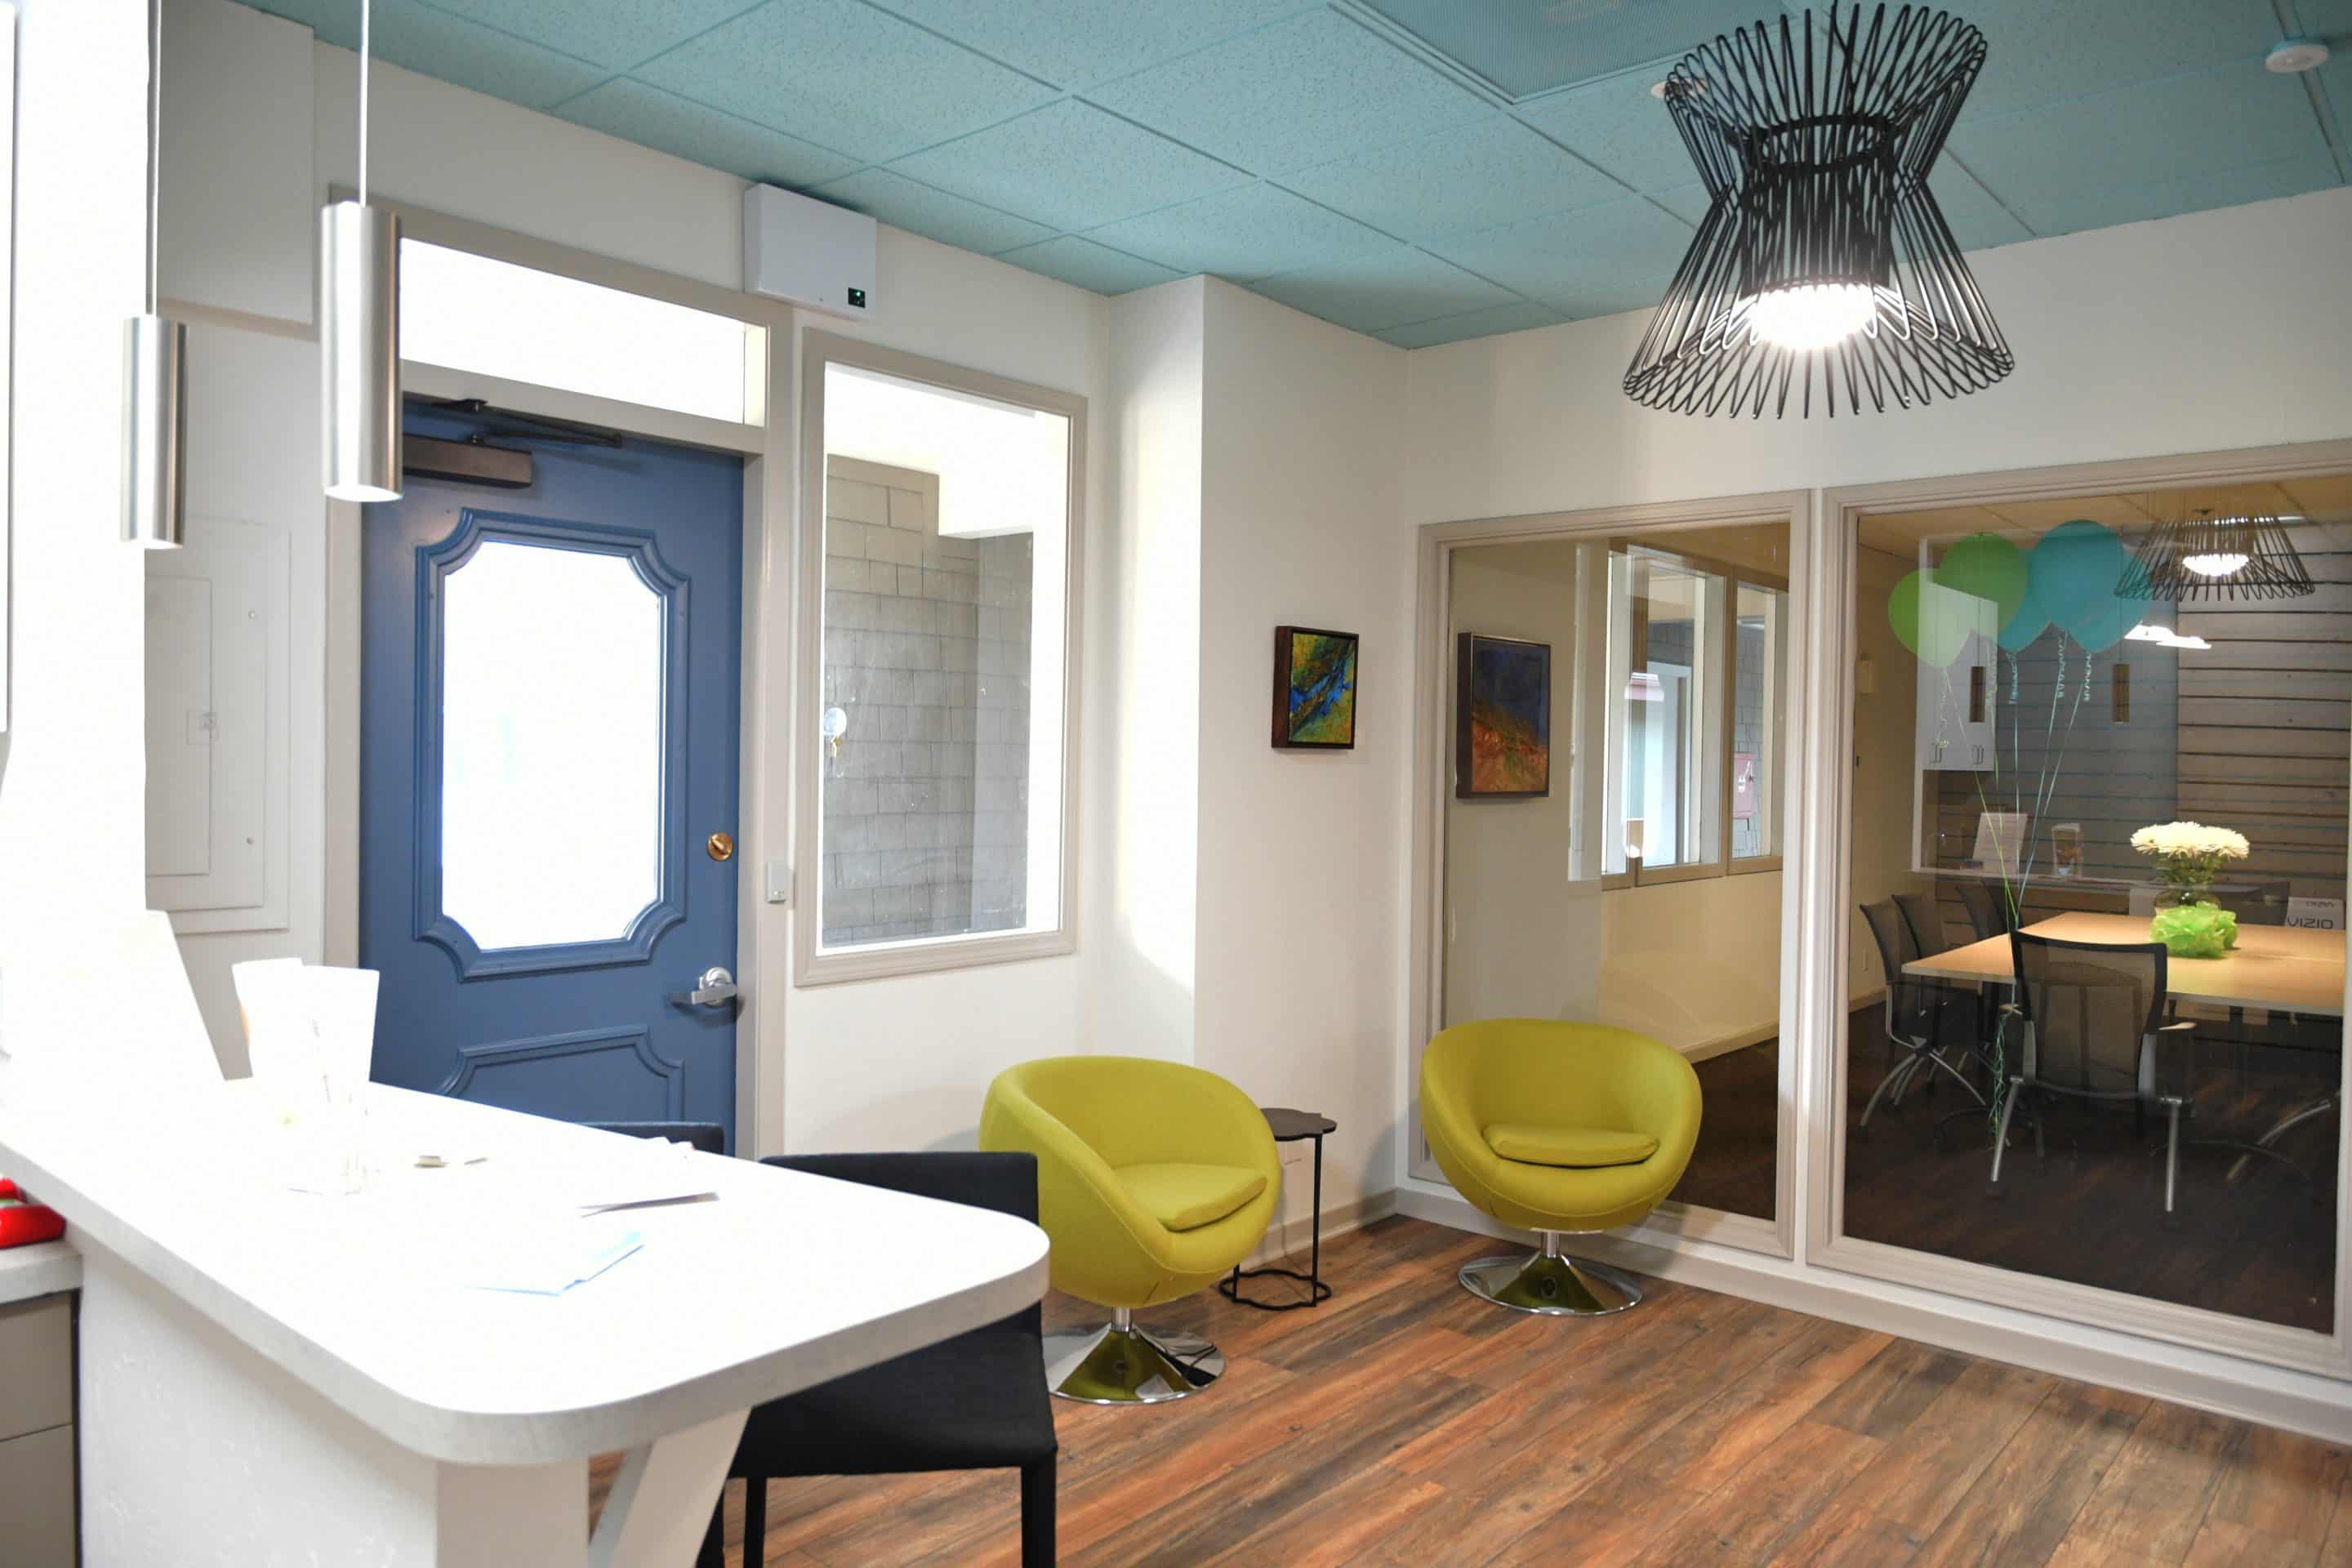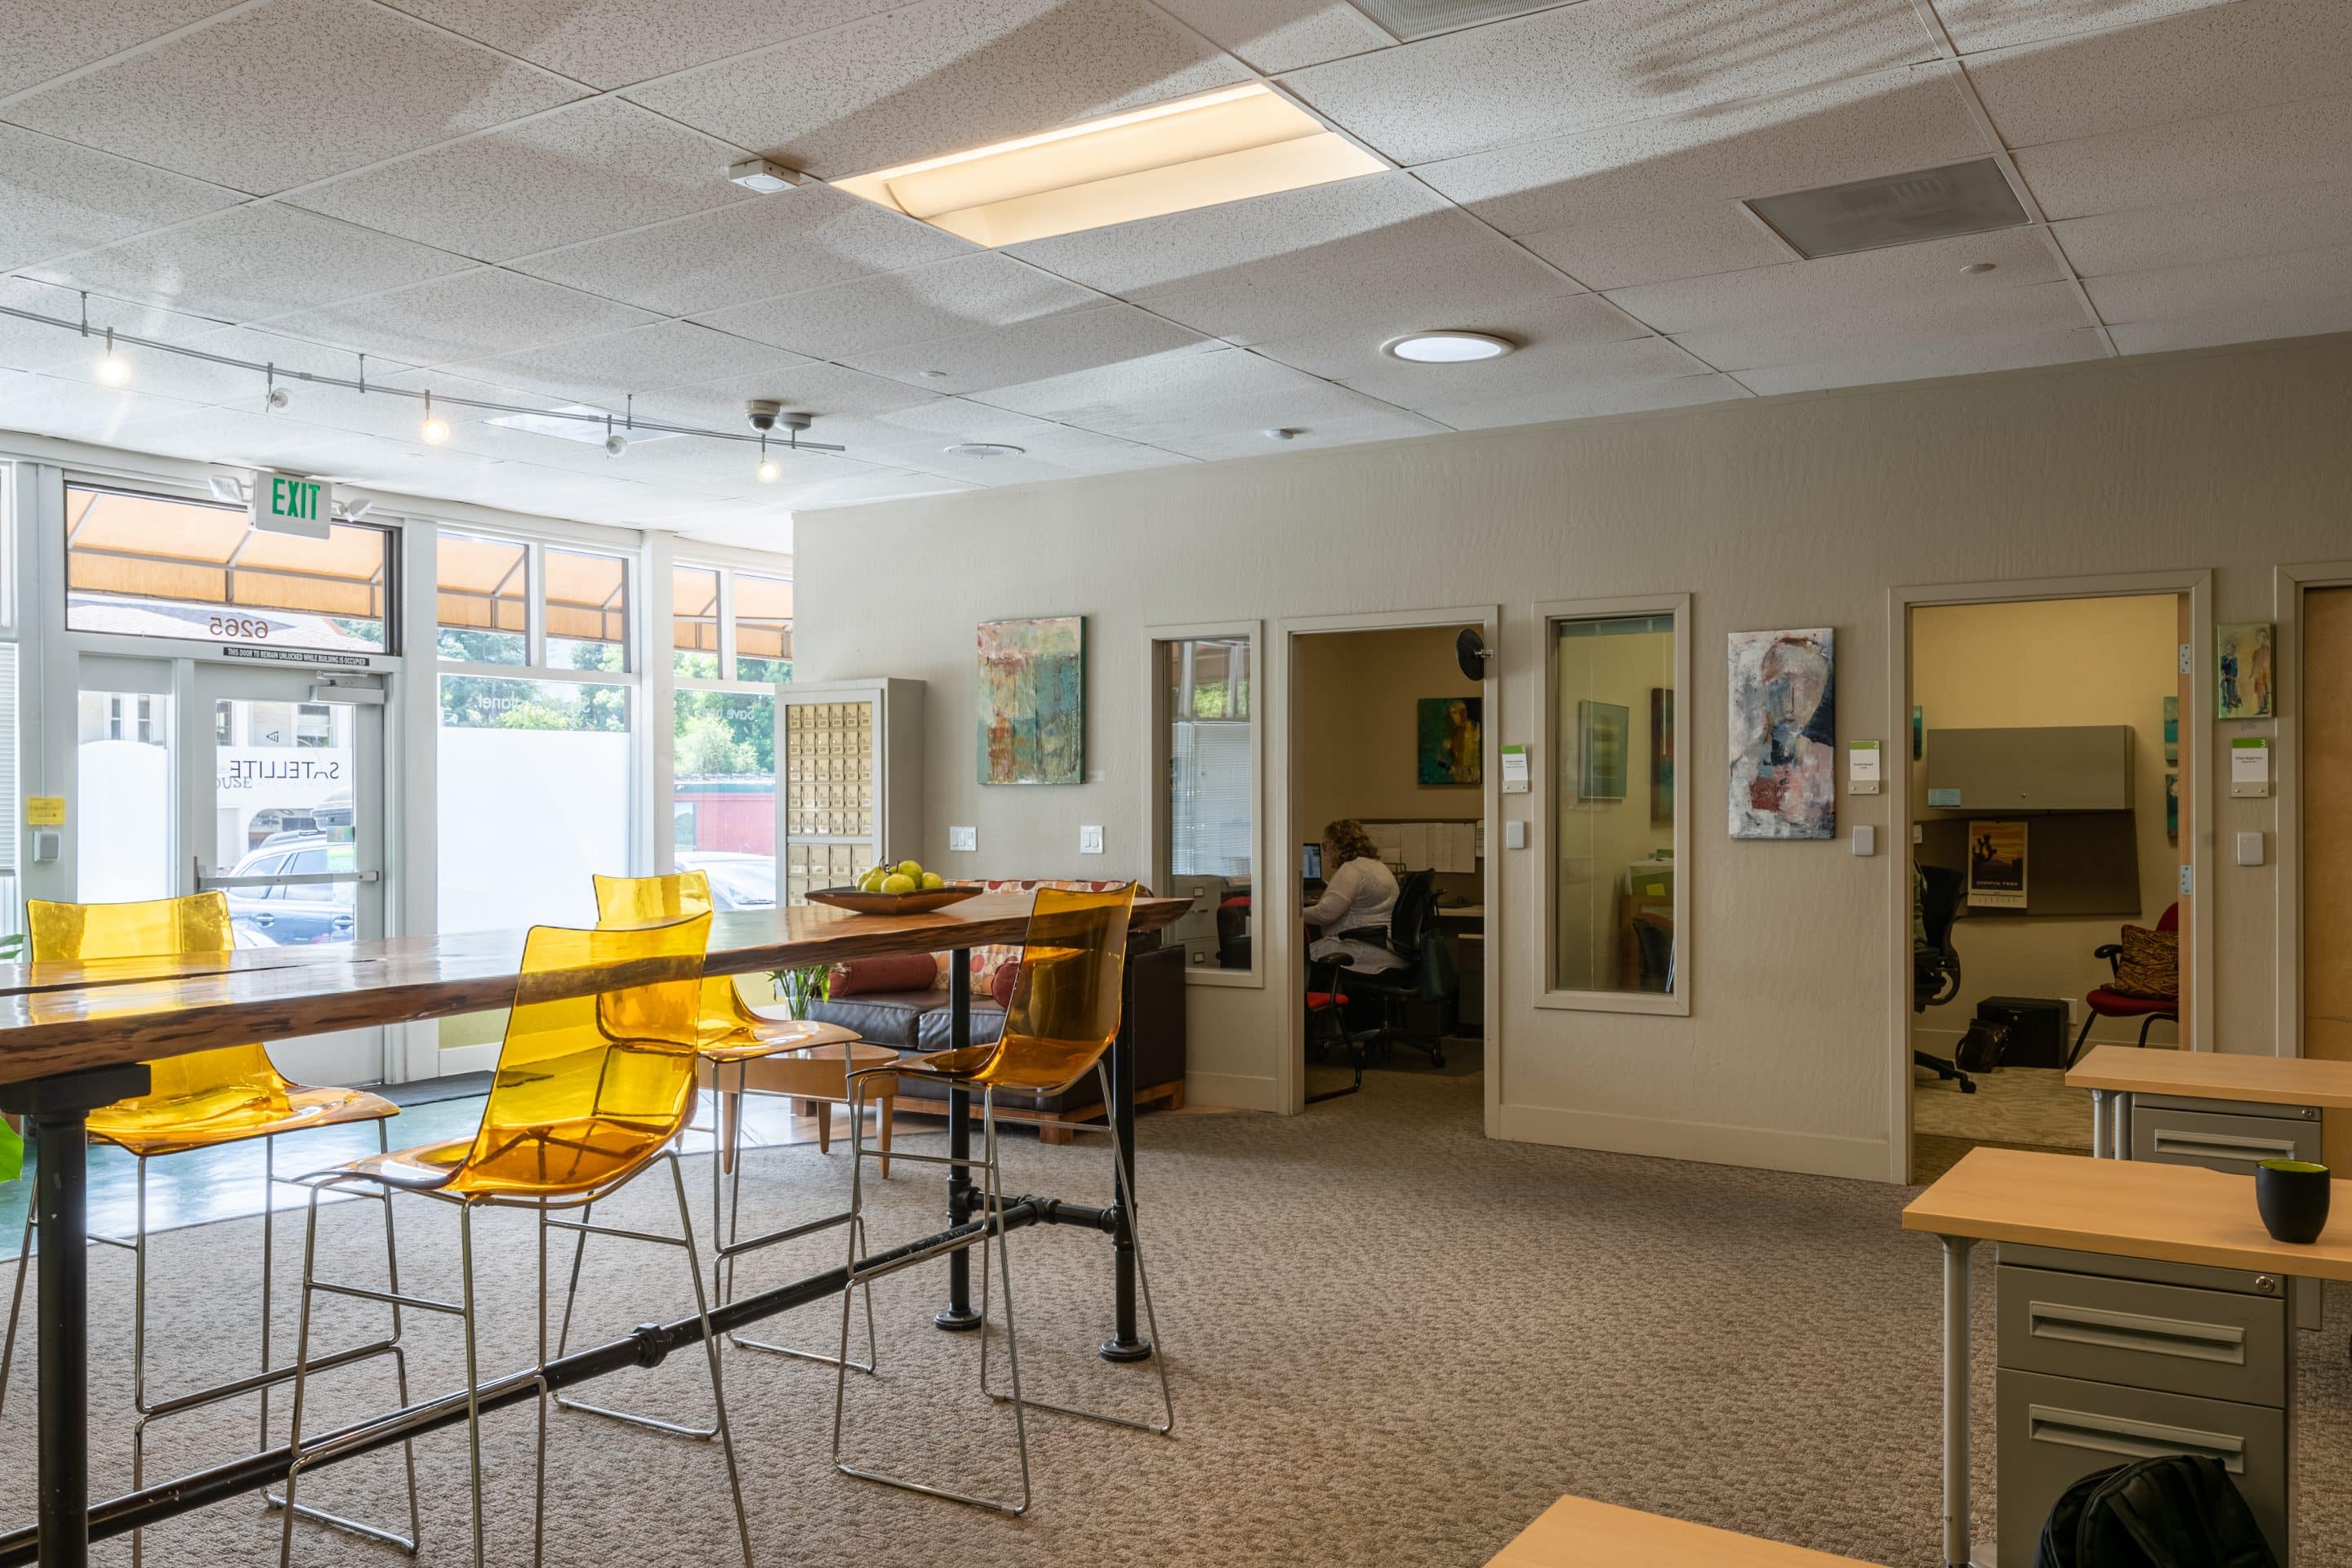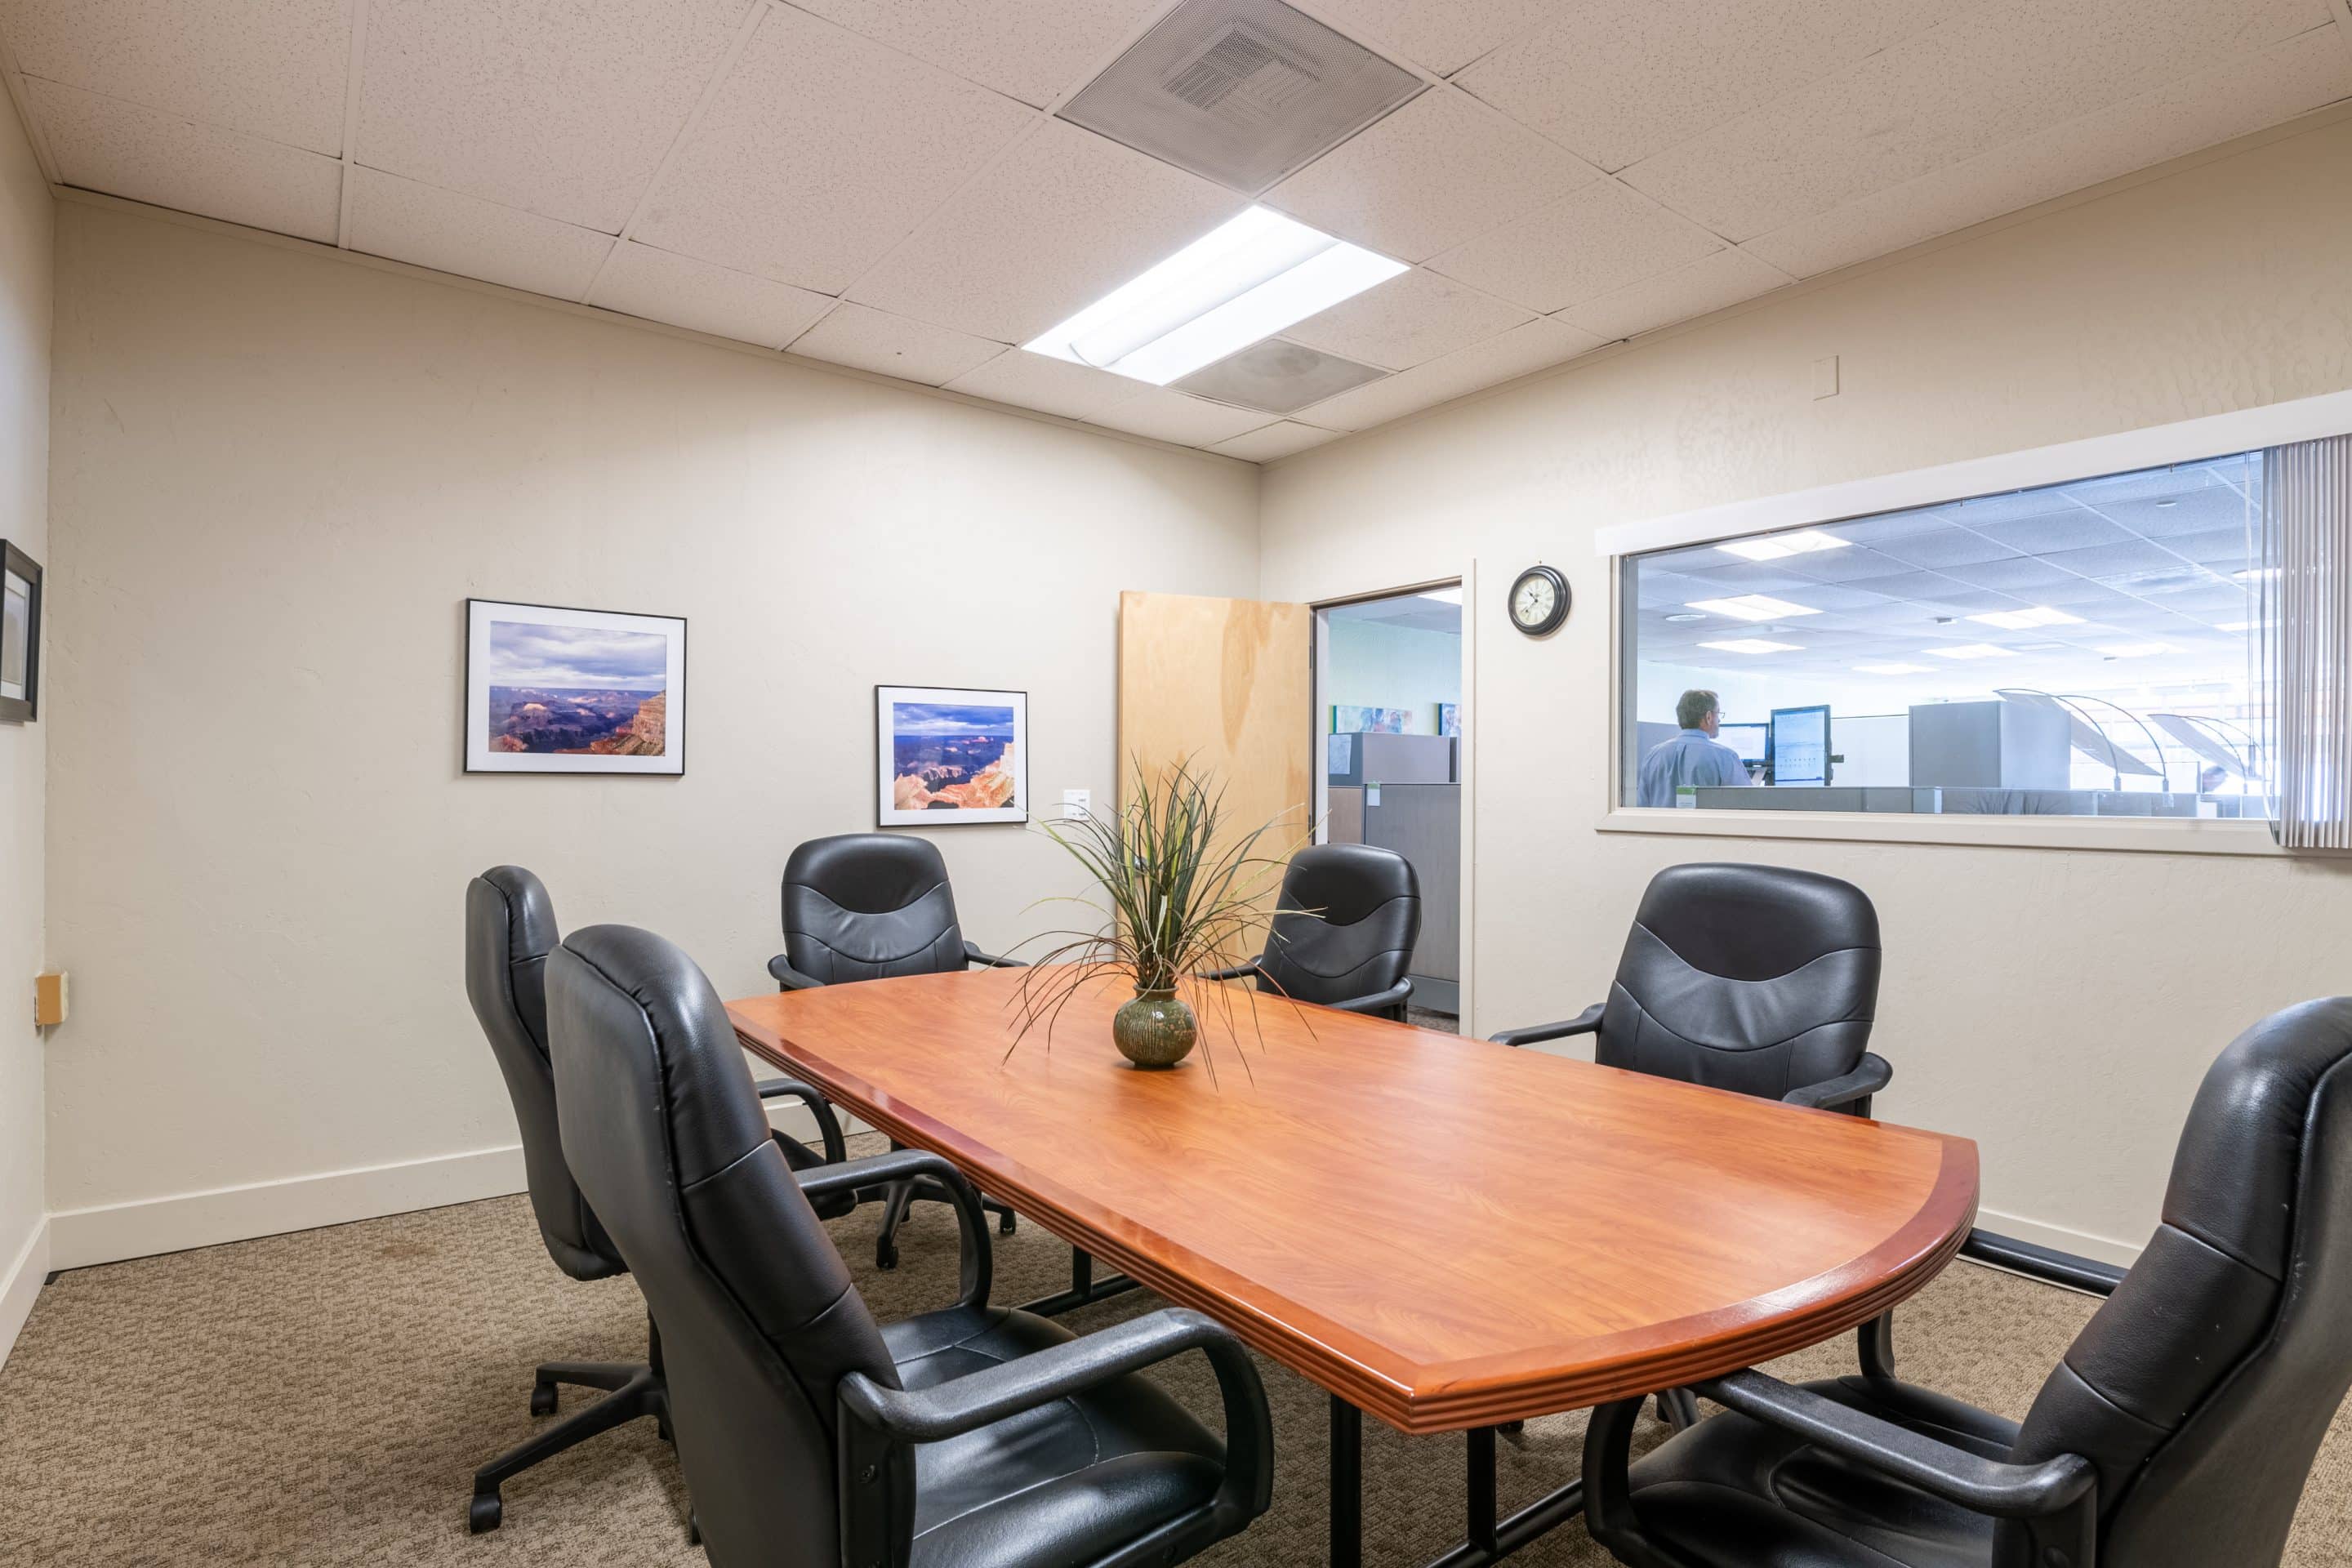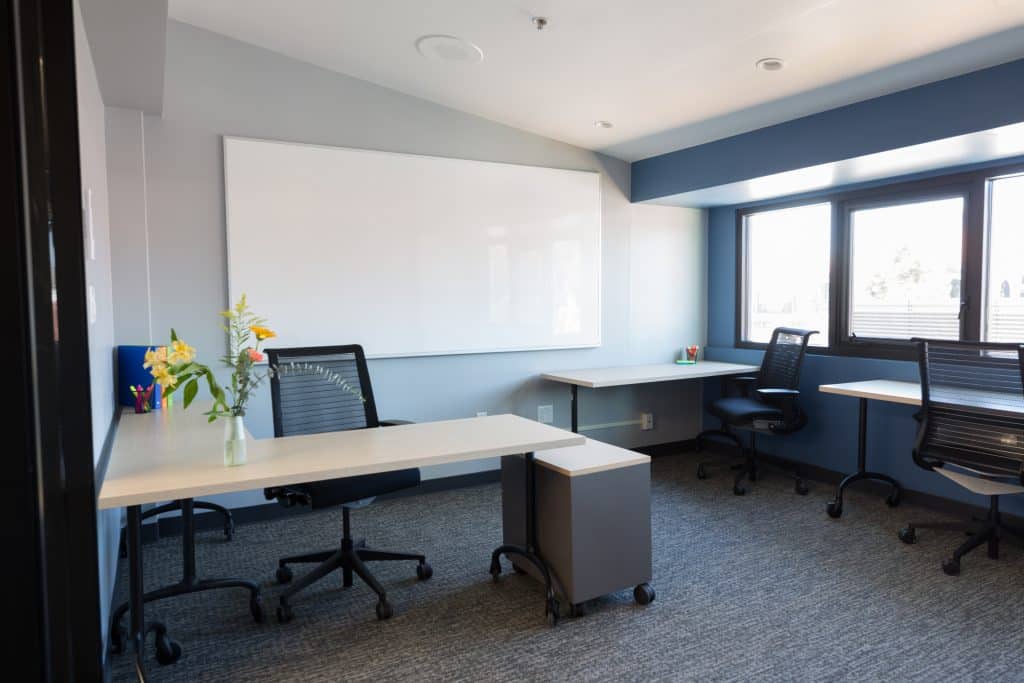
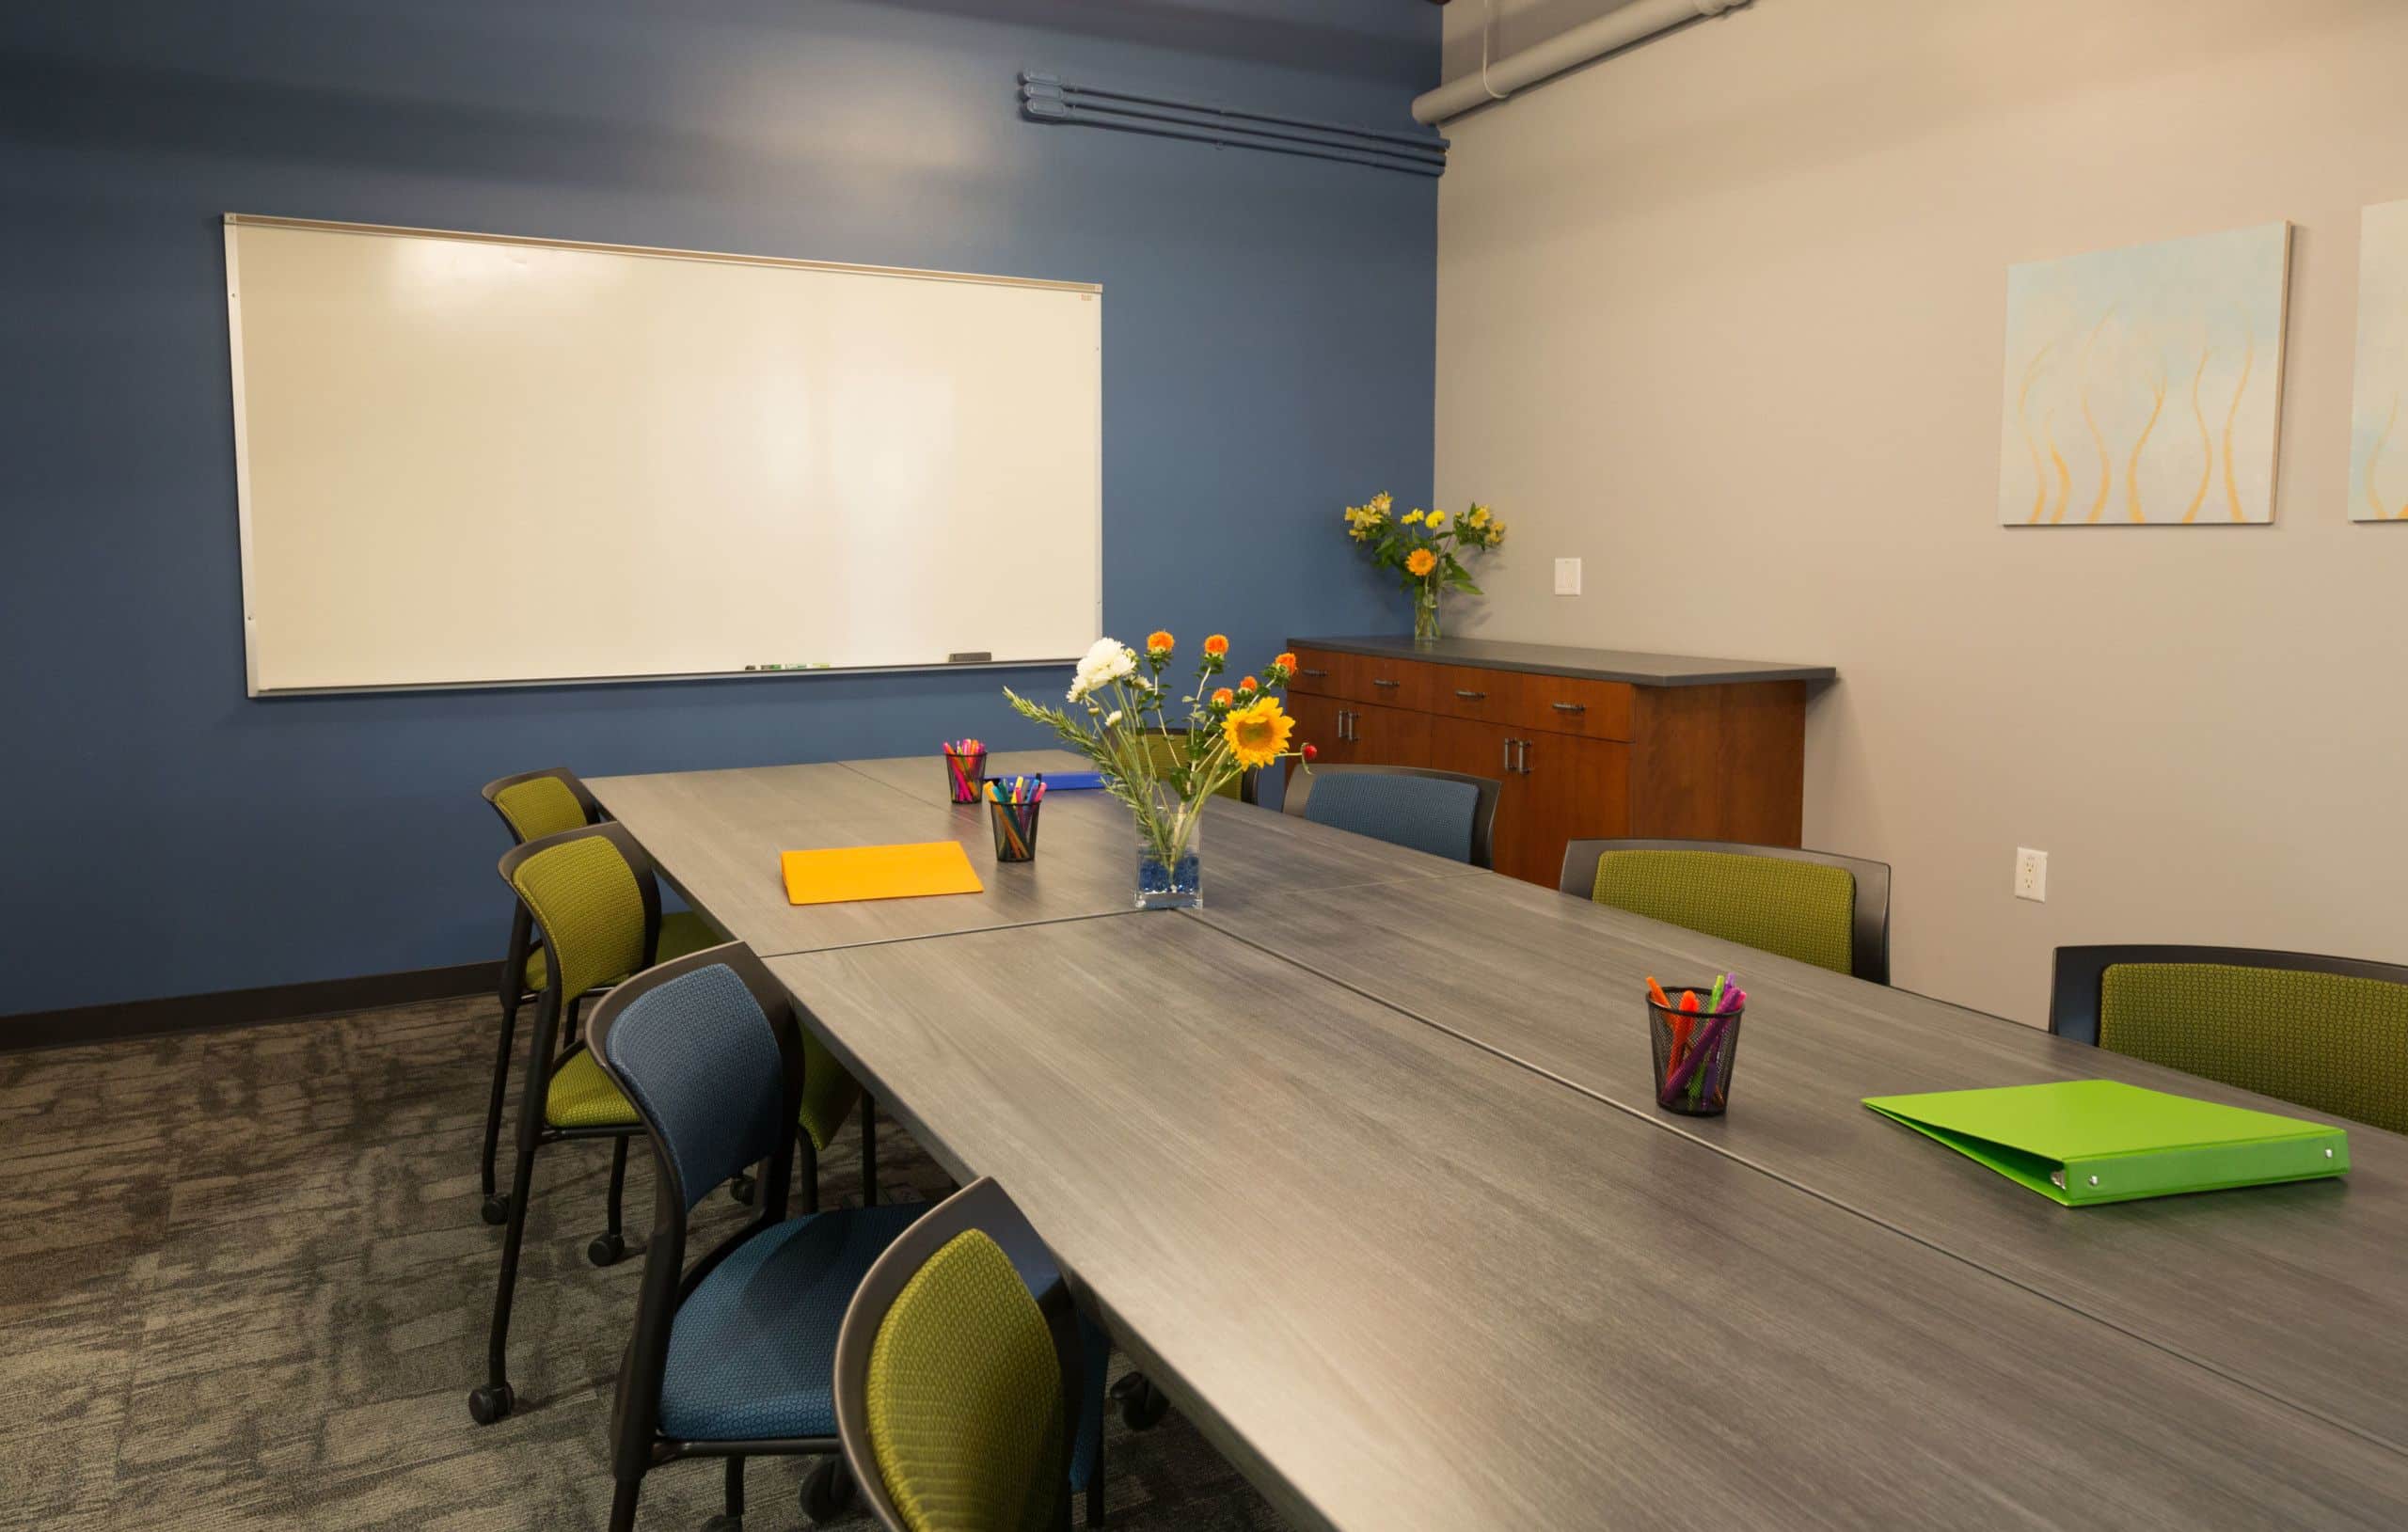
Beautiful Views
Of Sunny California!
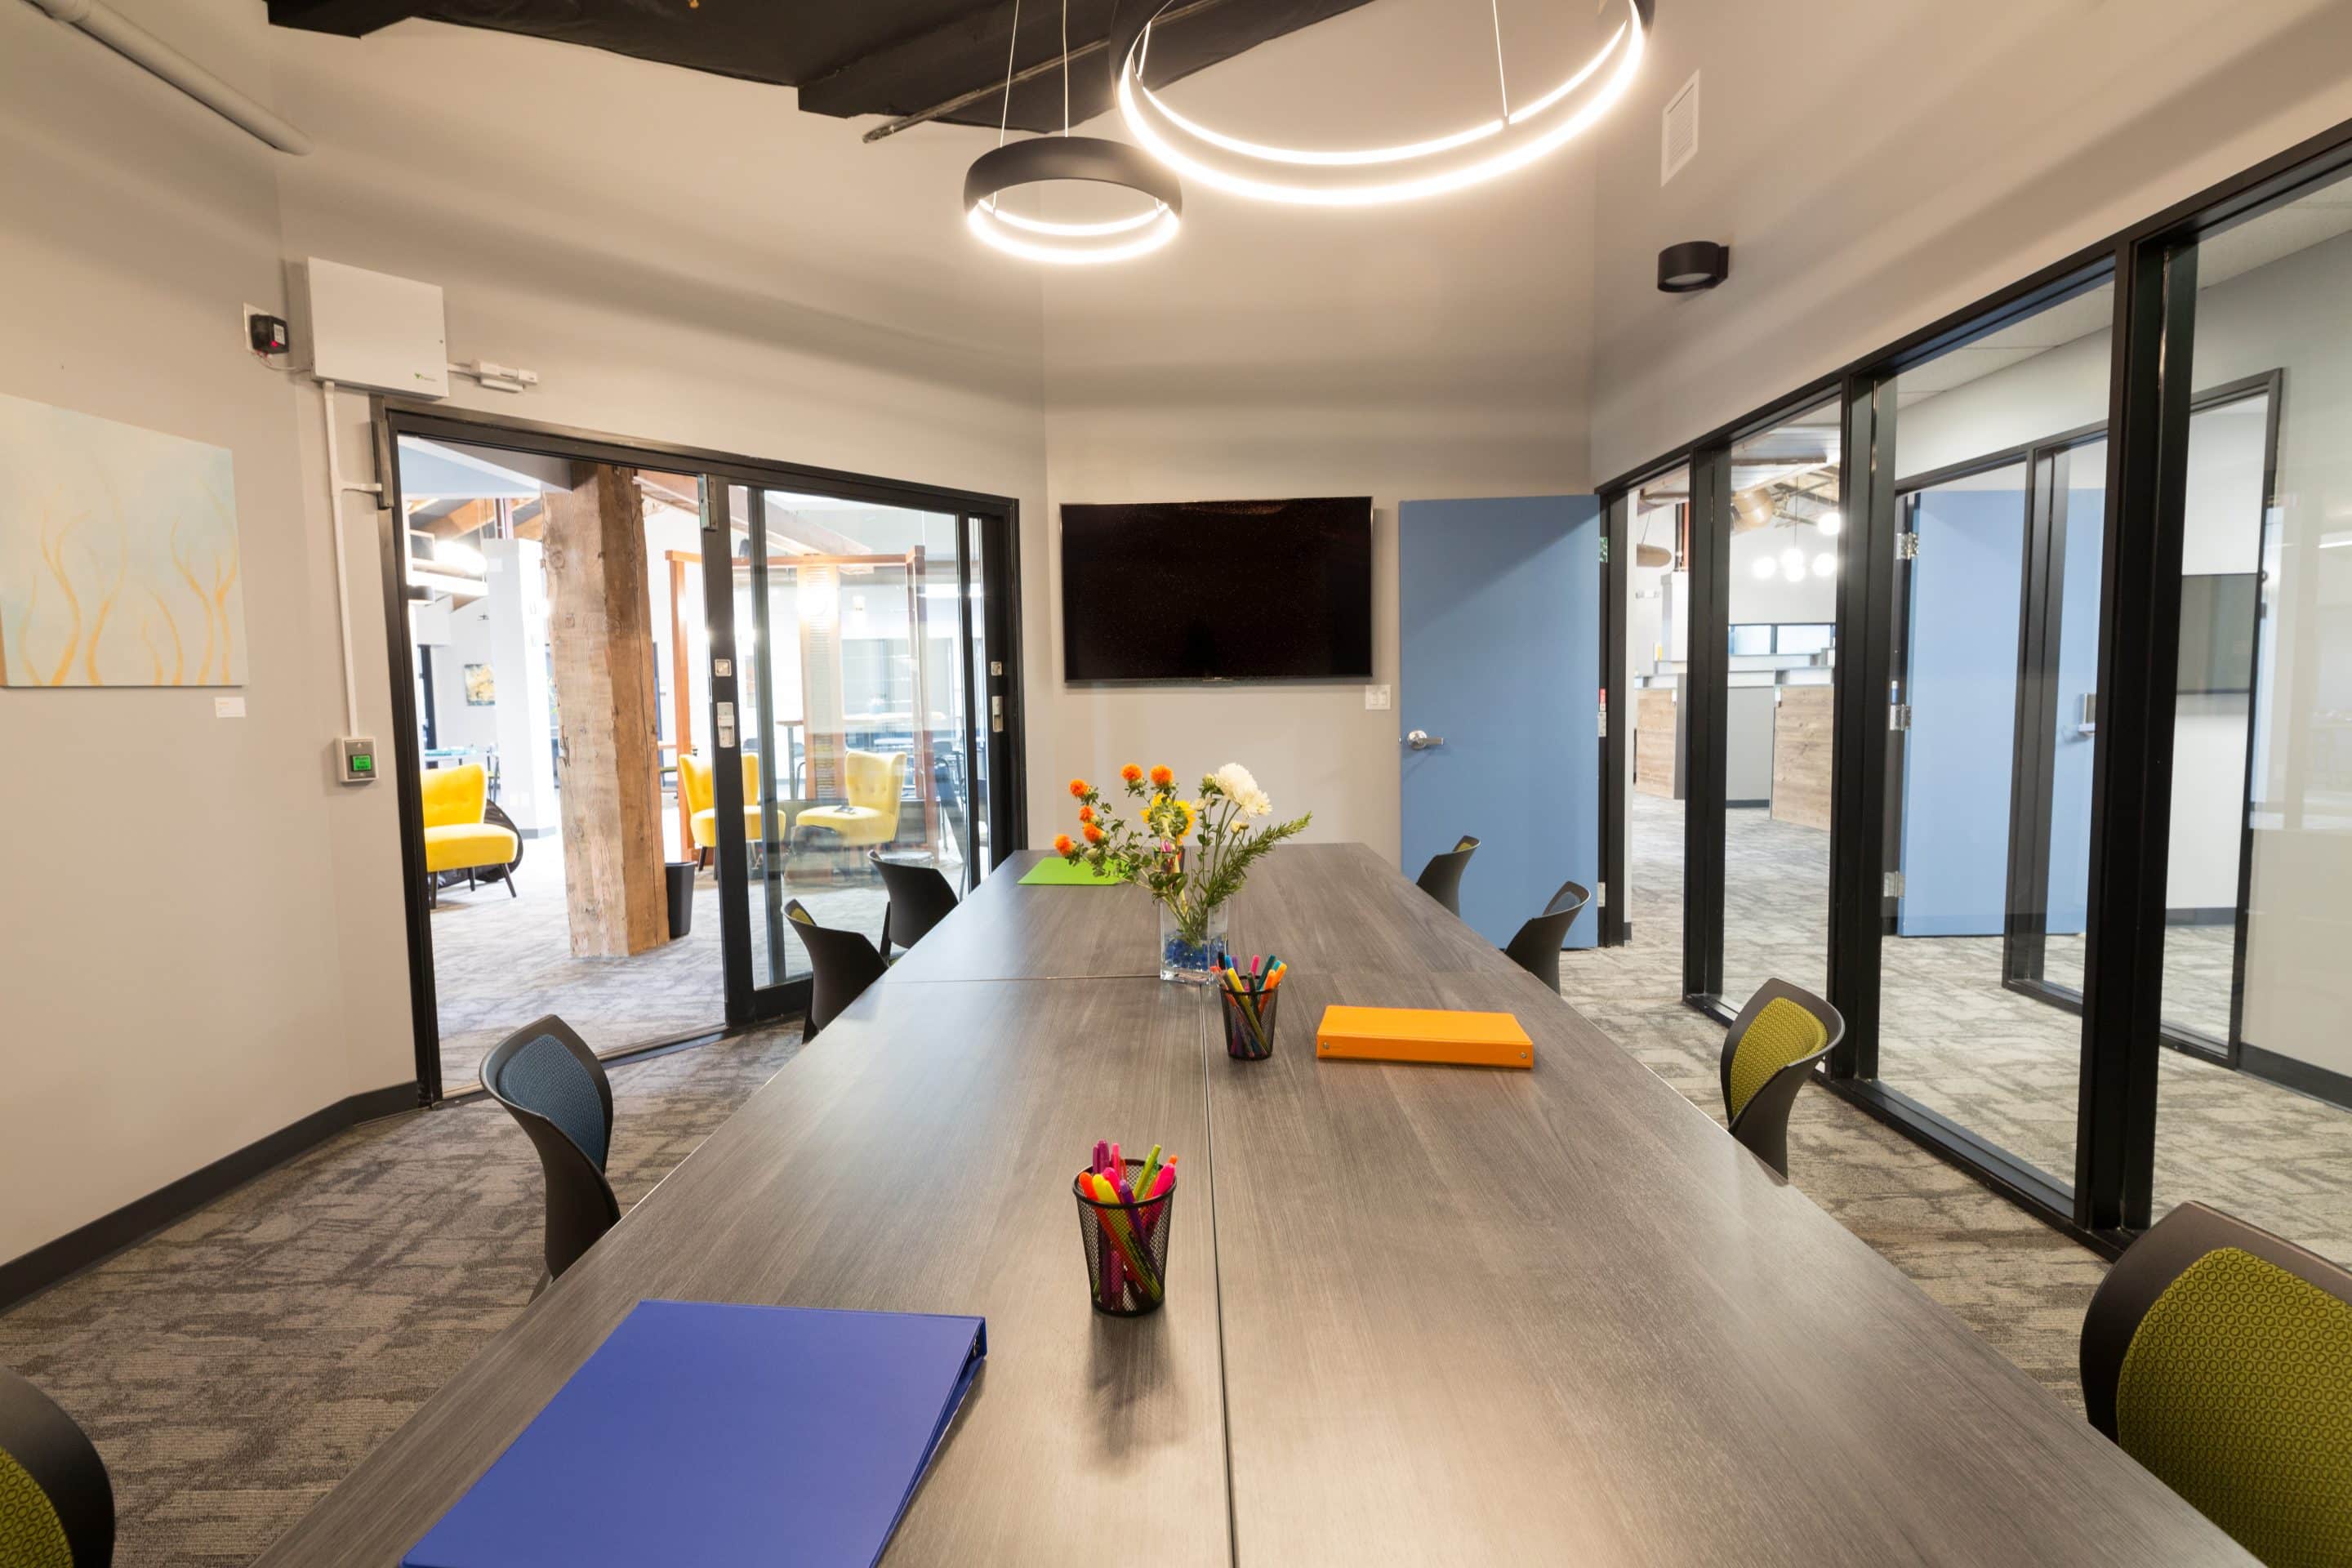
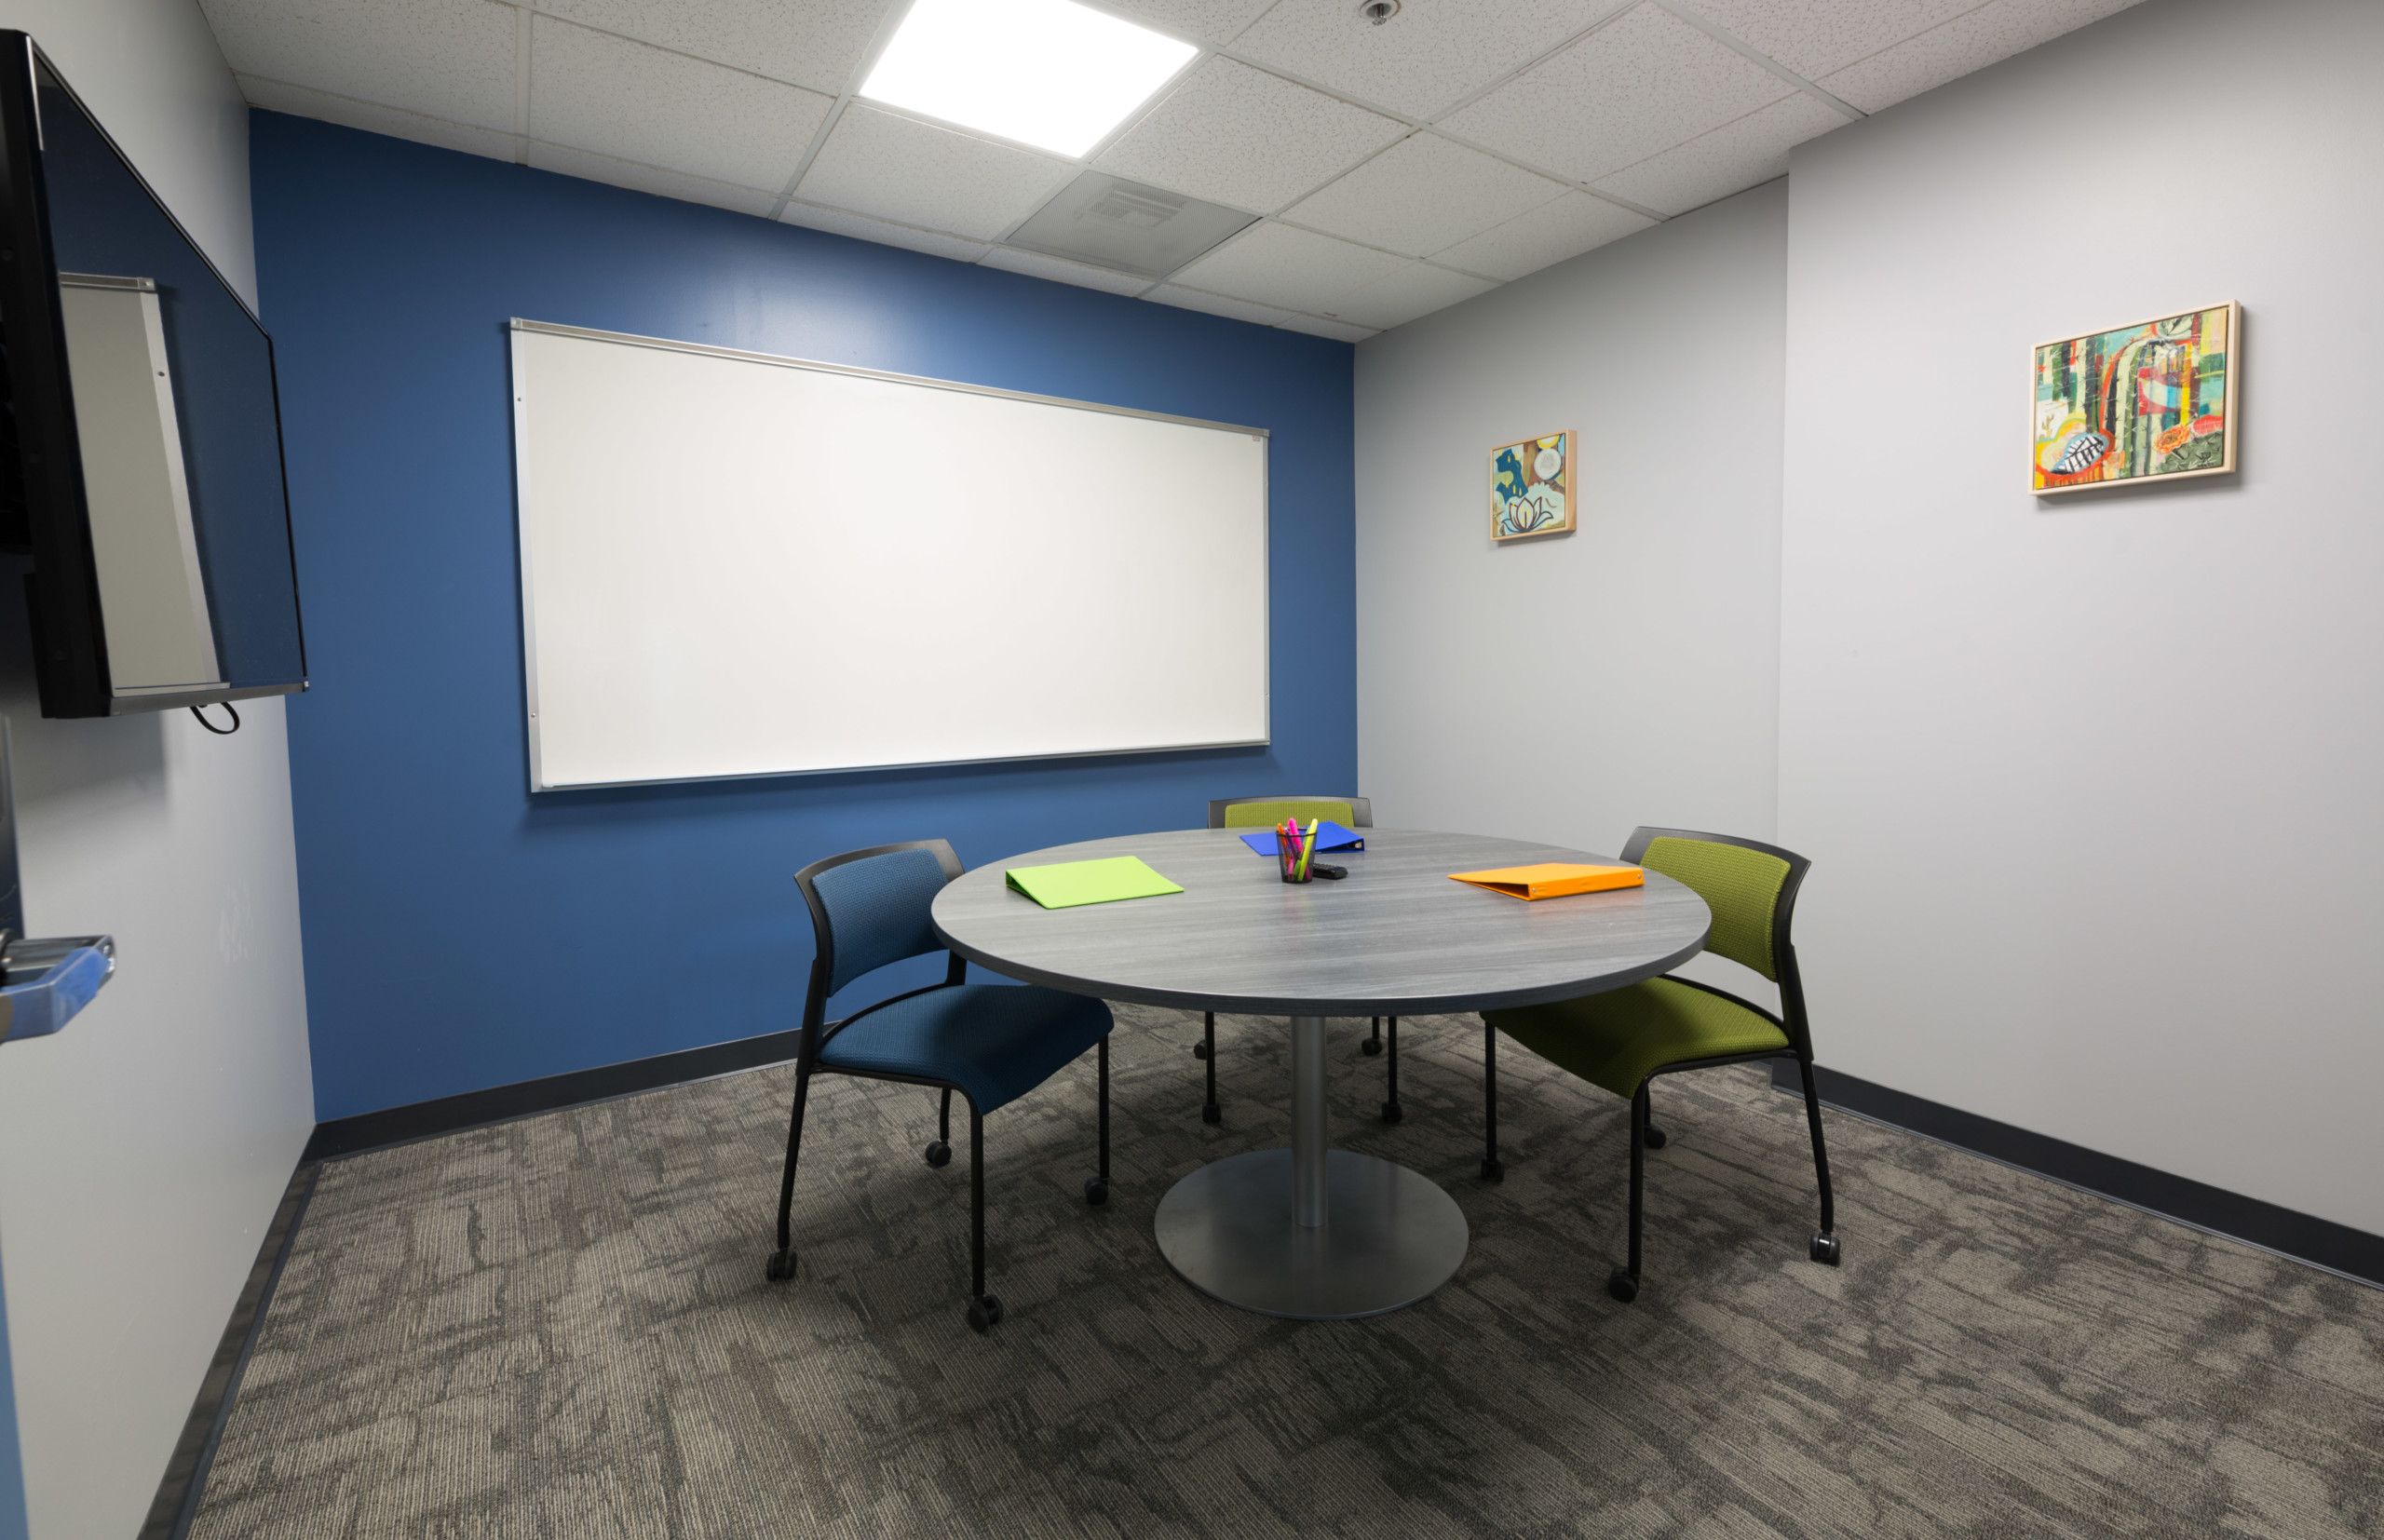
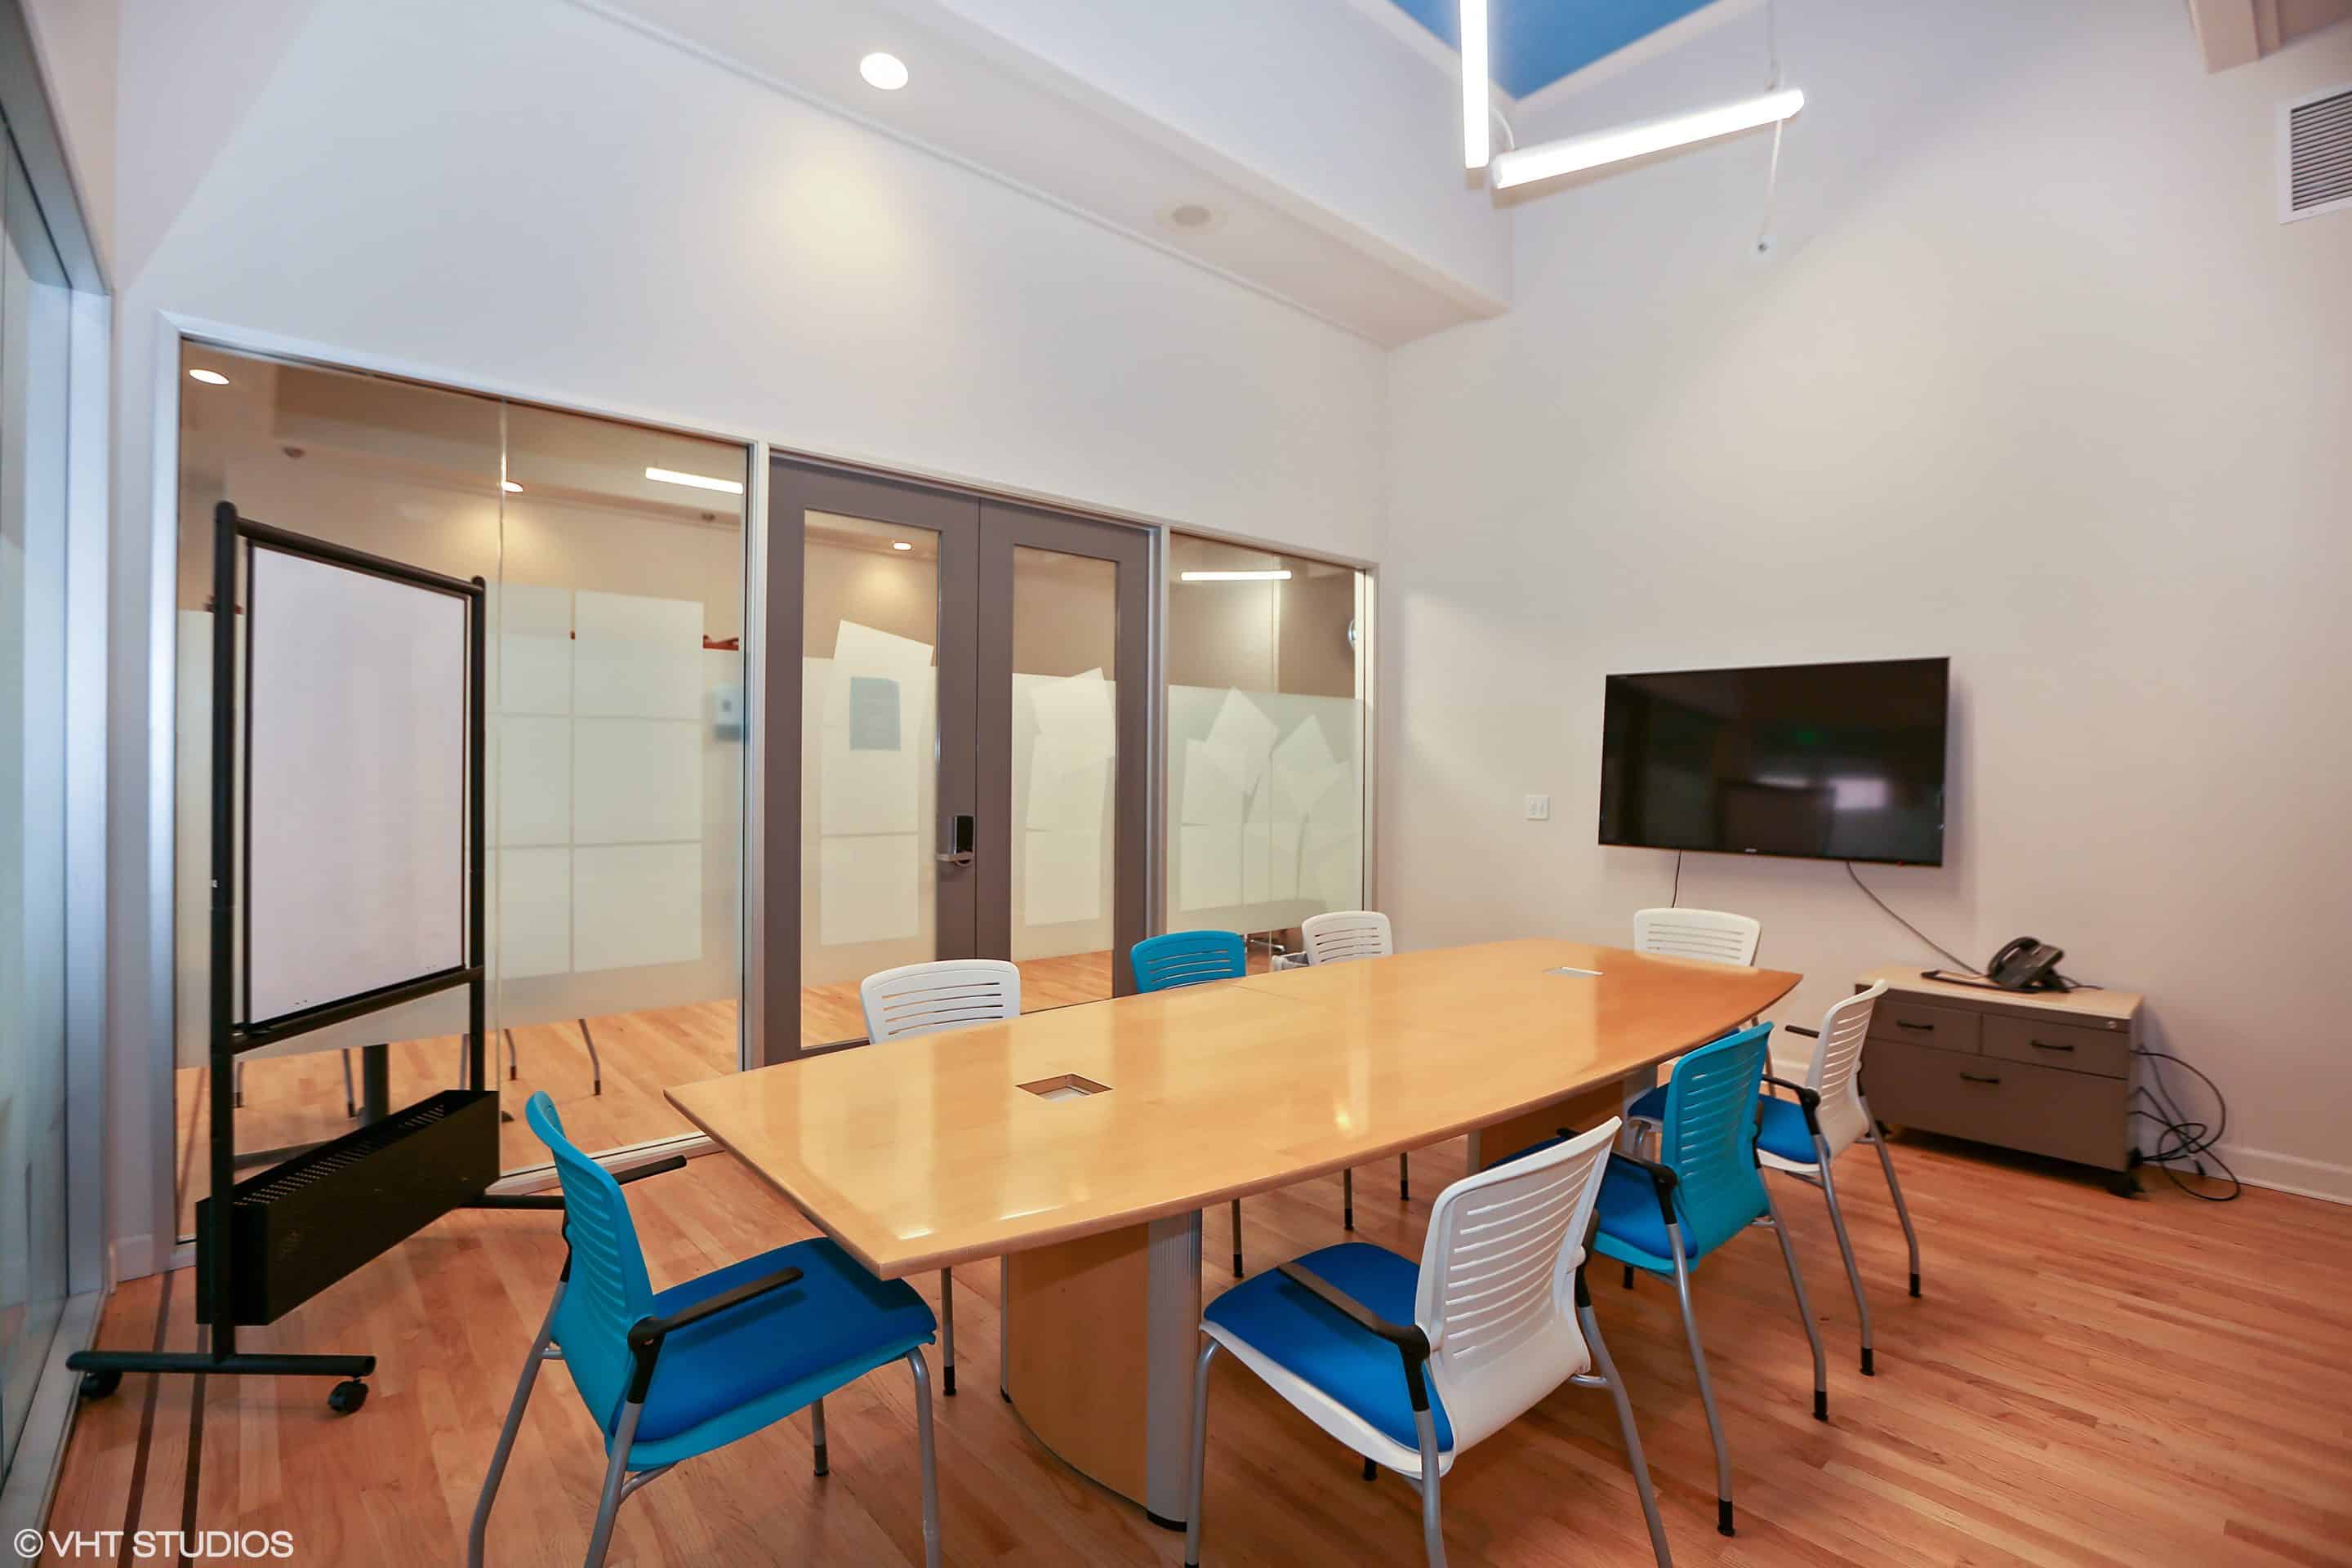
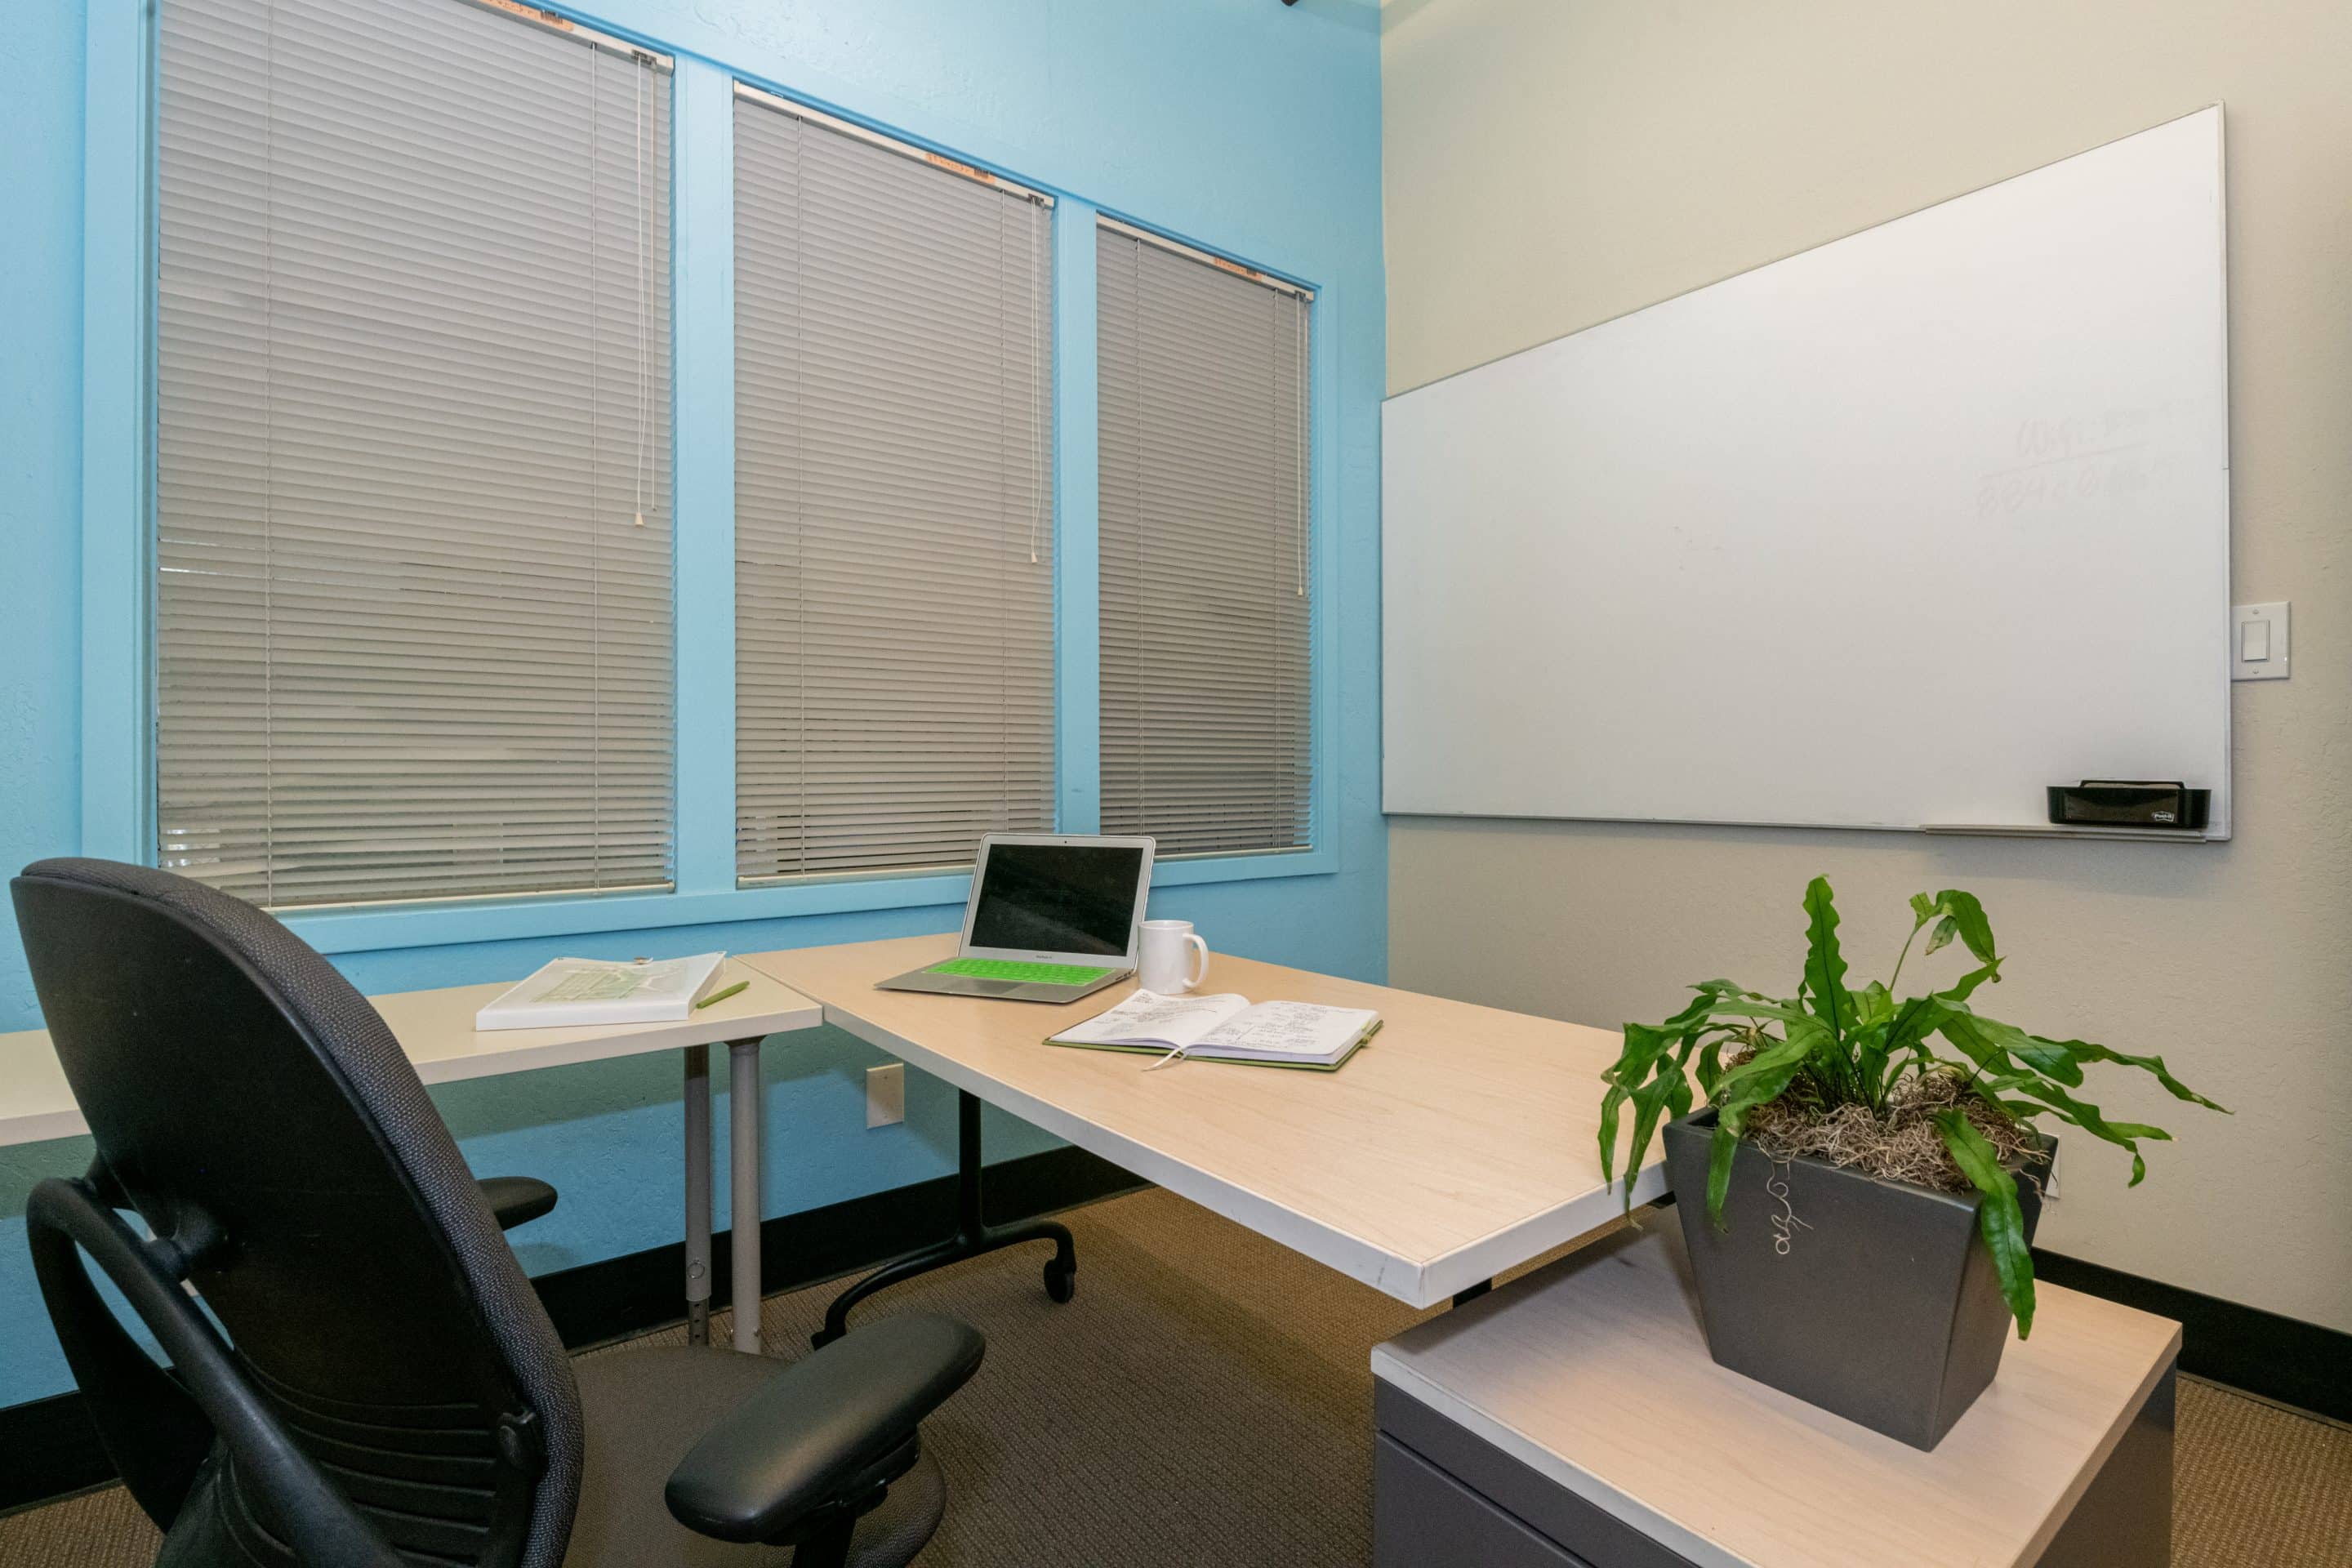
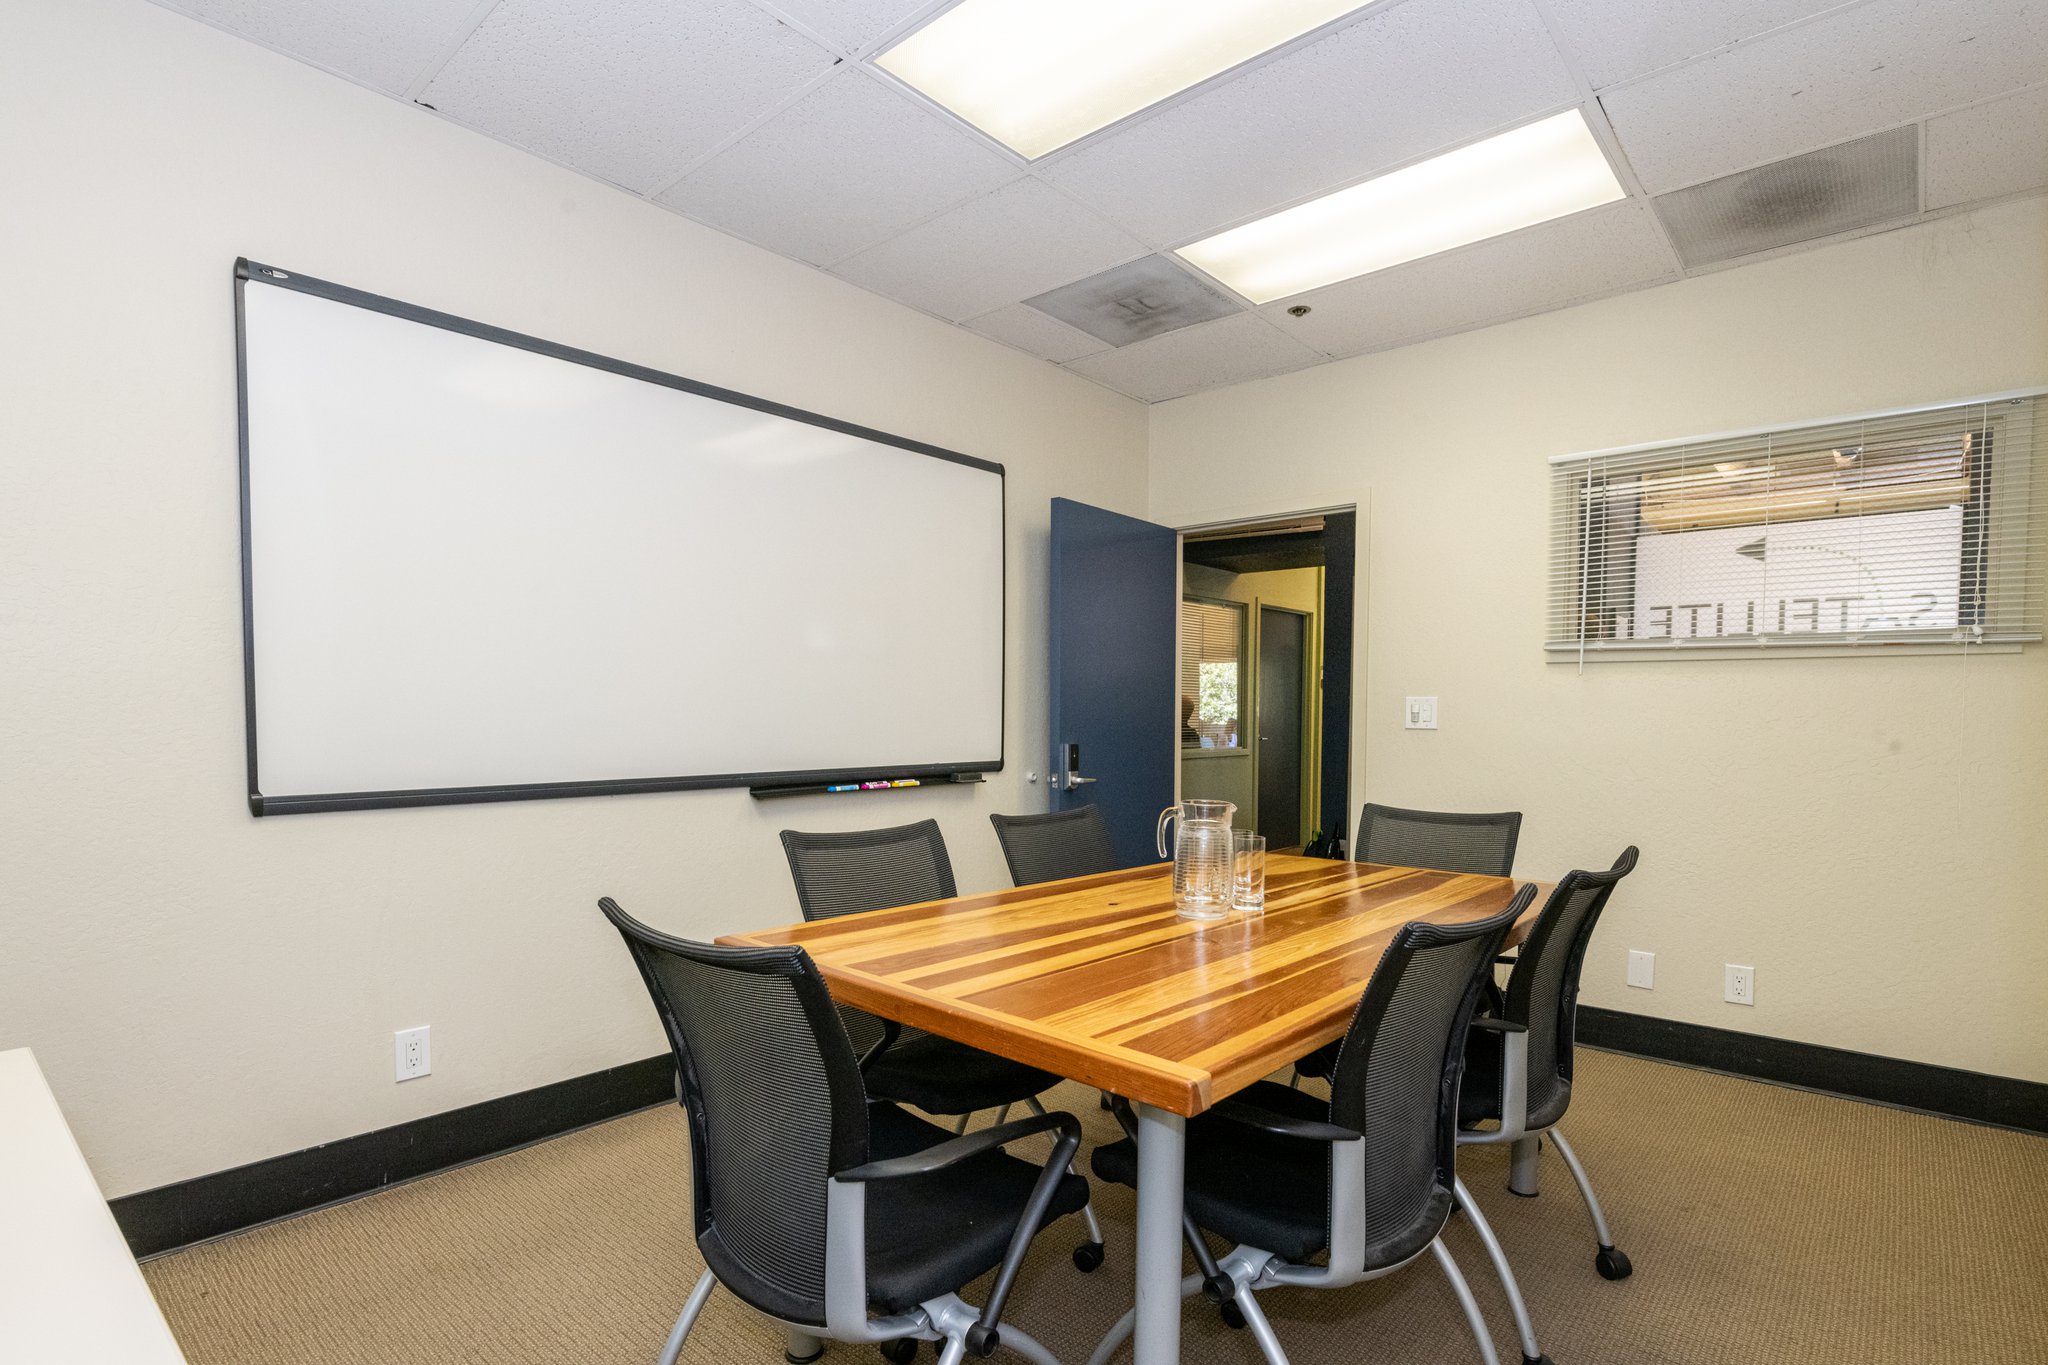
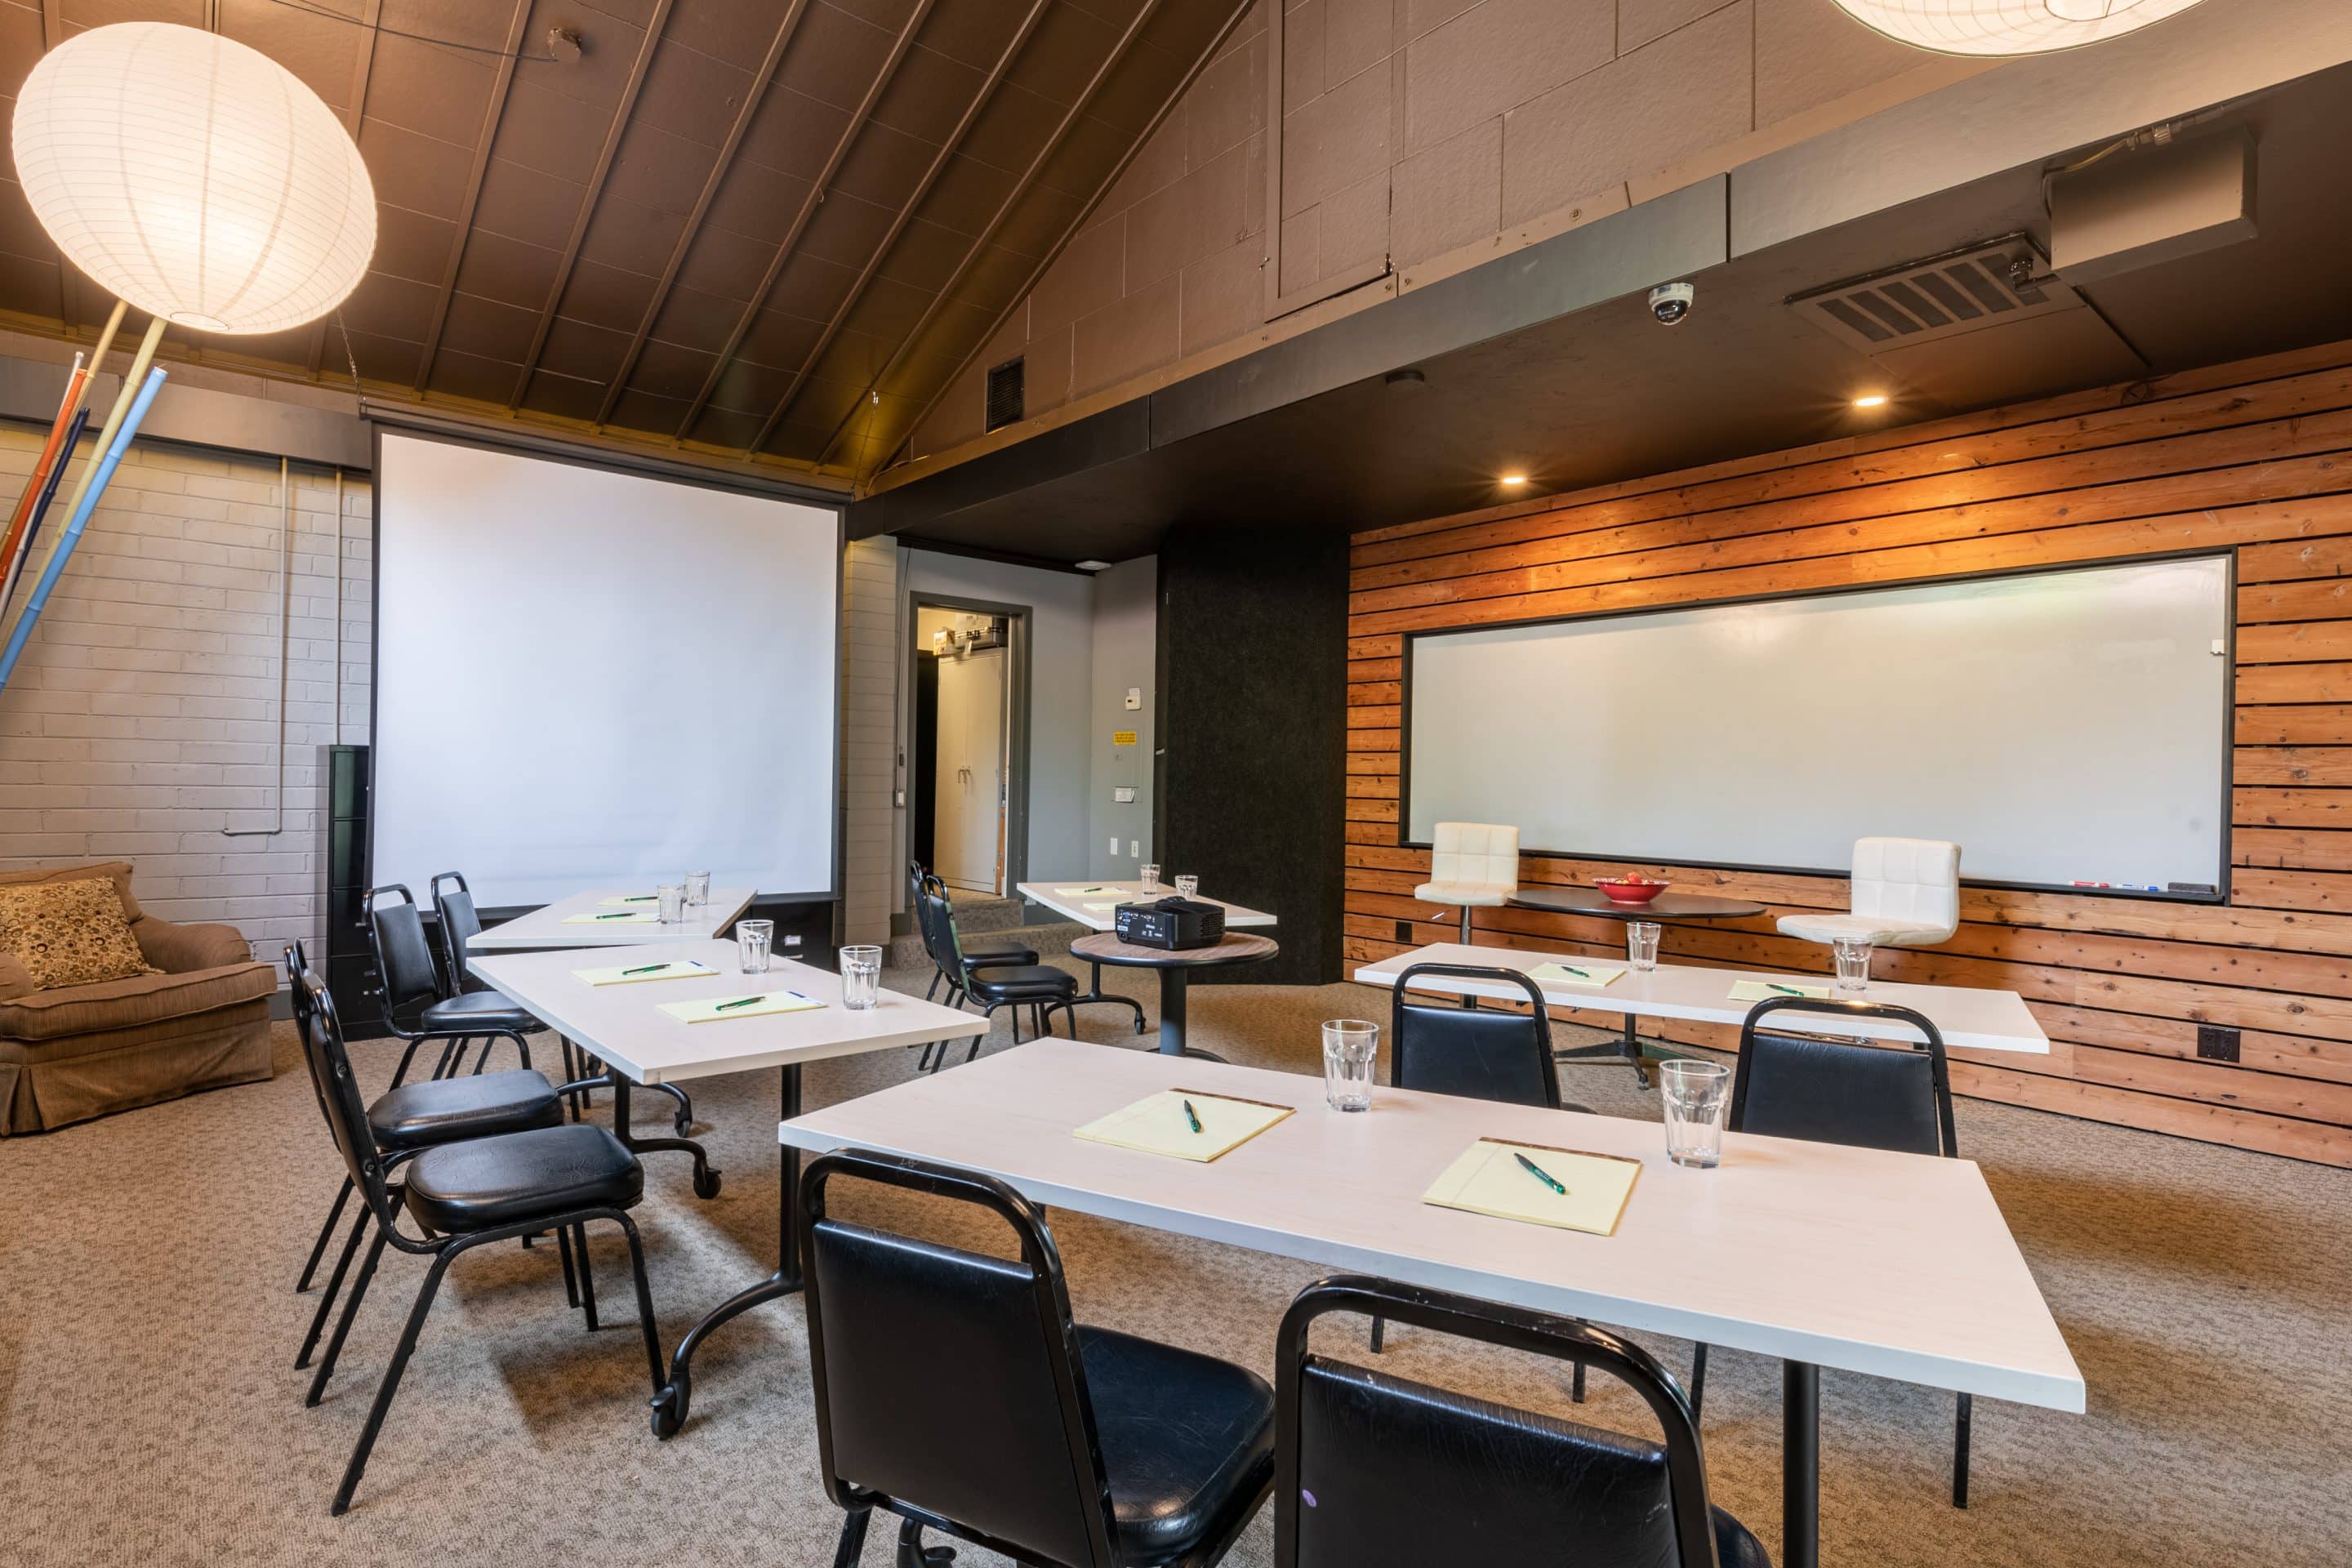
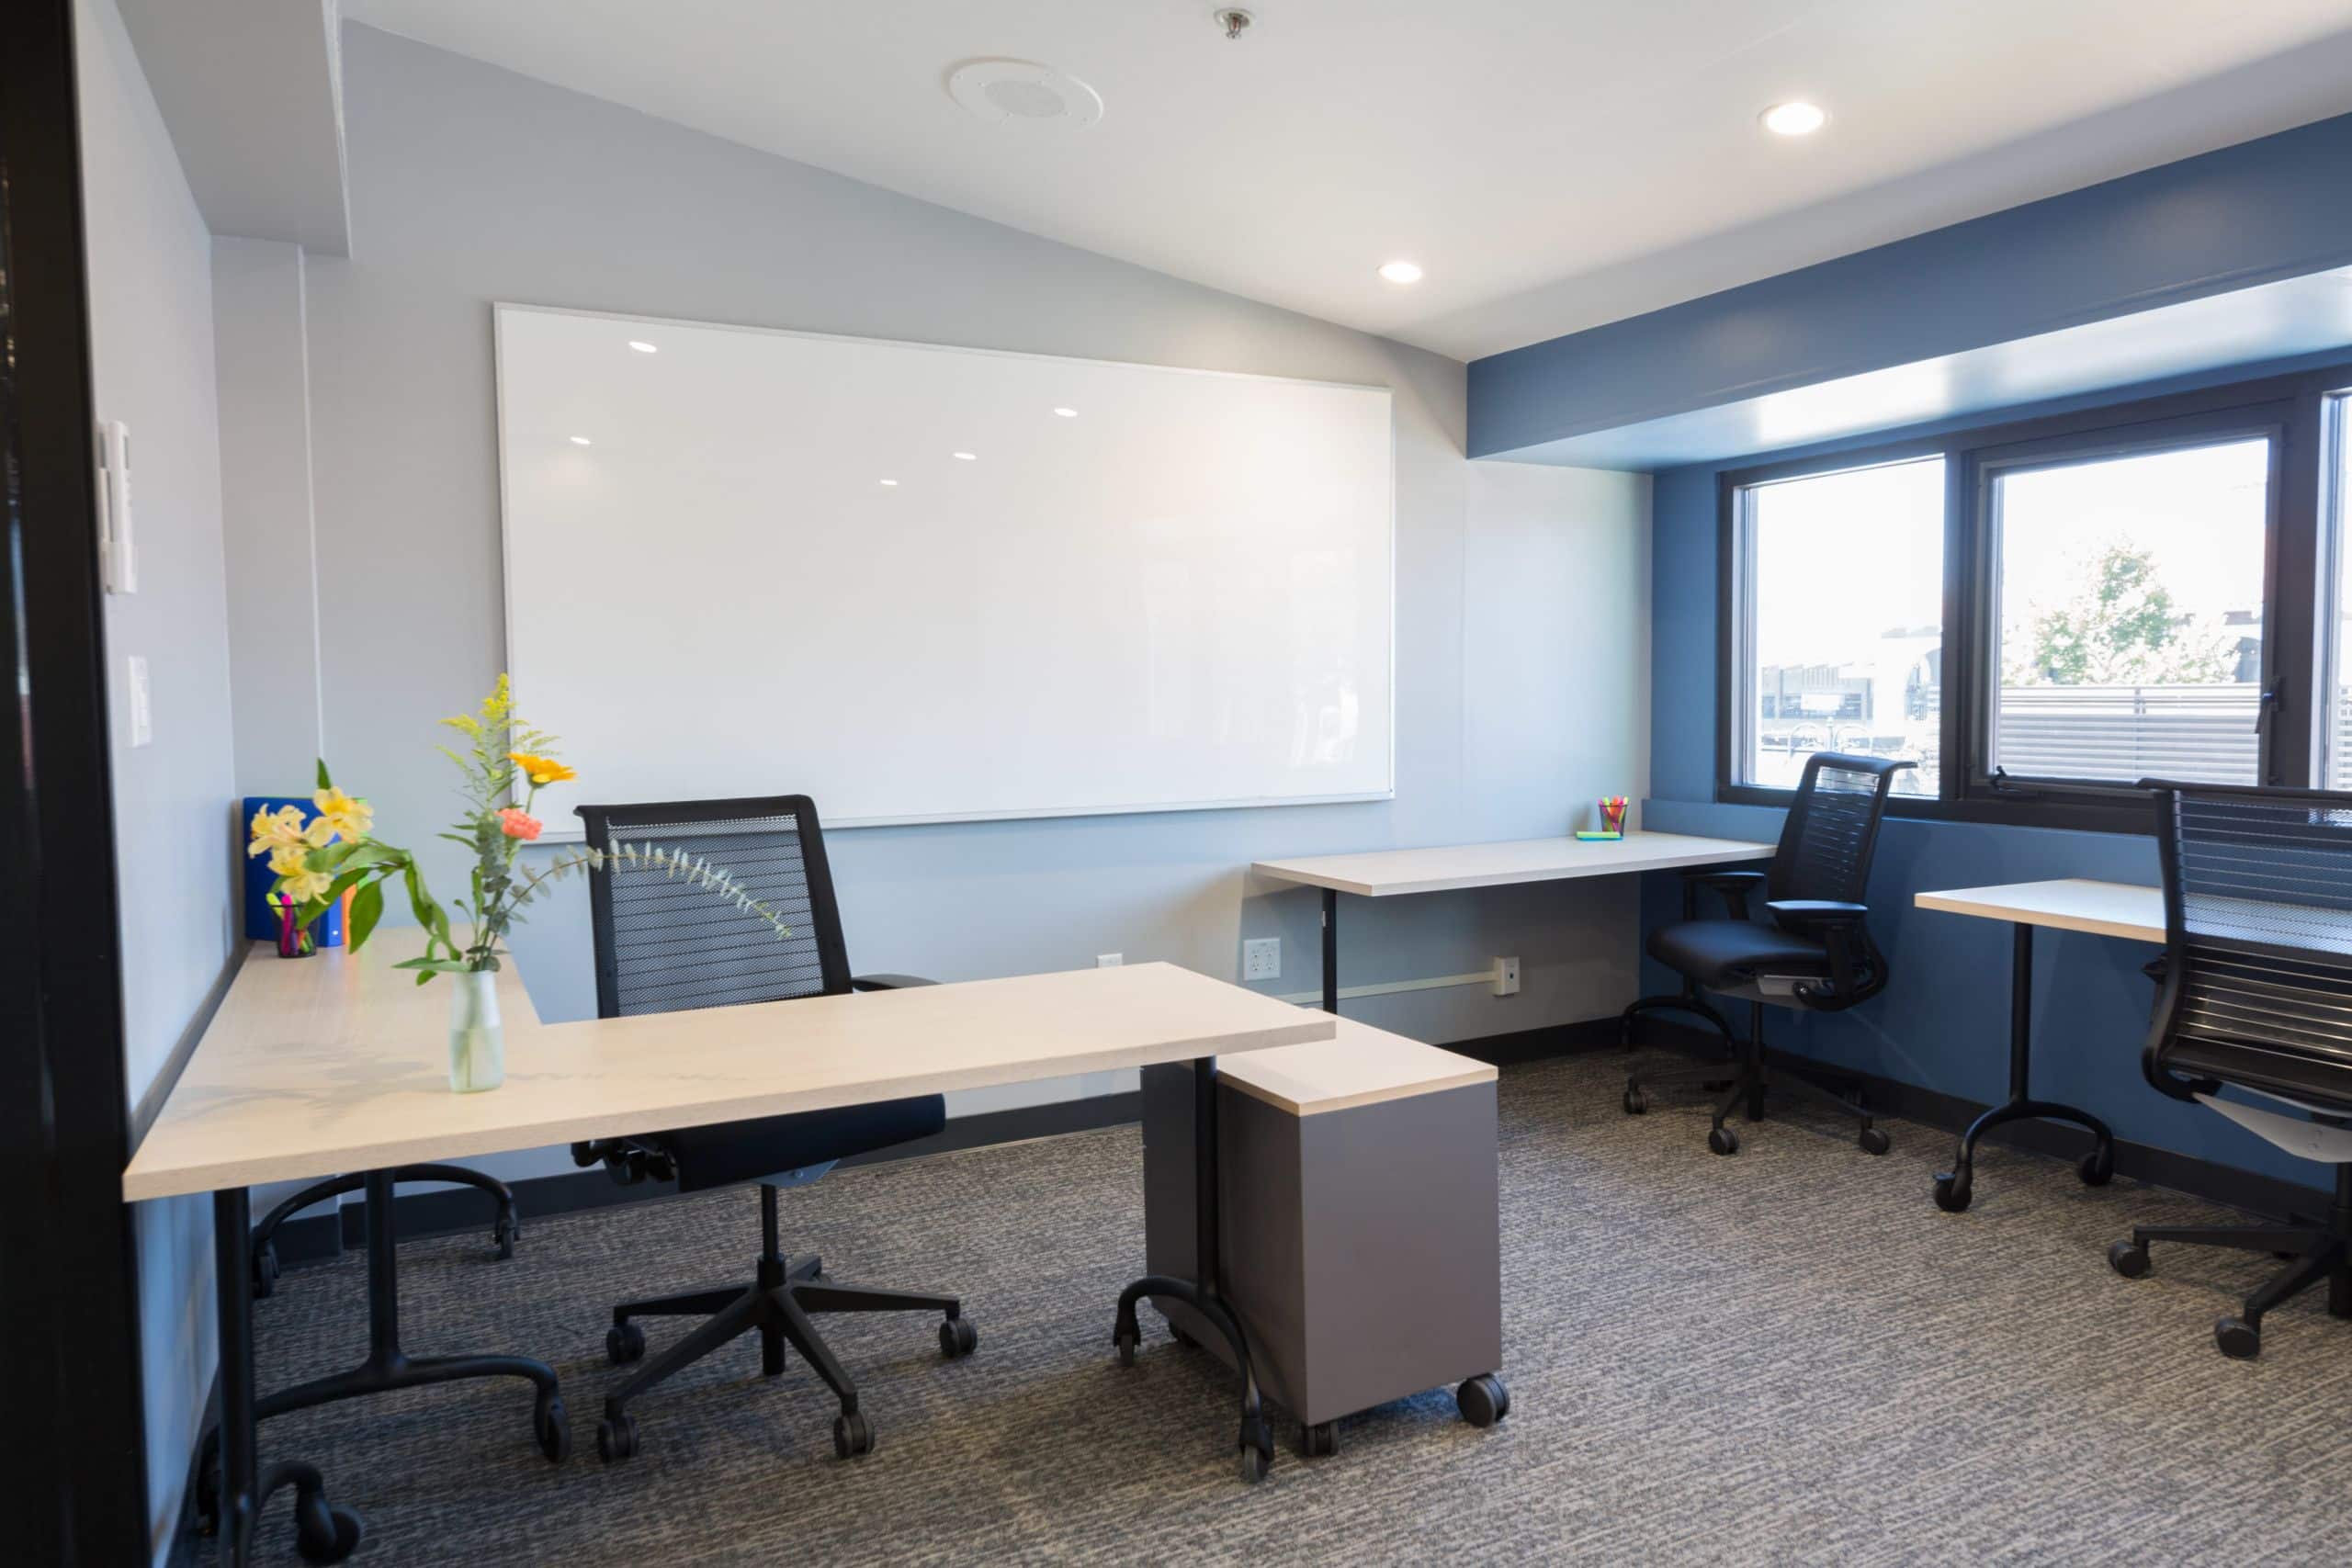
Whiteboard
For when creativity strikes
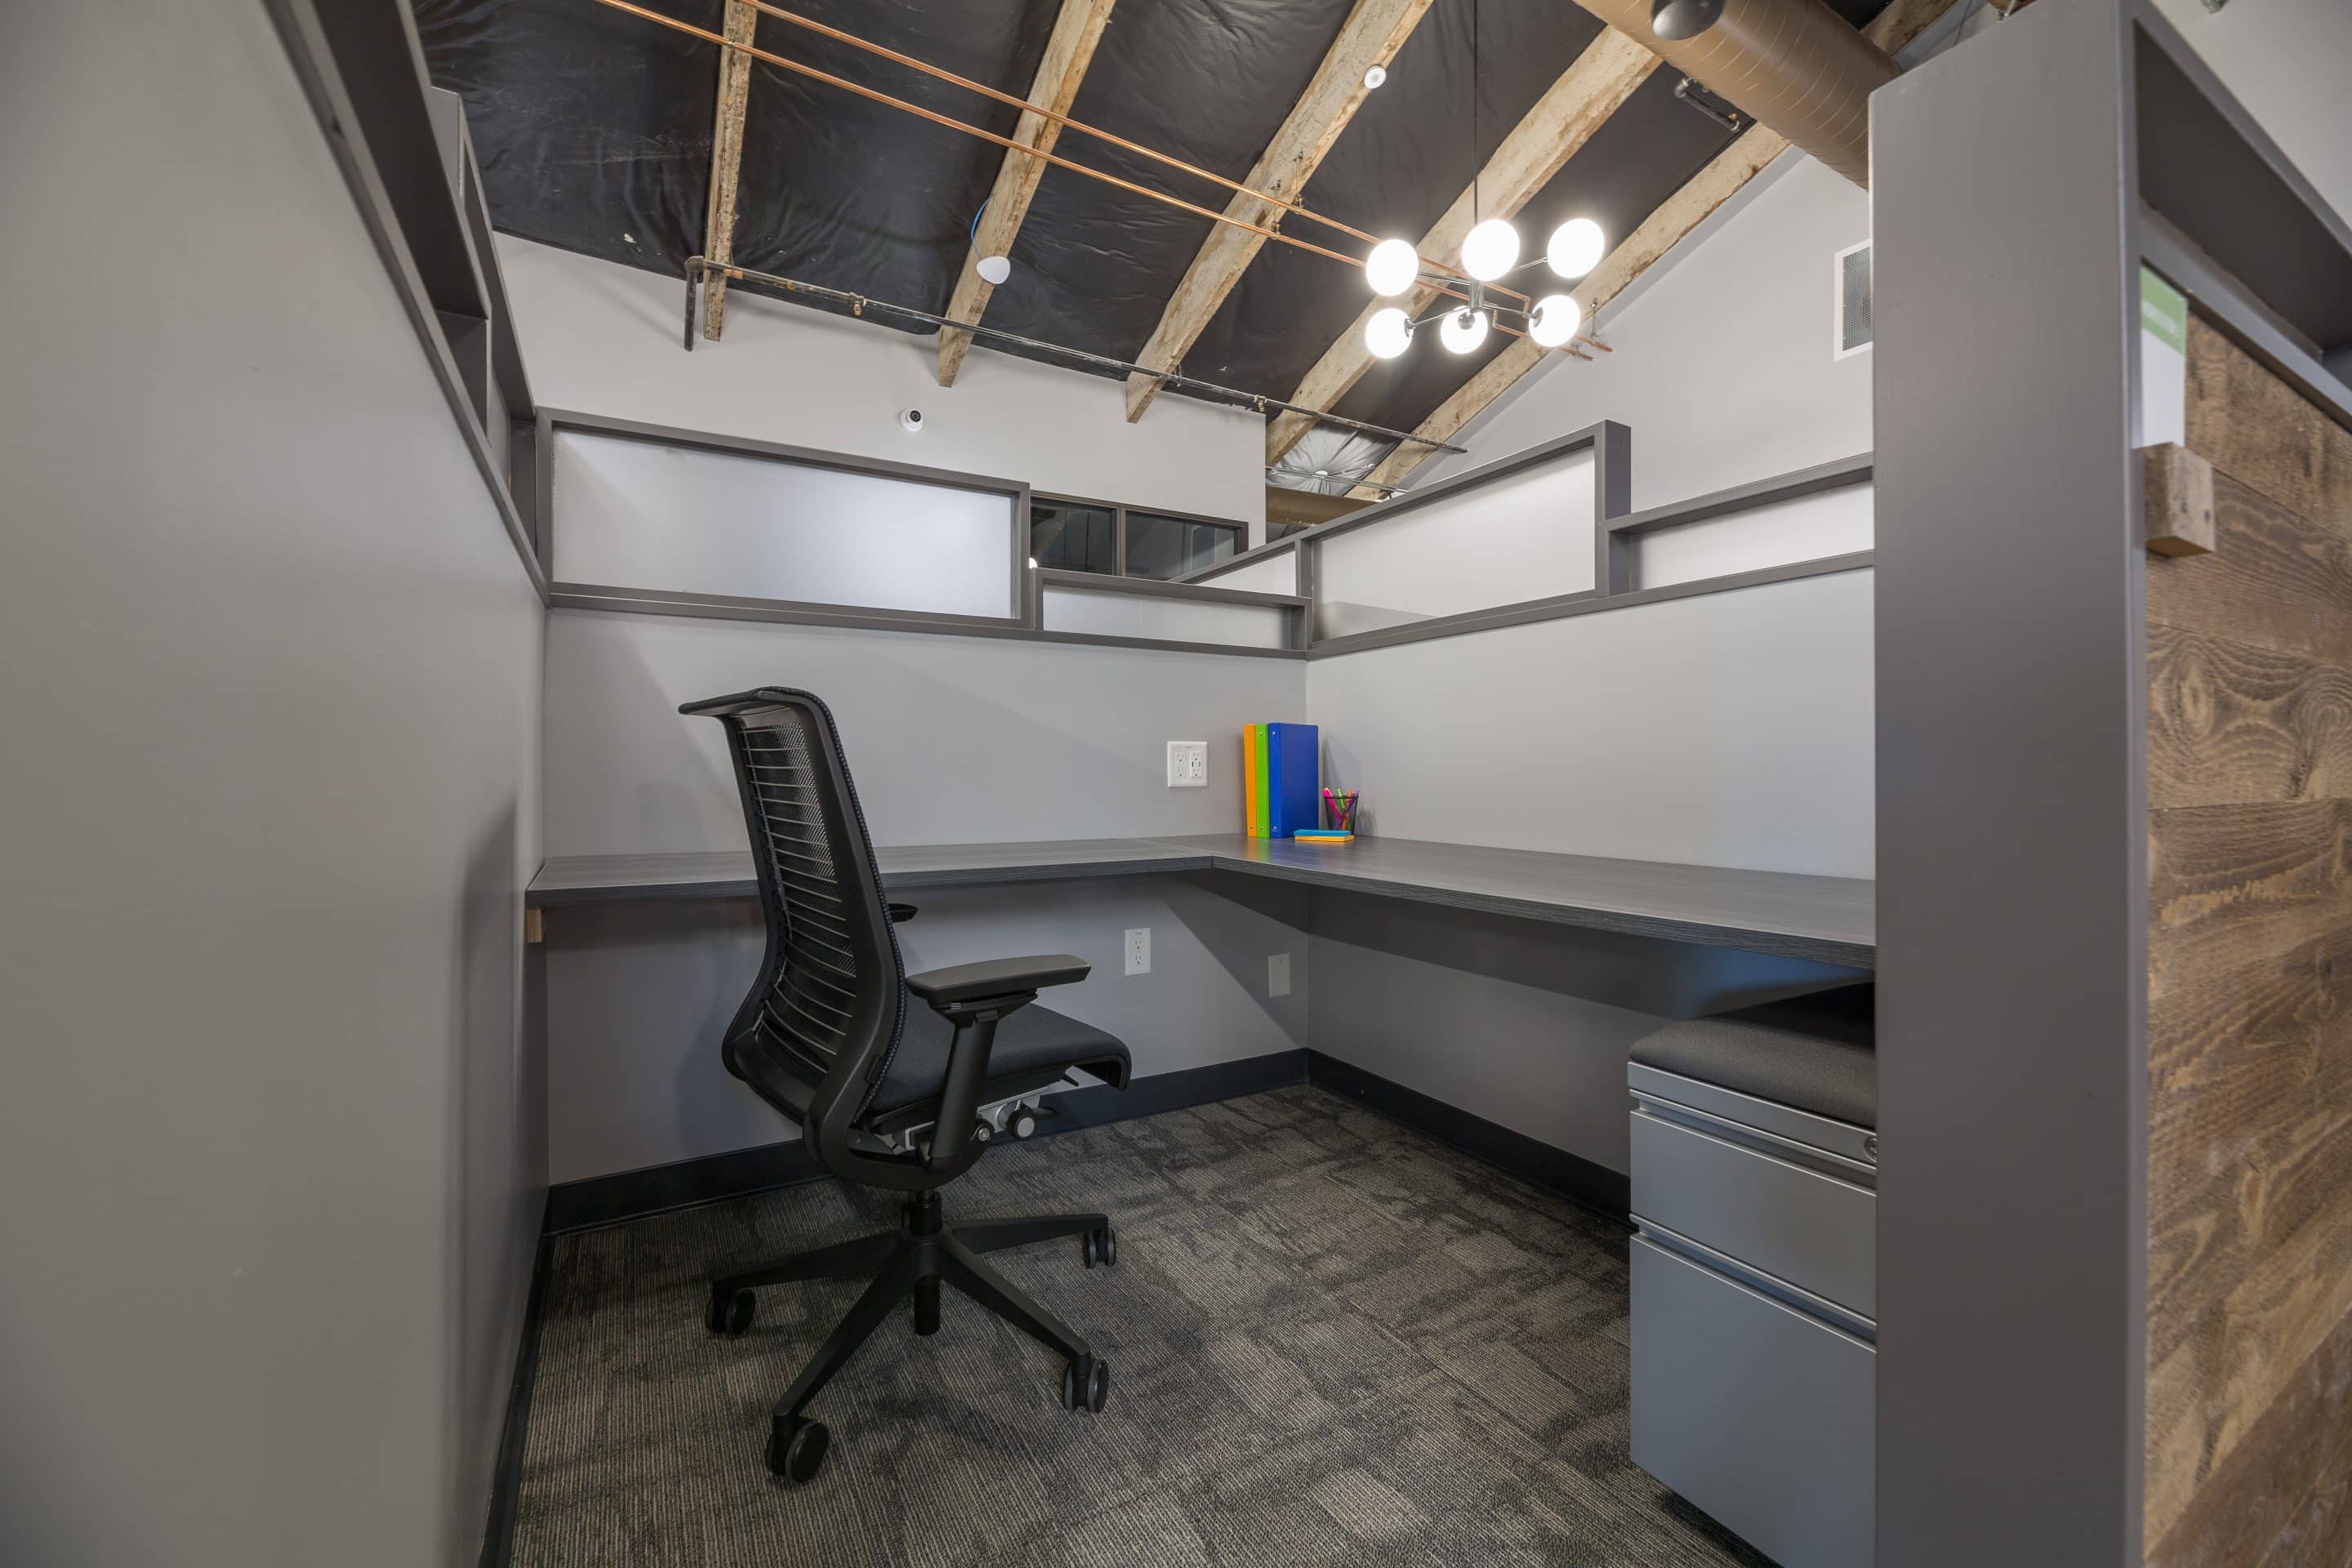
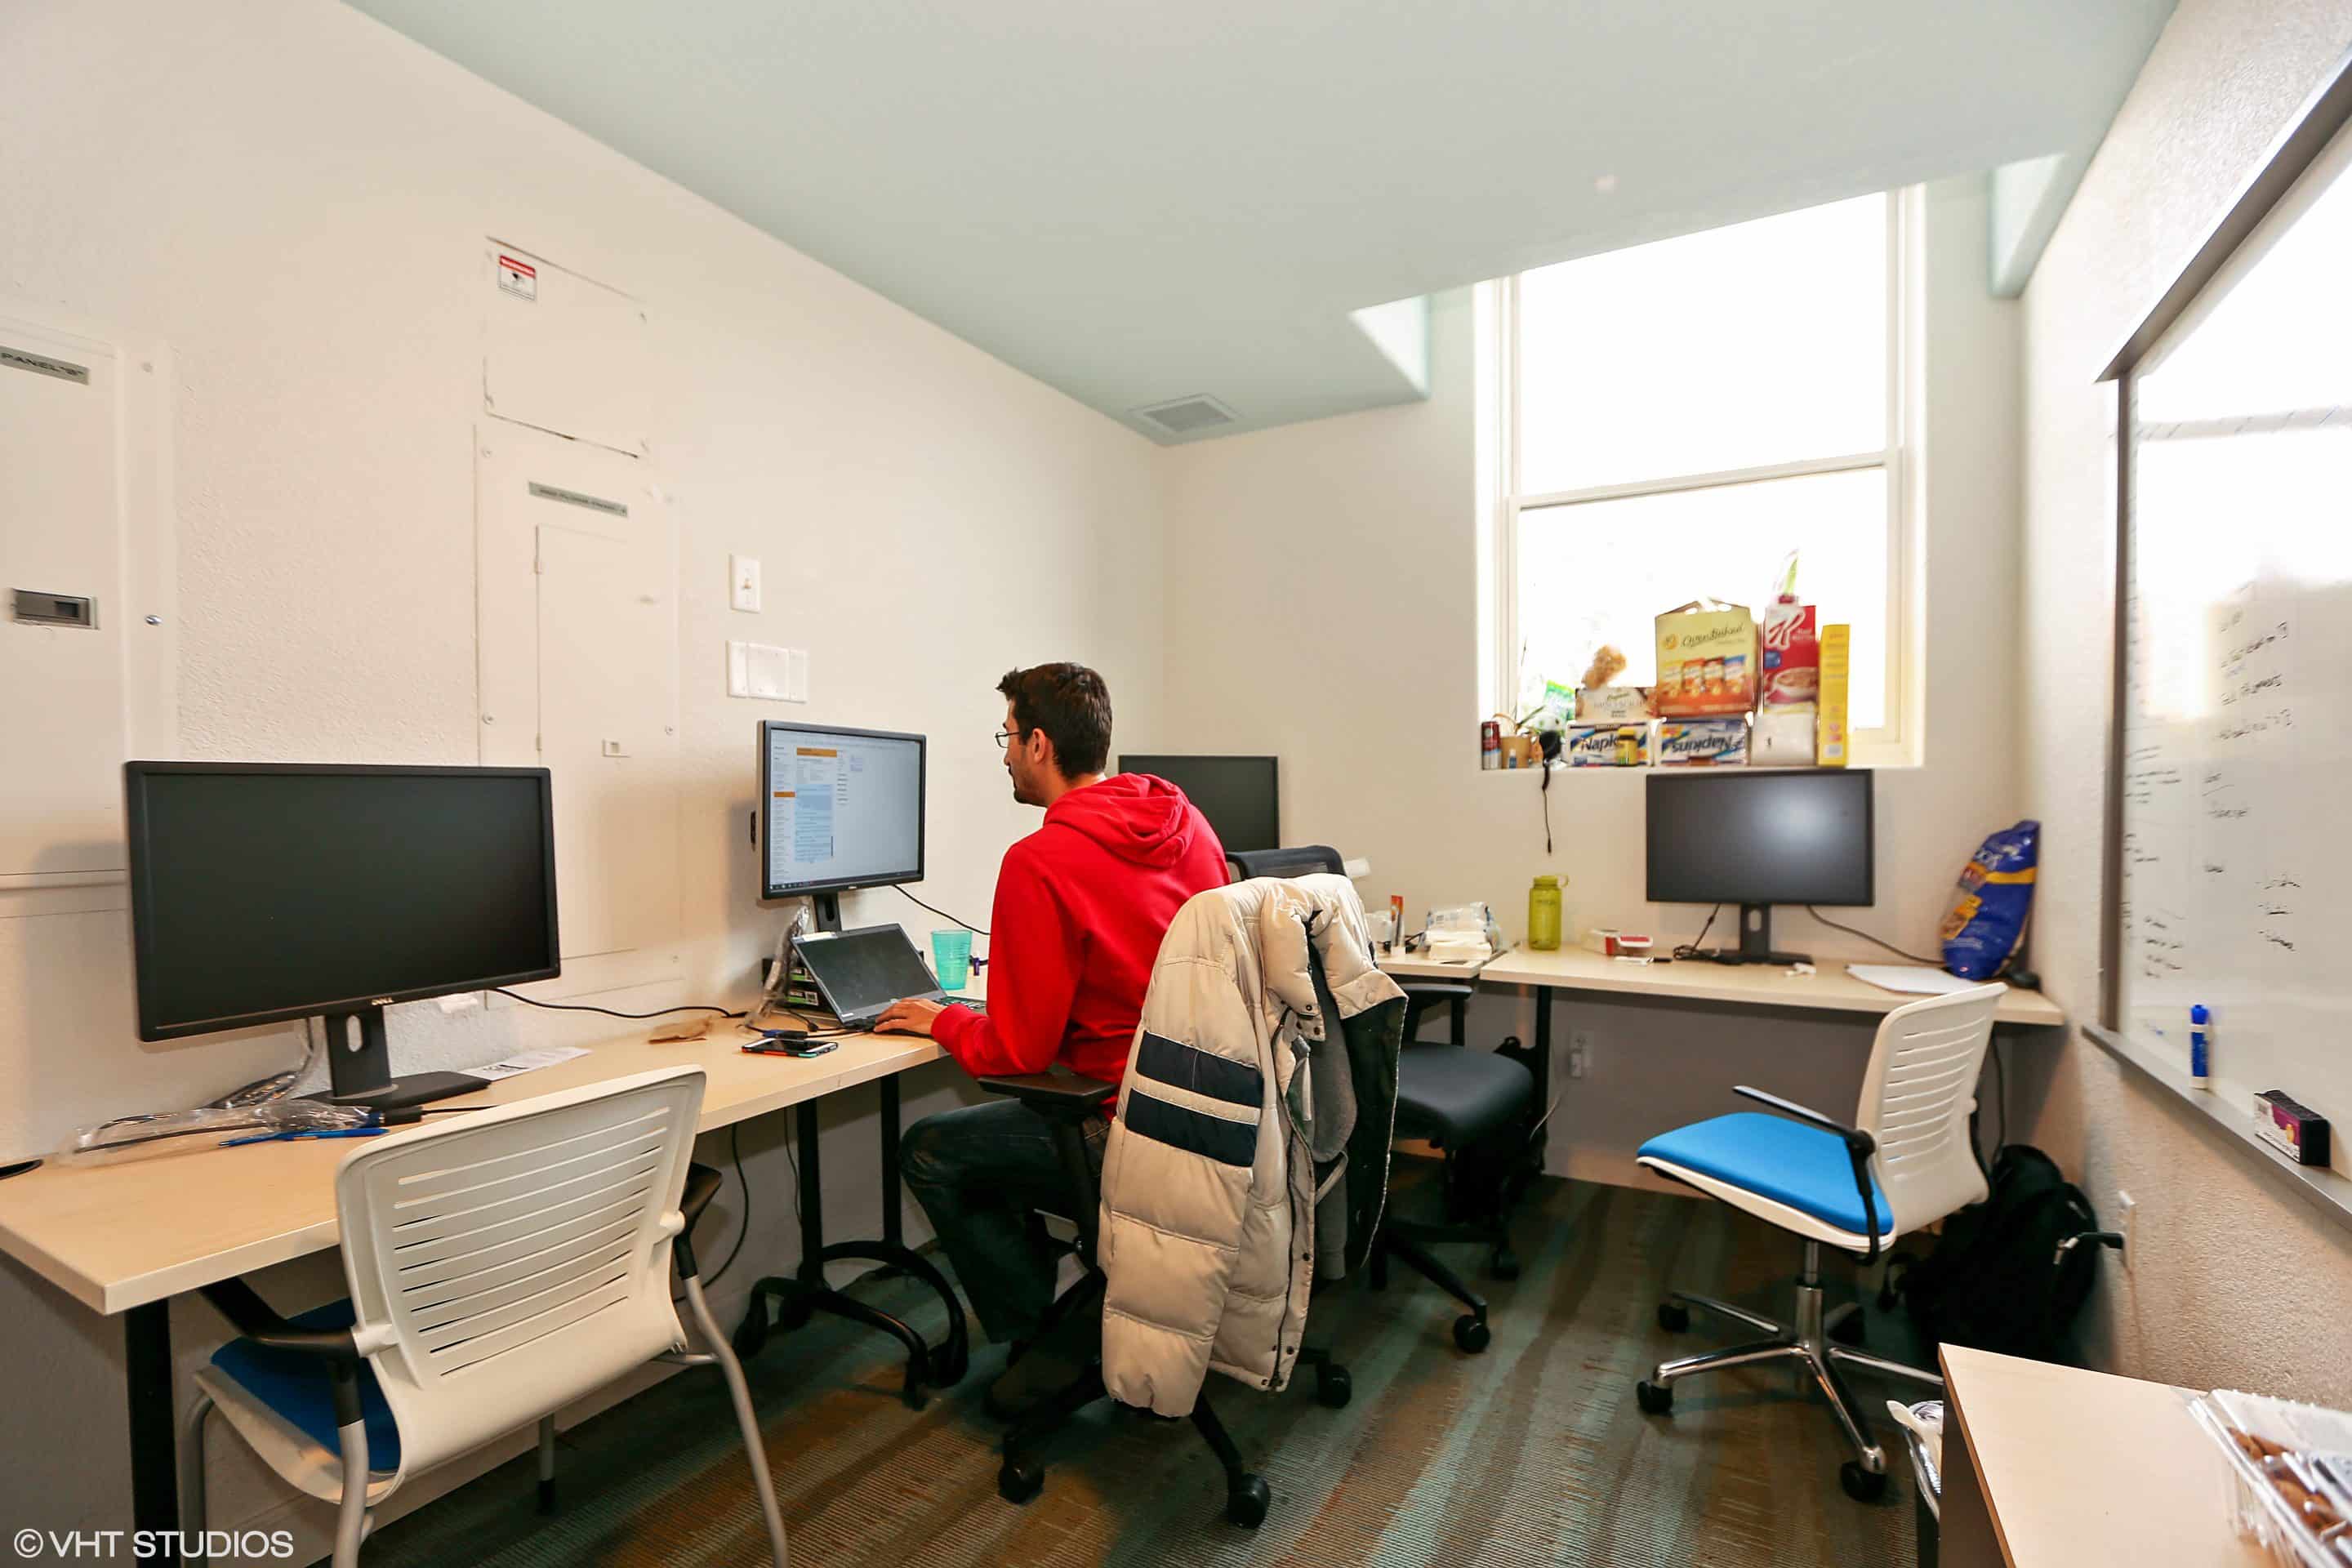
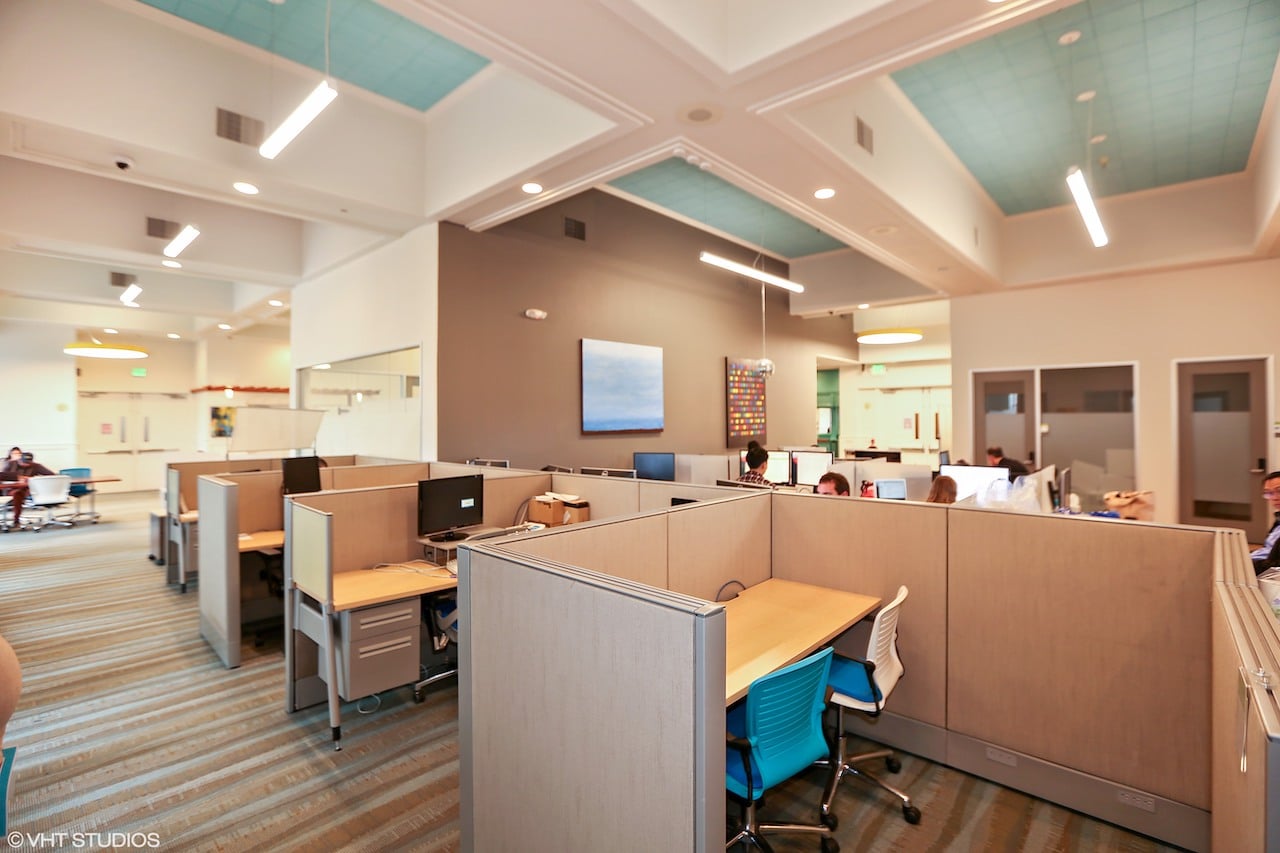
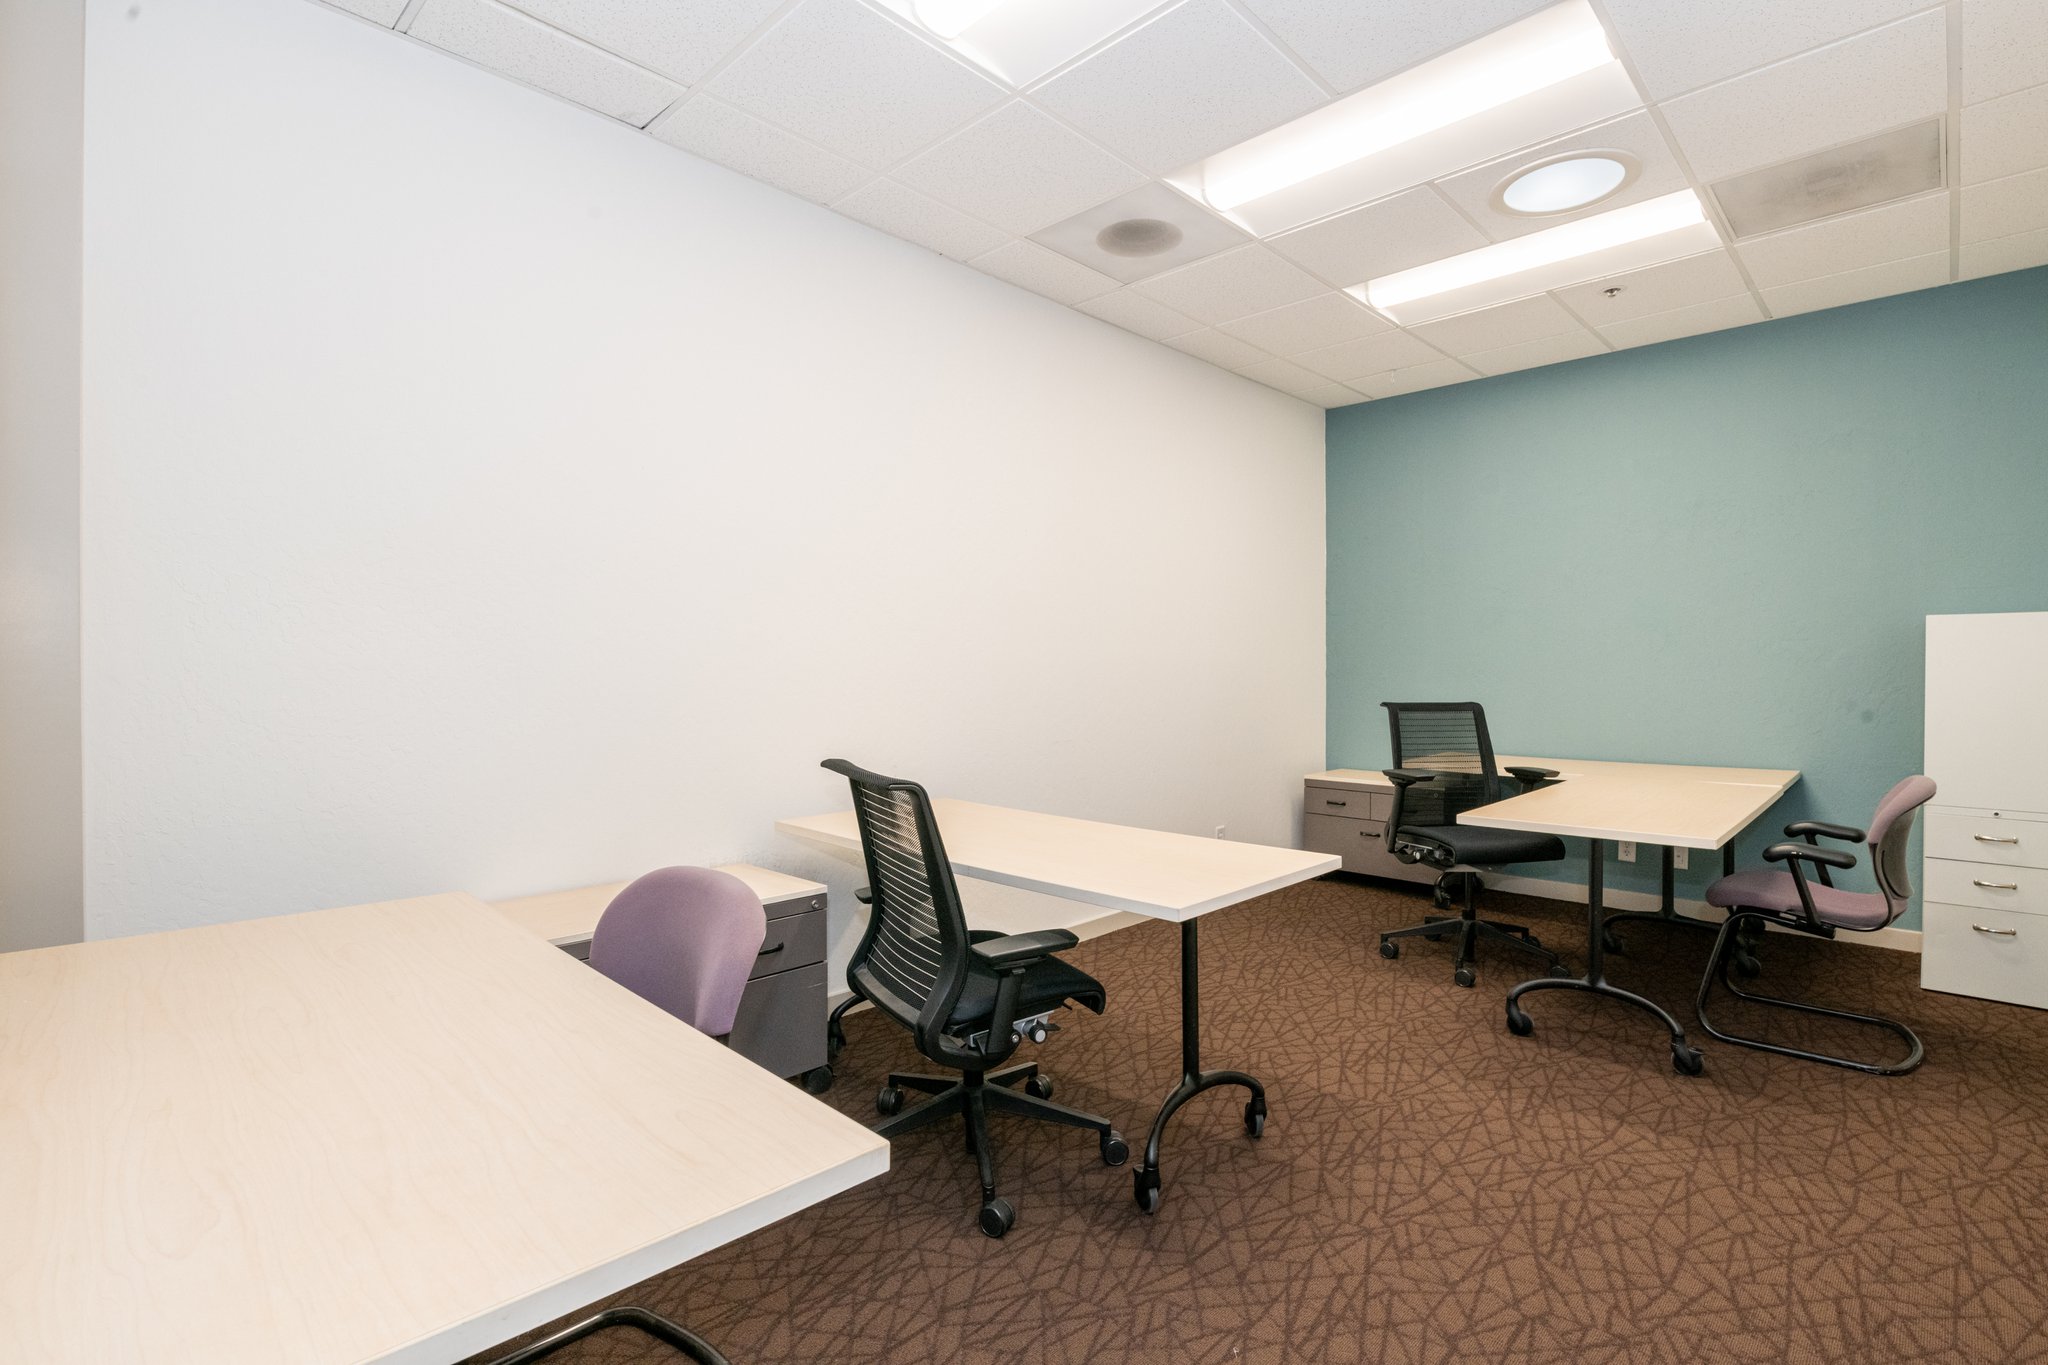
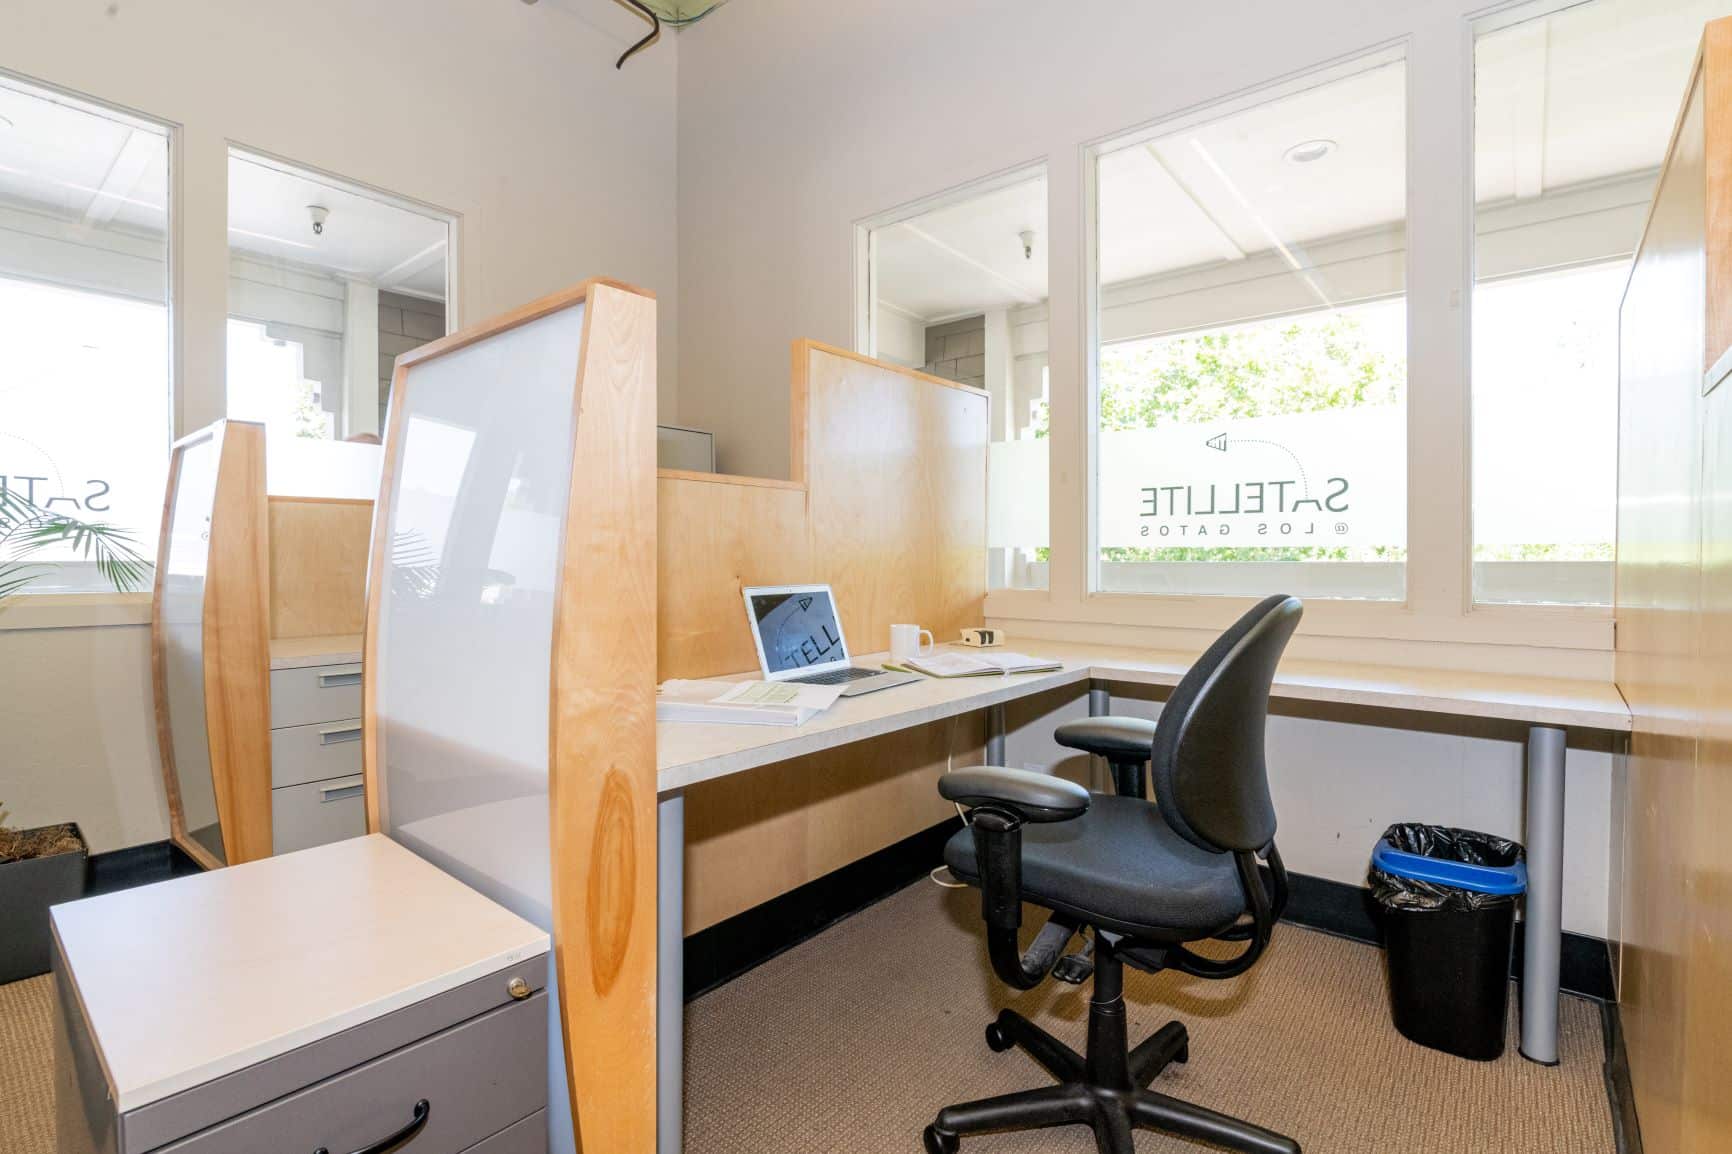
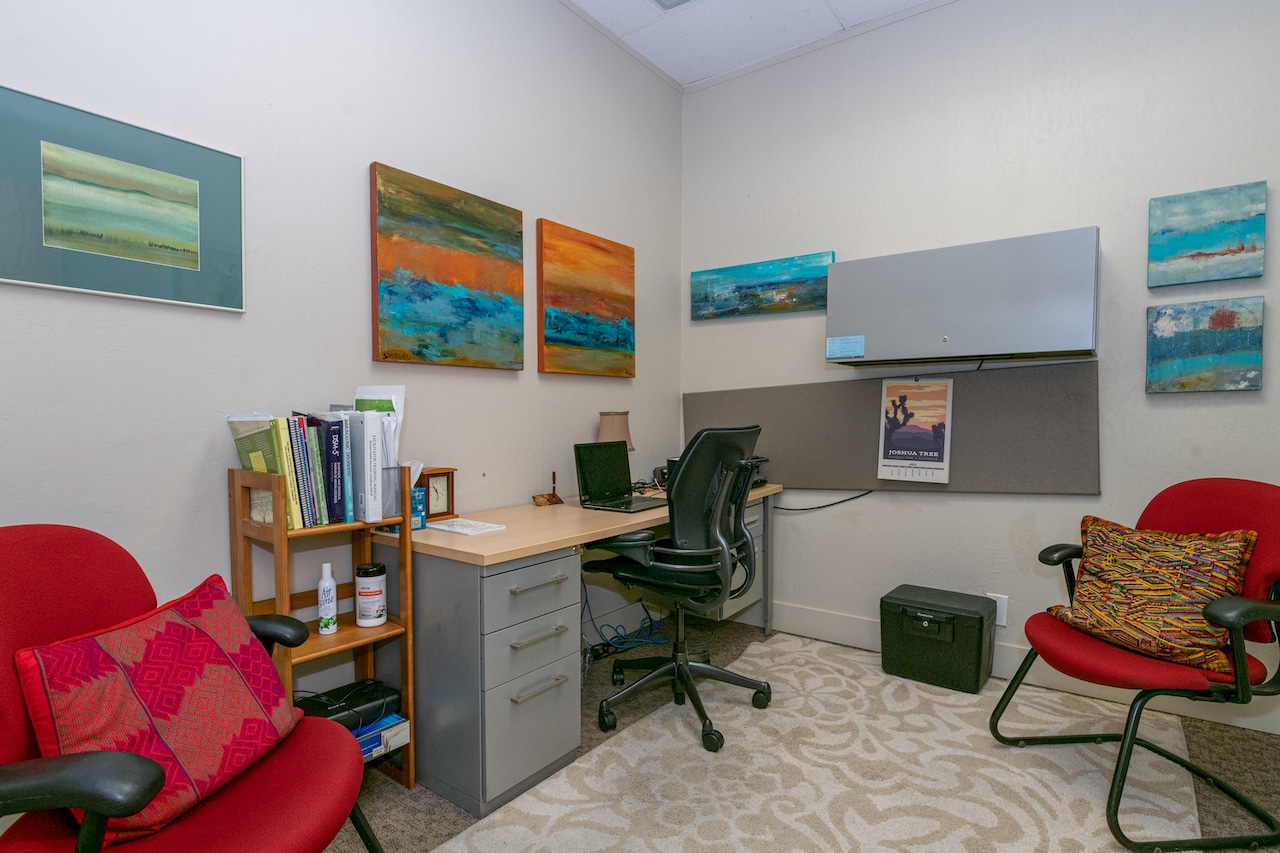
Ergonomic Chairs
For productive mornings
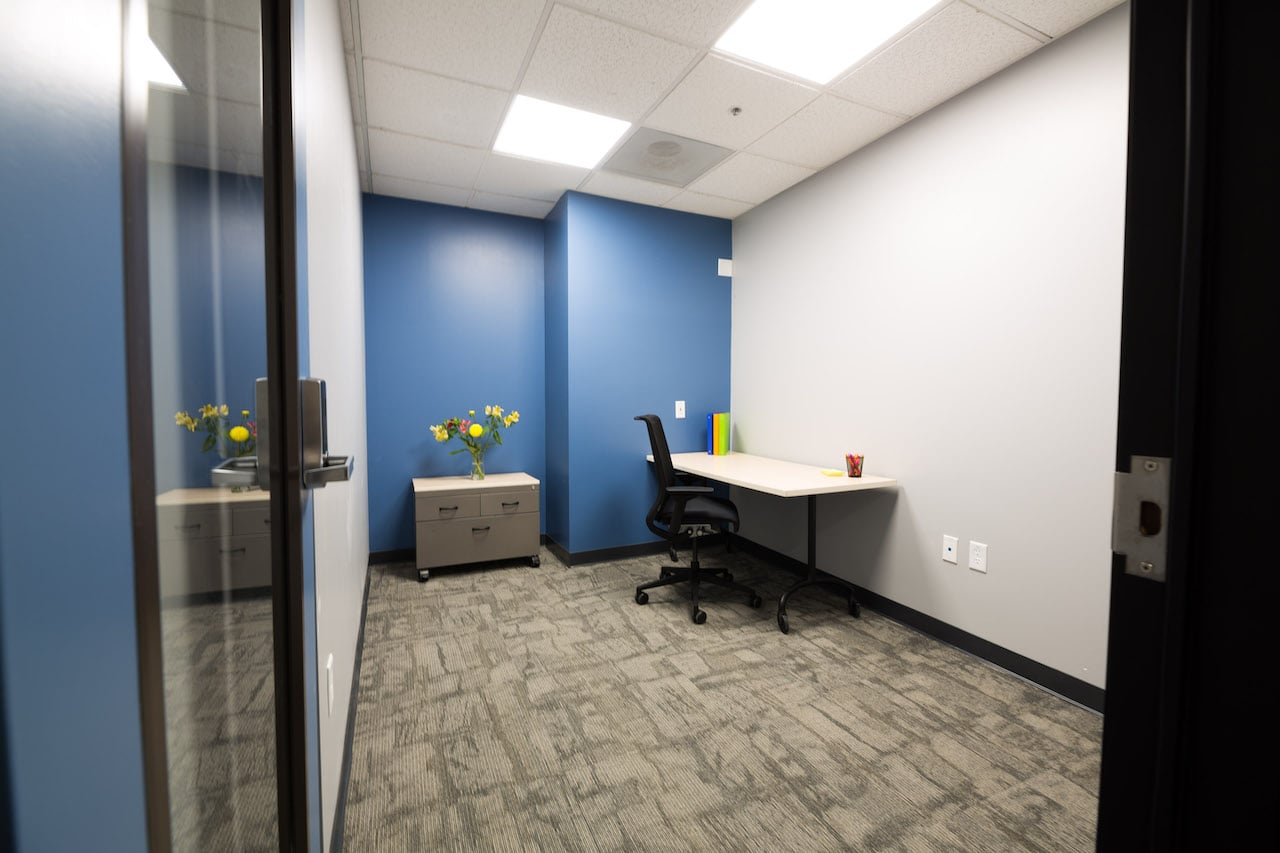
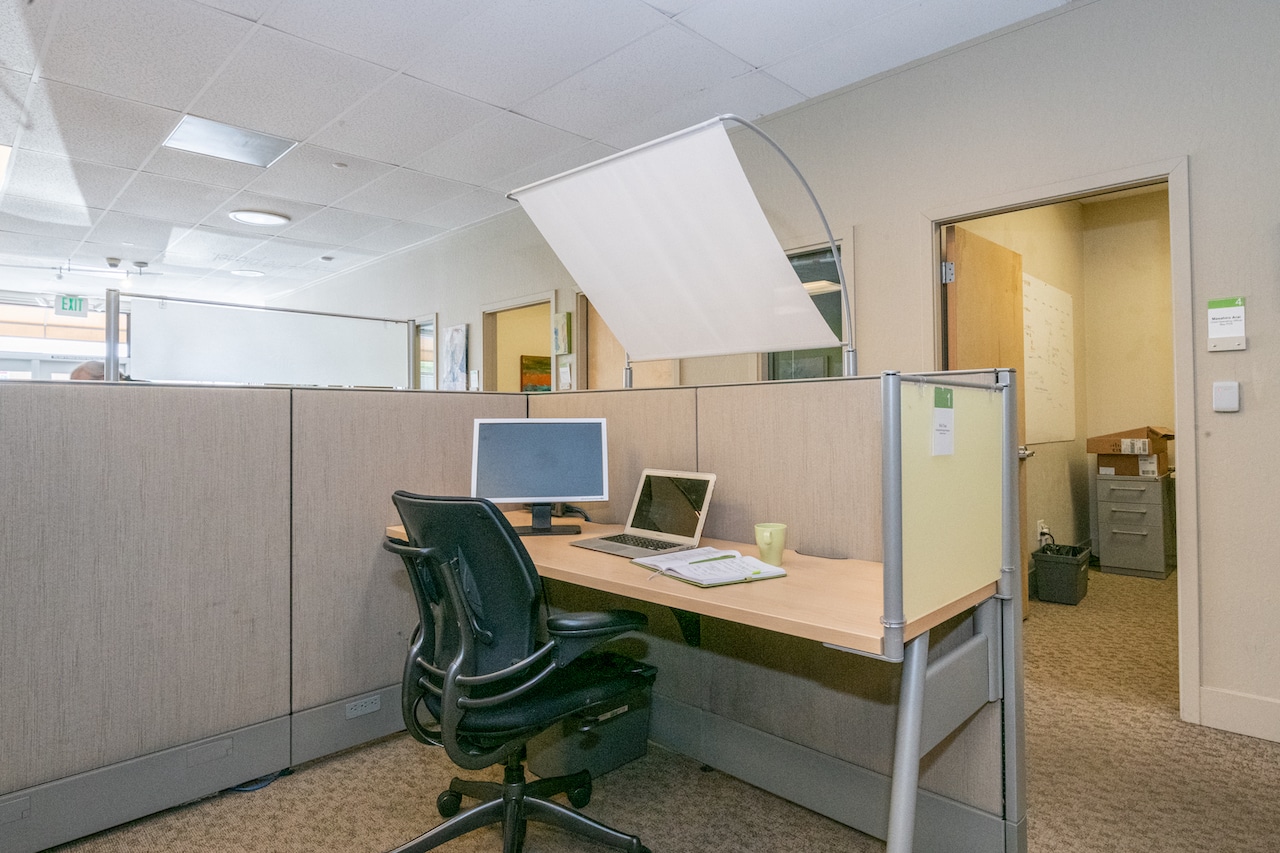
Locking Storage
For the files that matter most
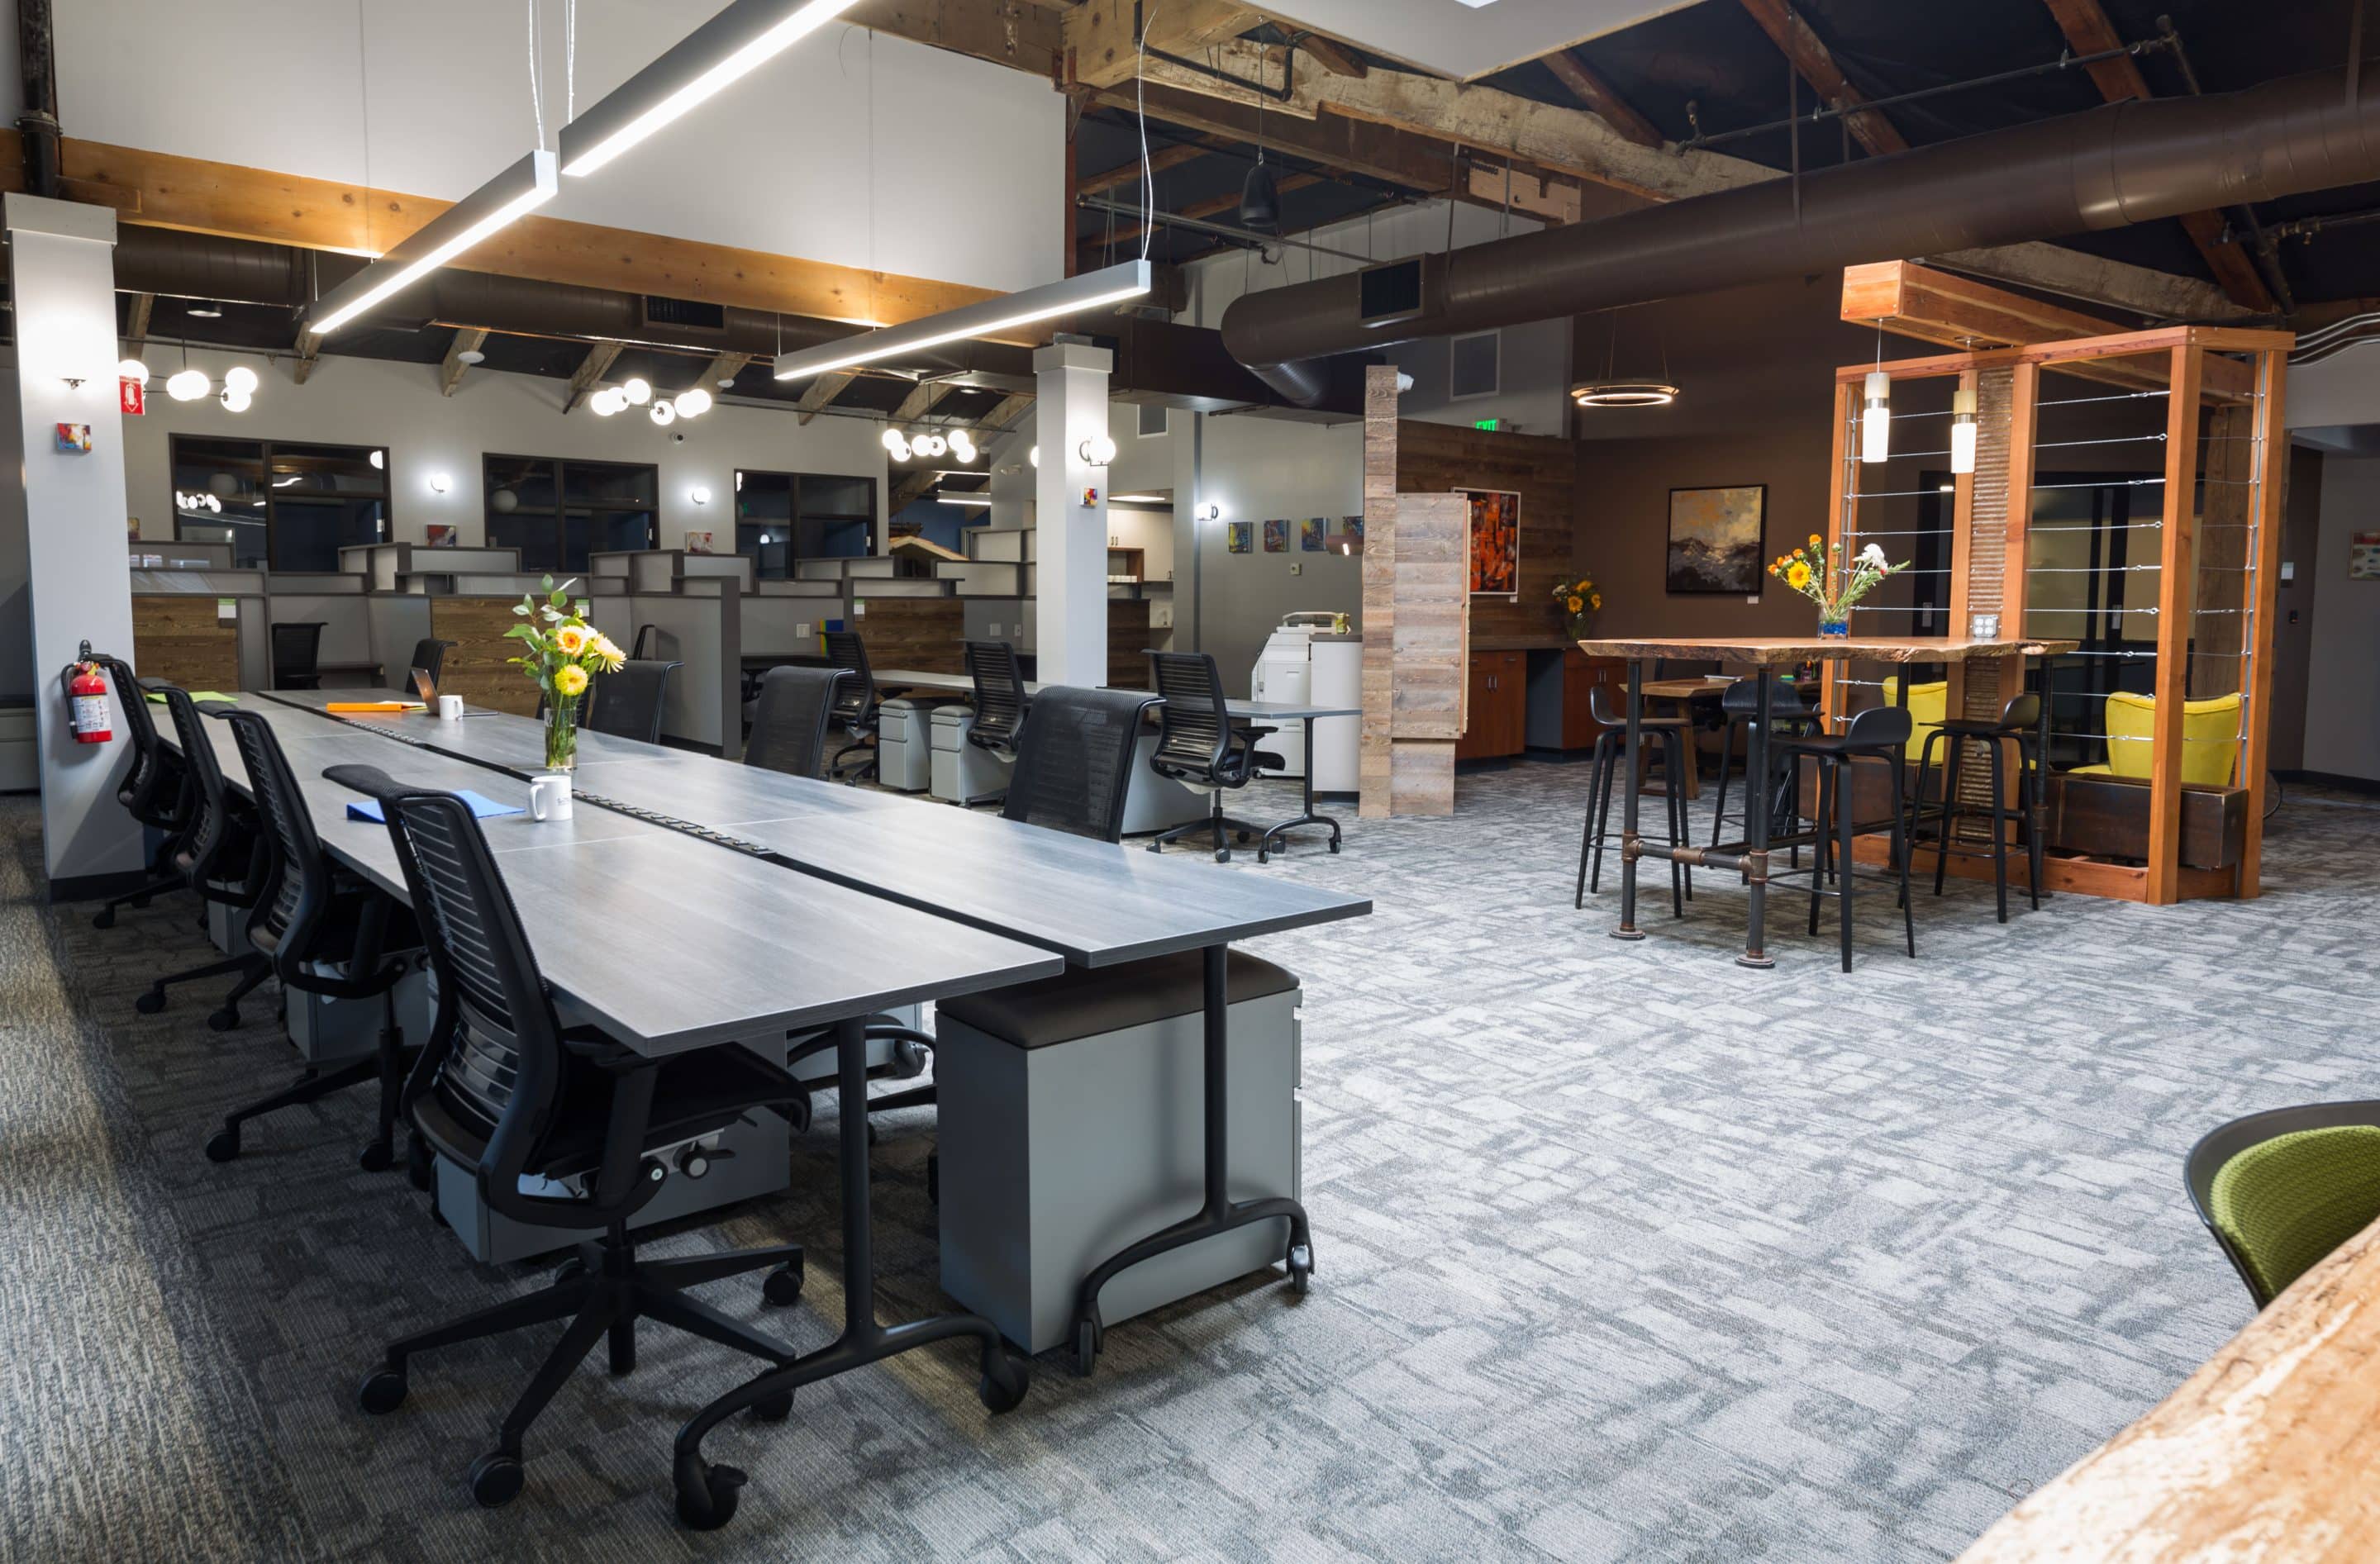
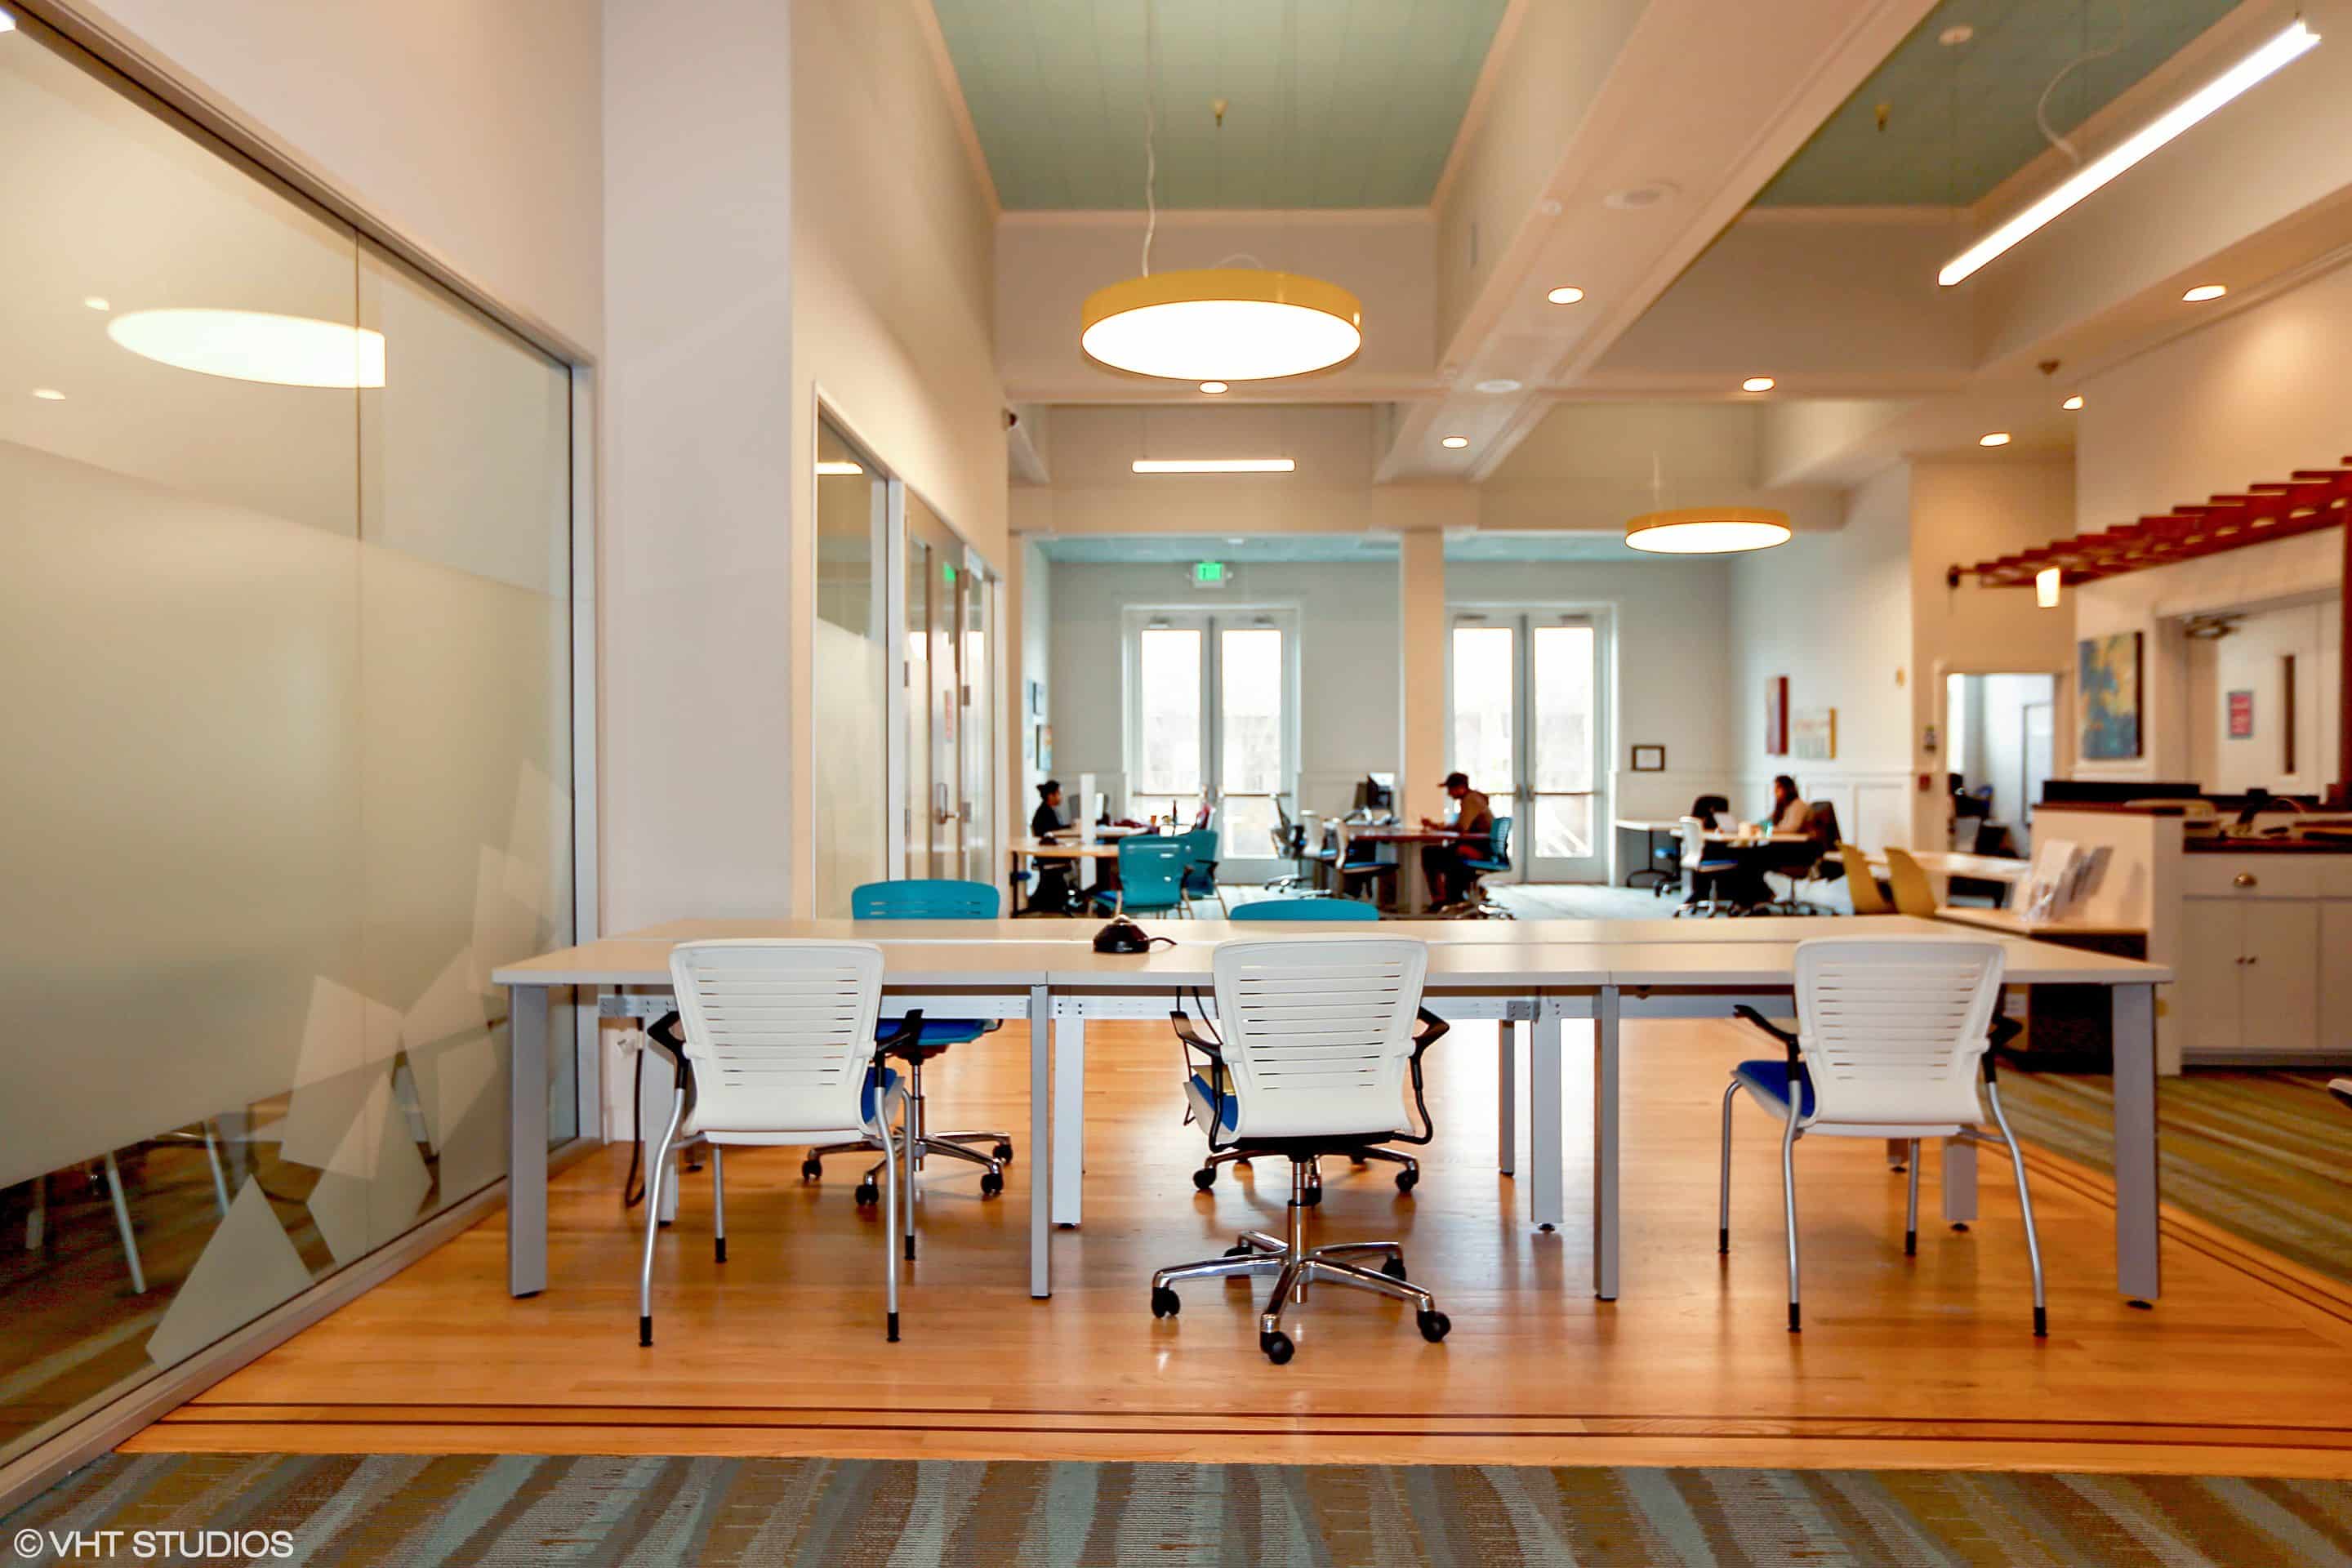
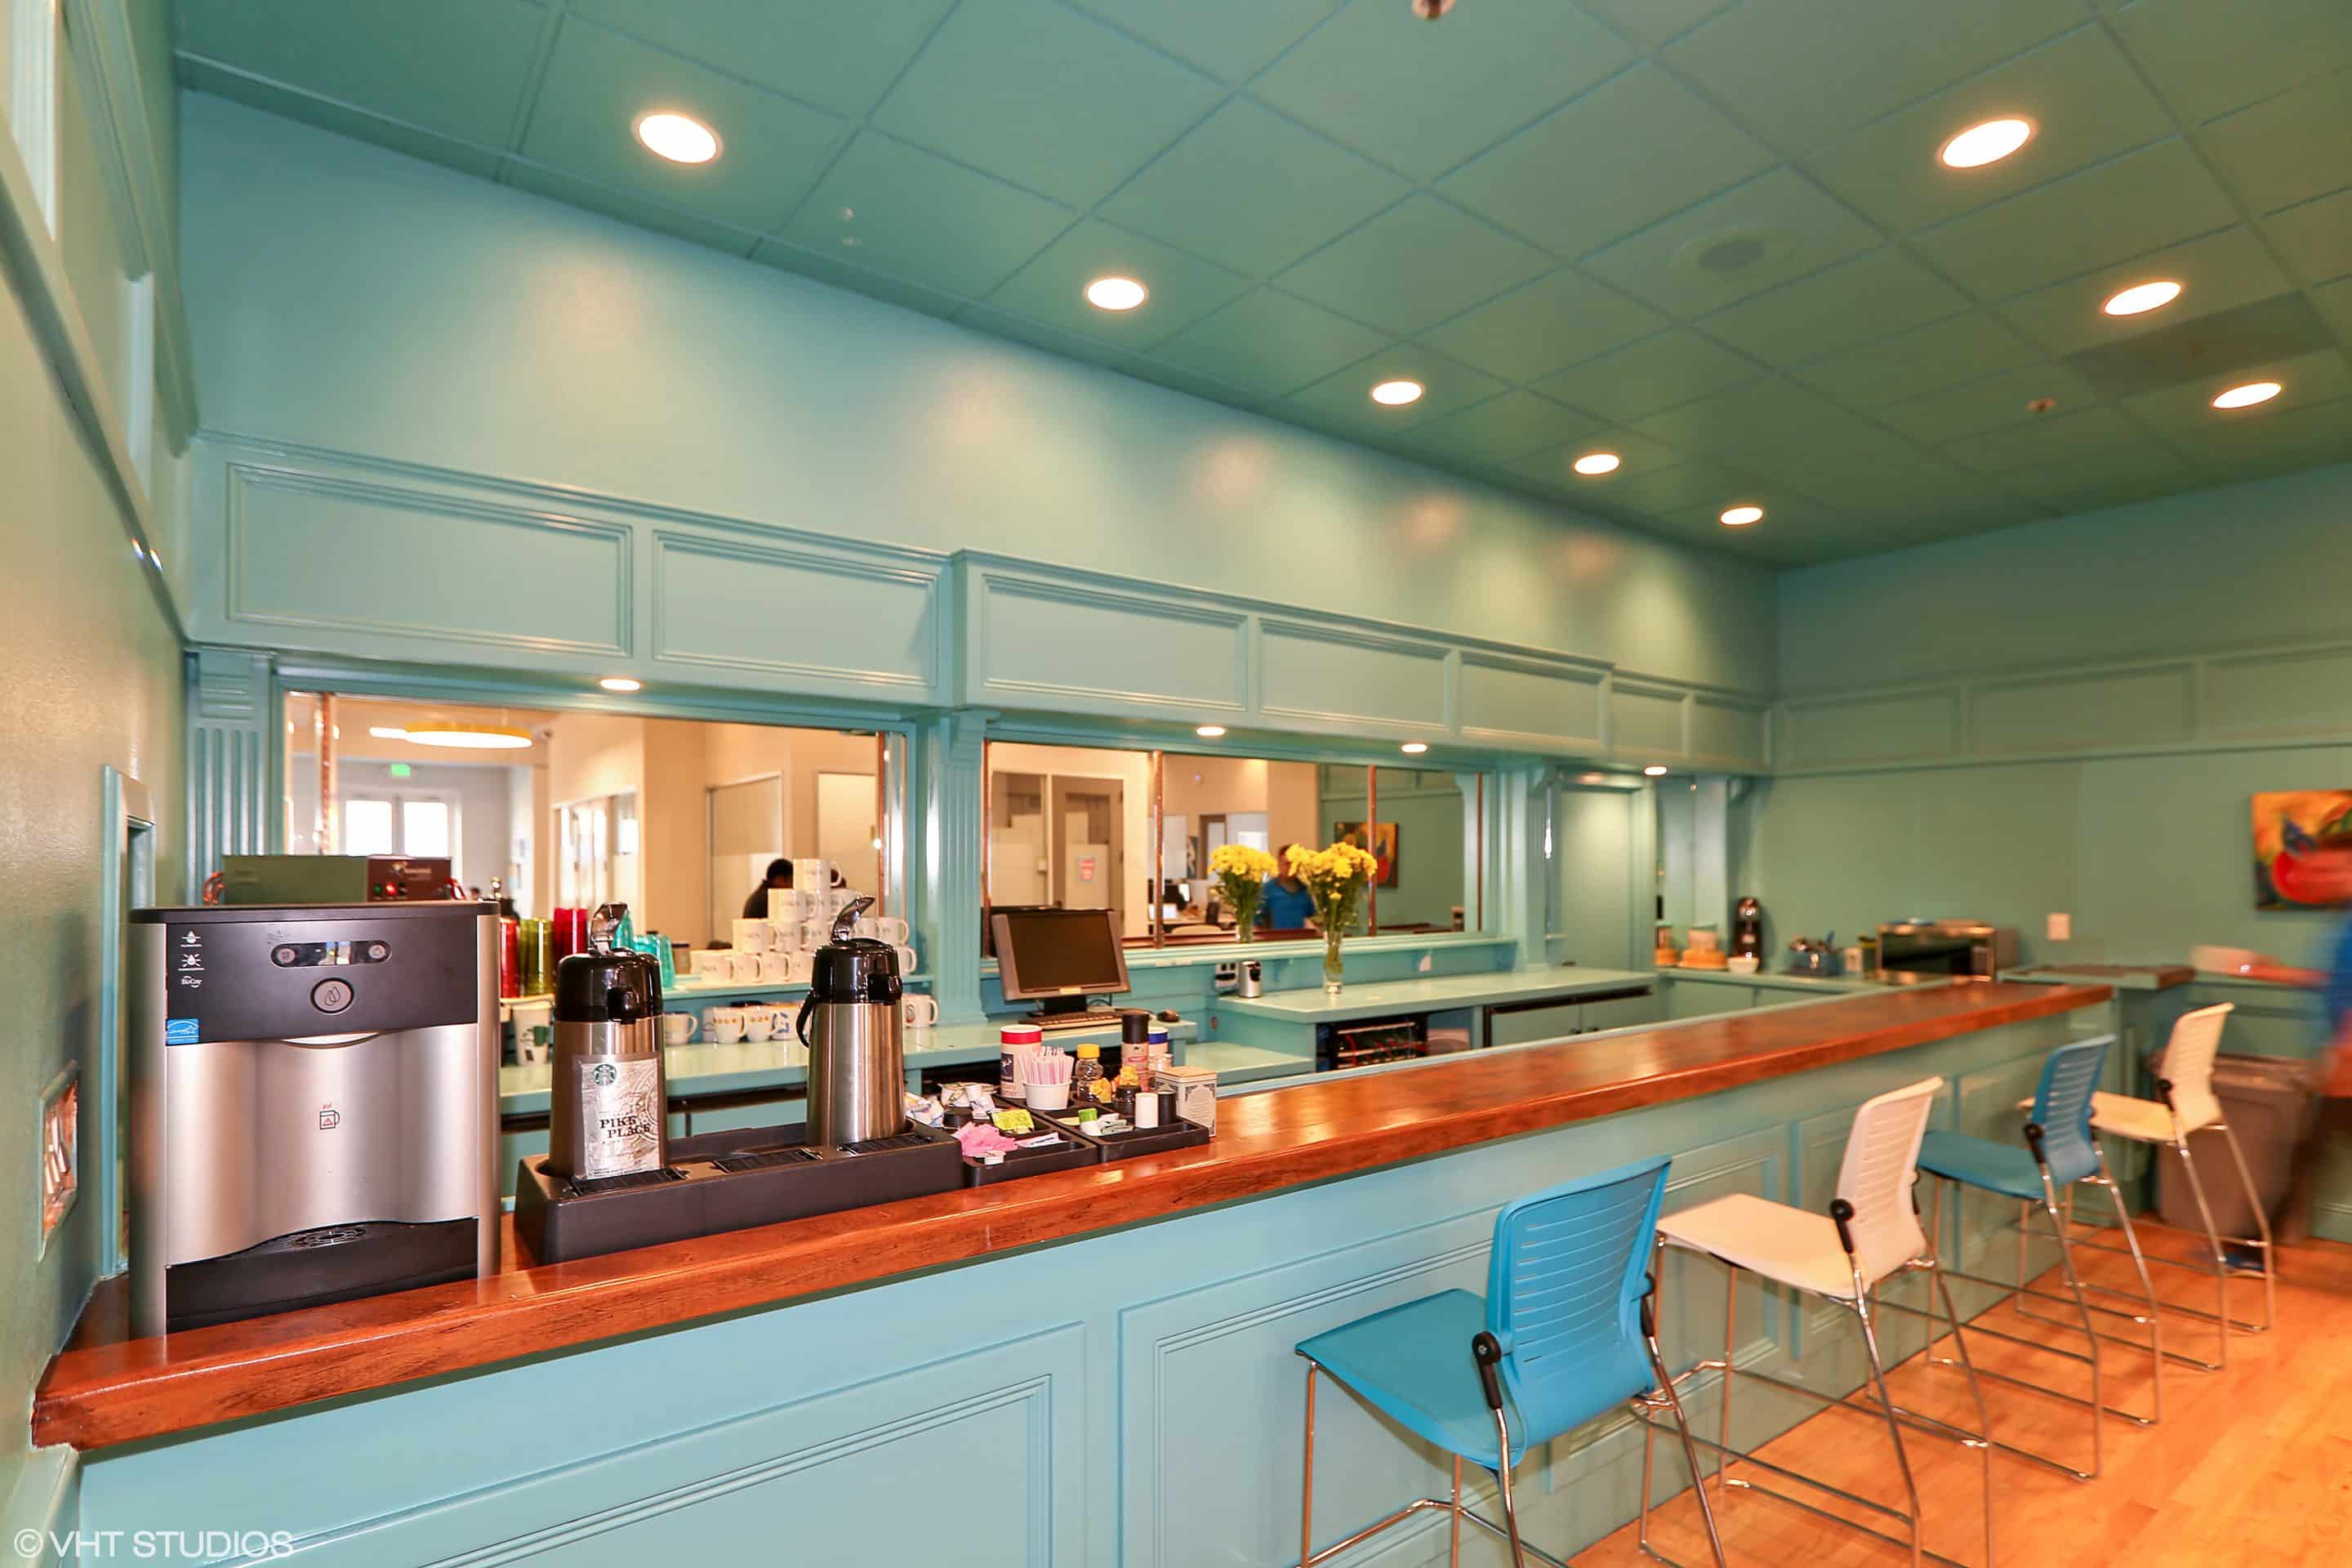
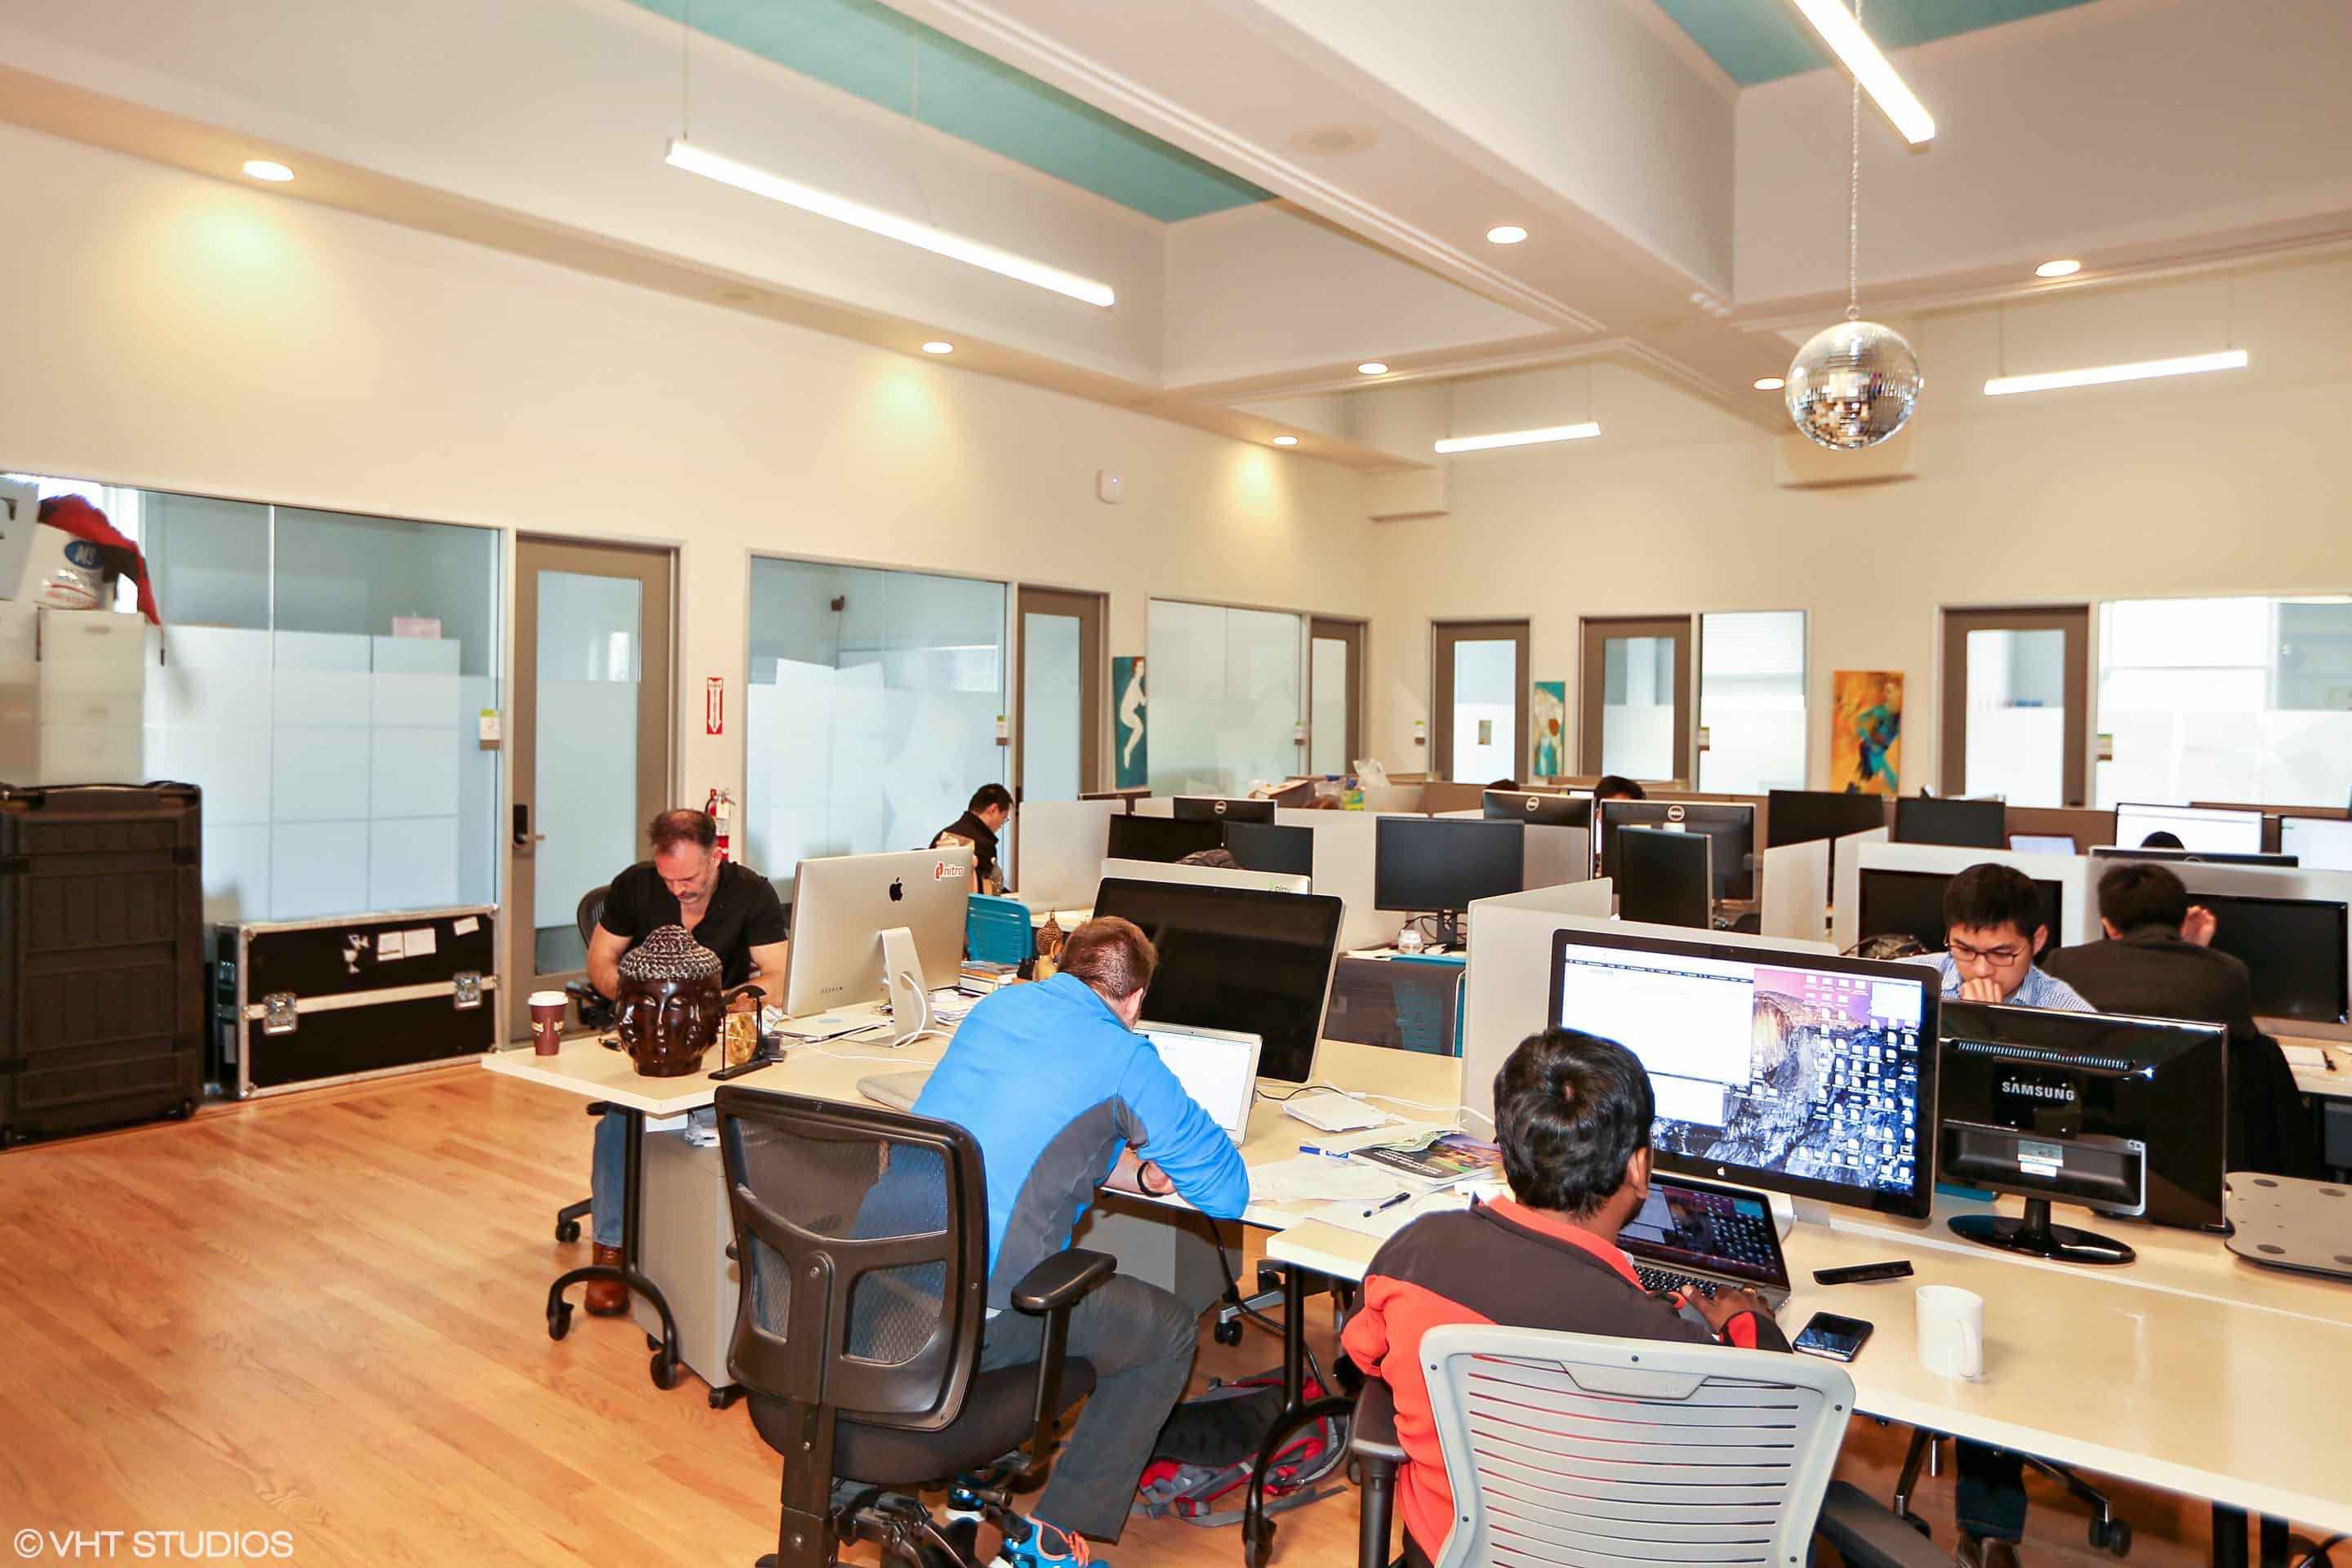
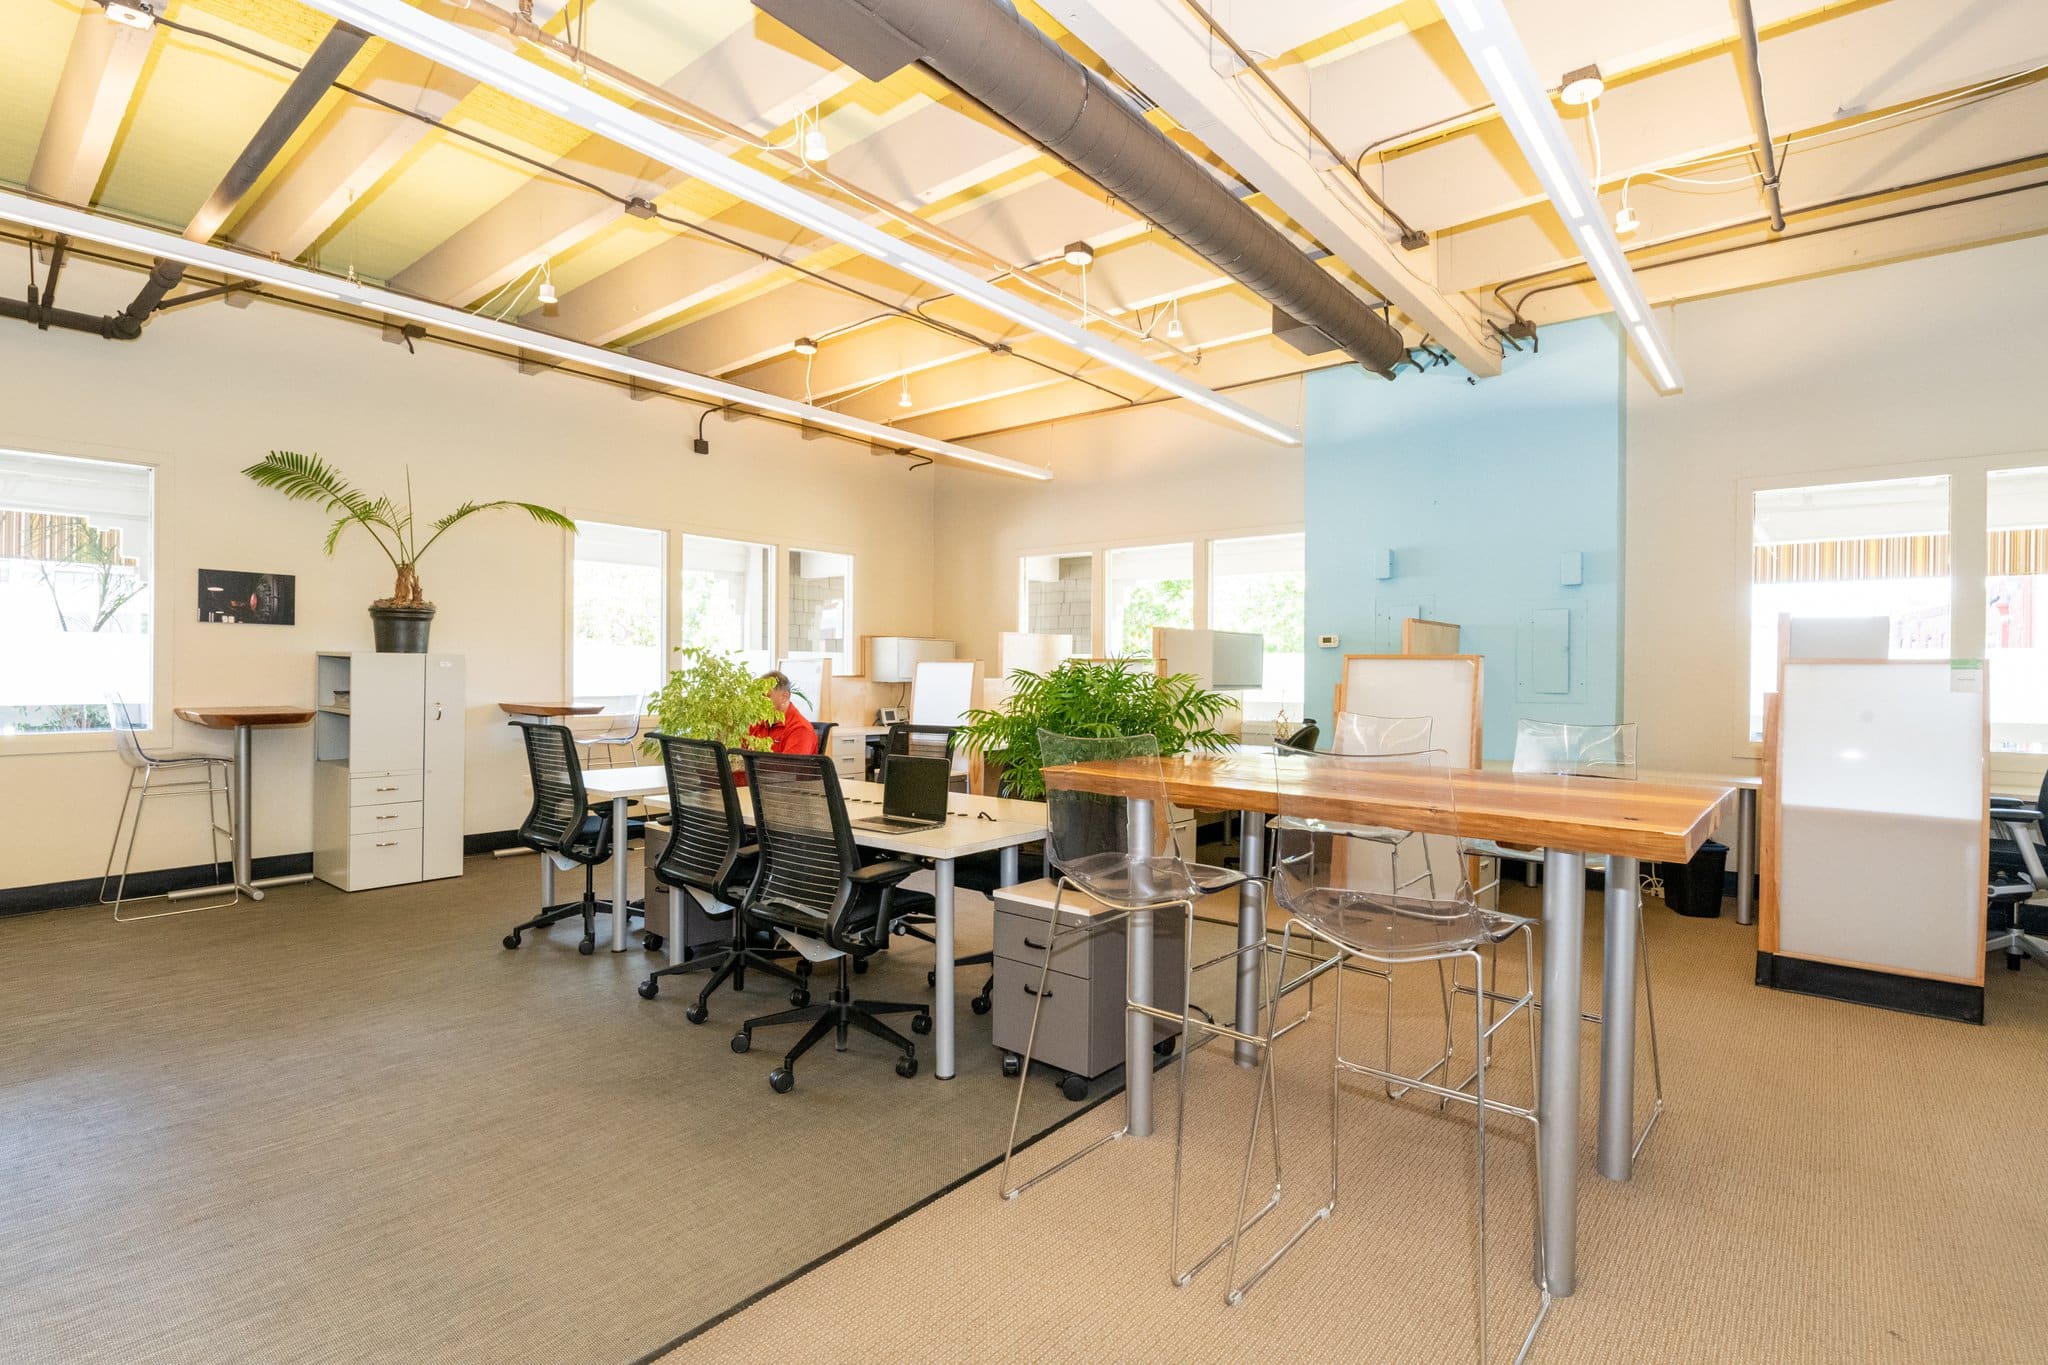
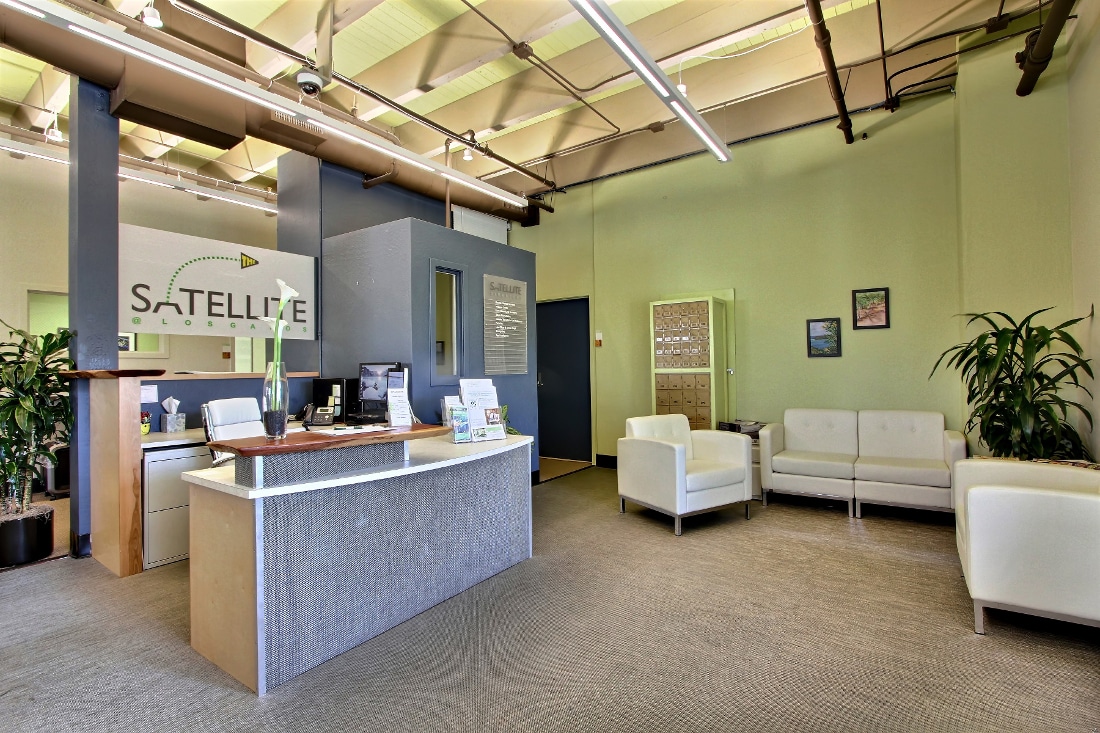
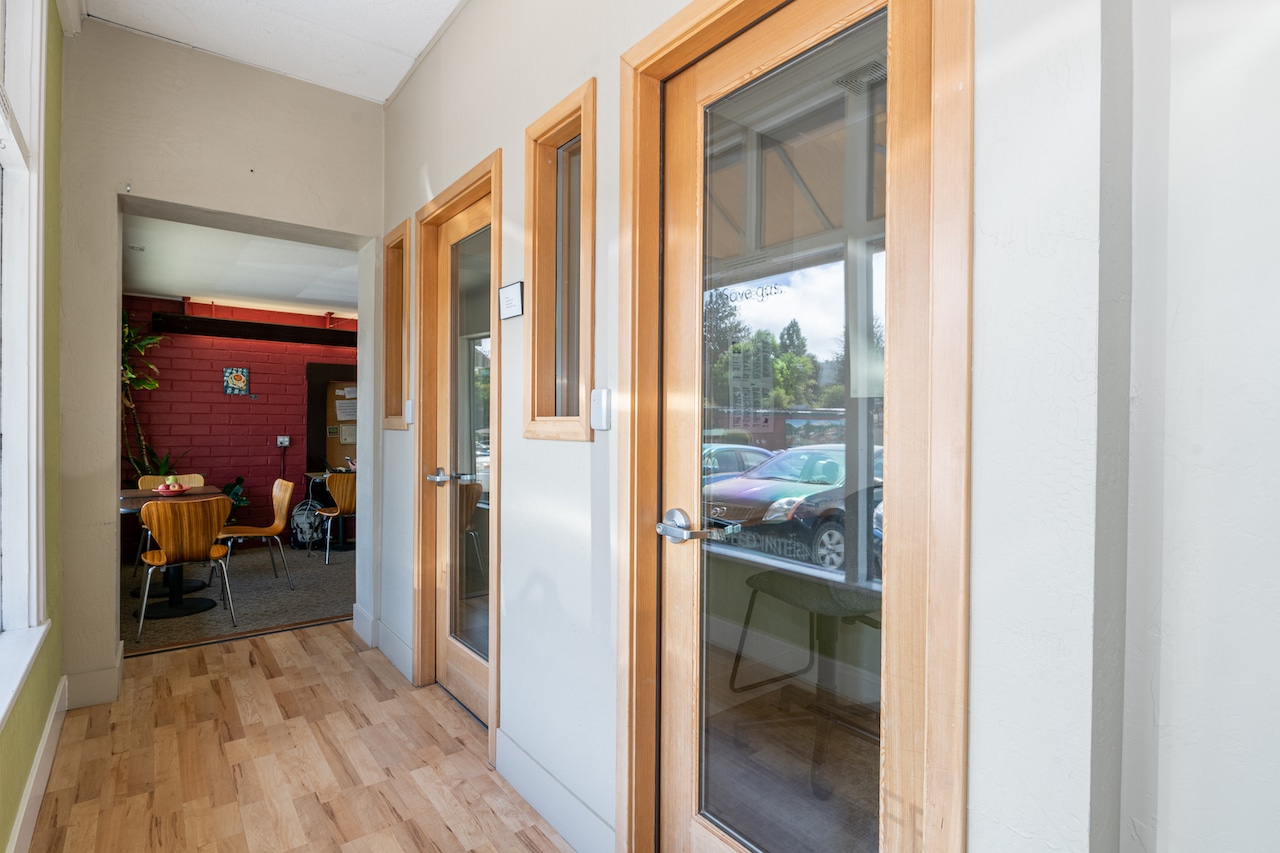
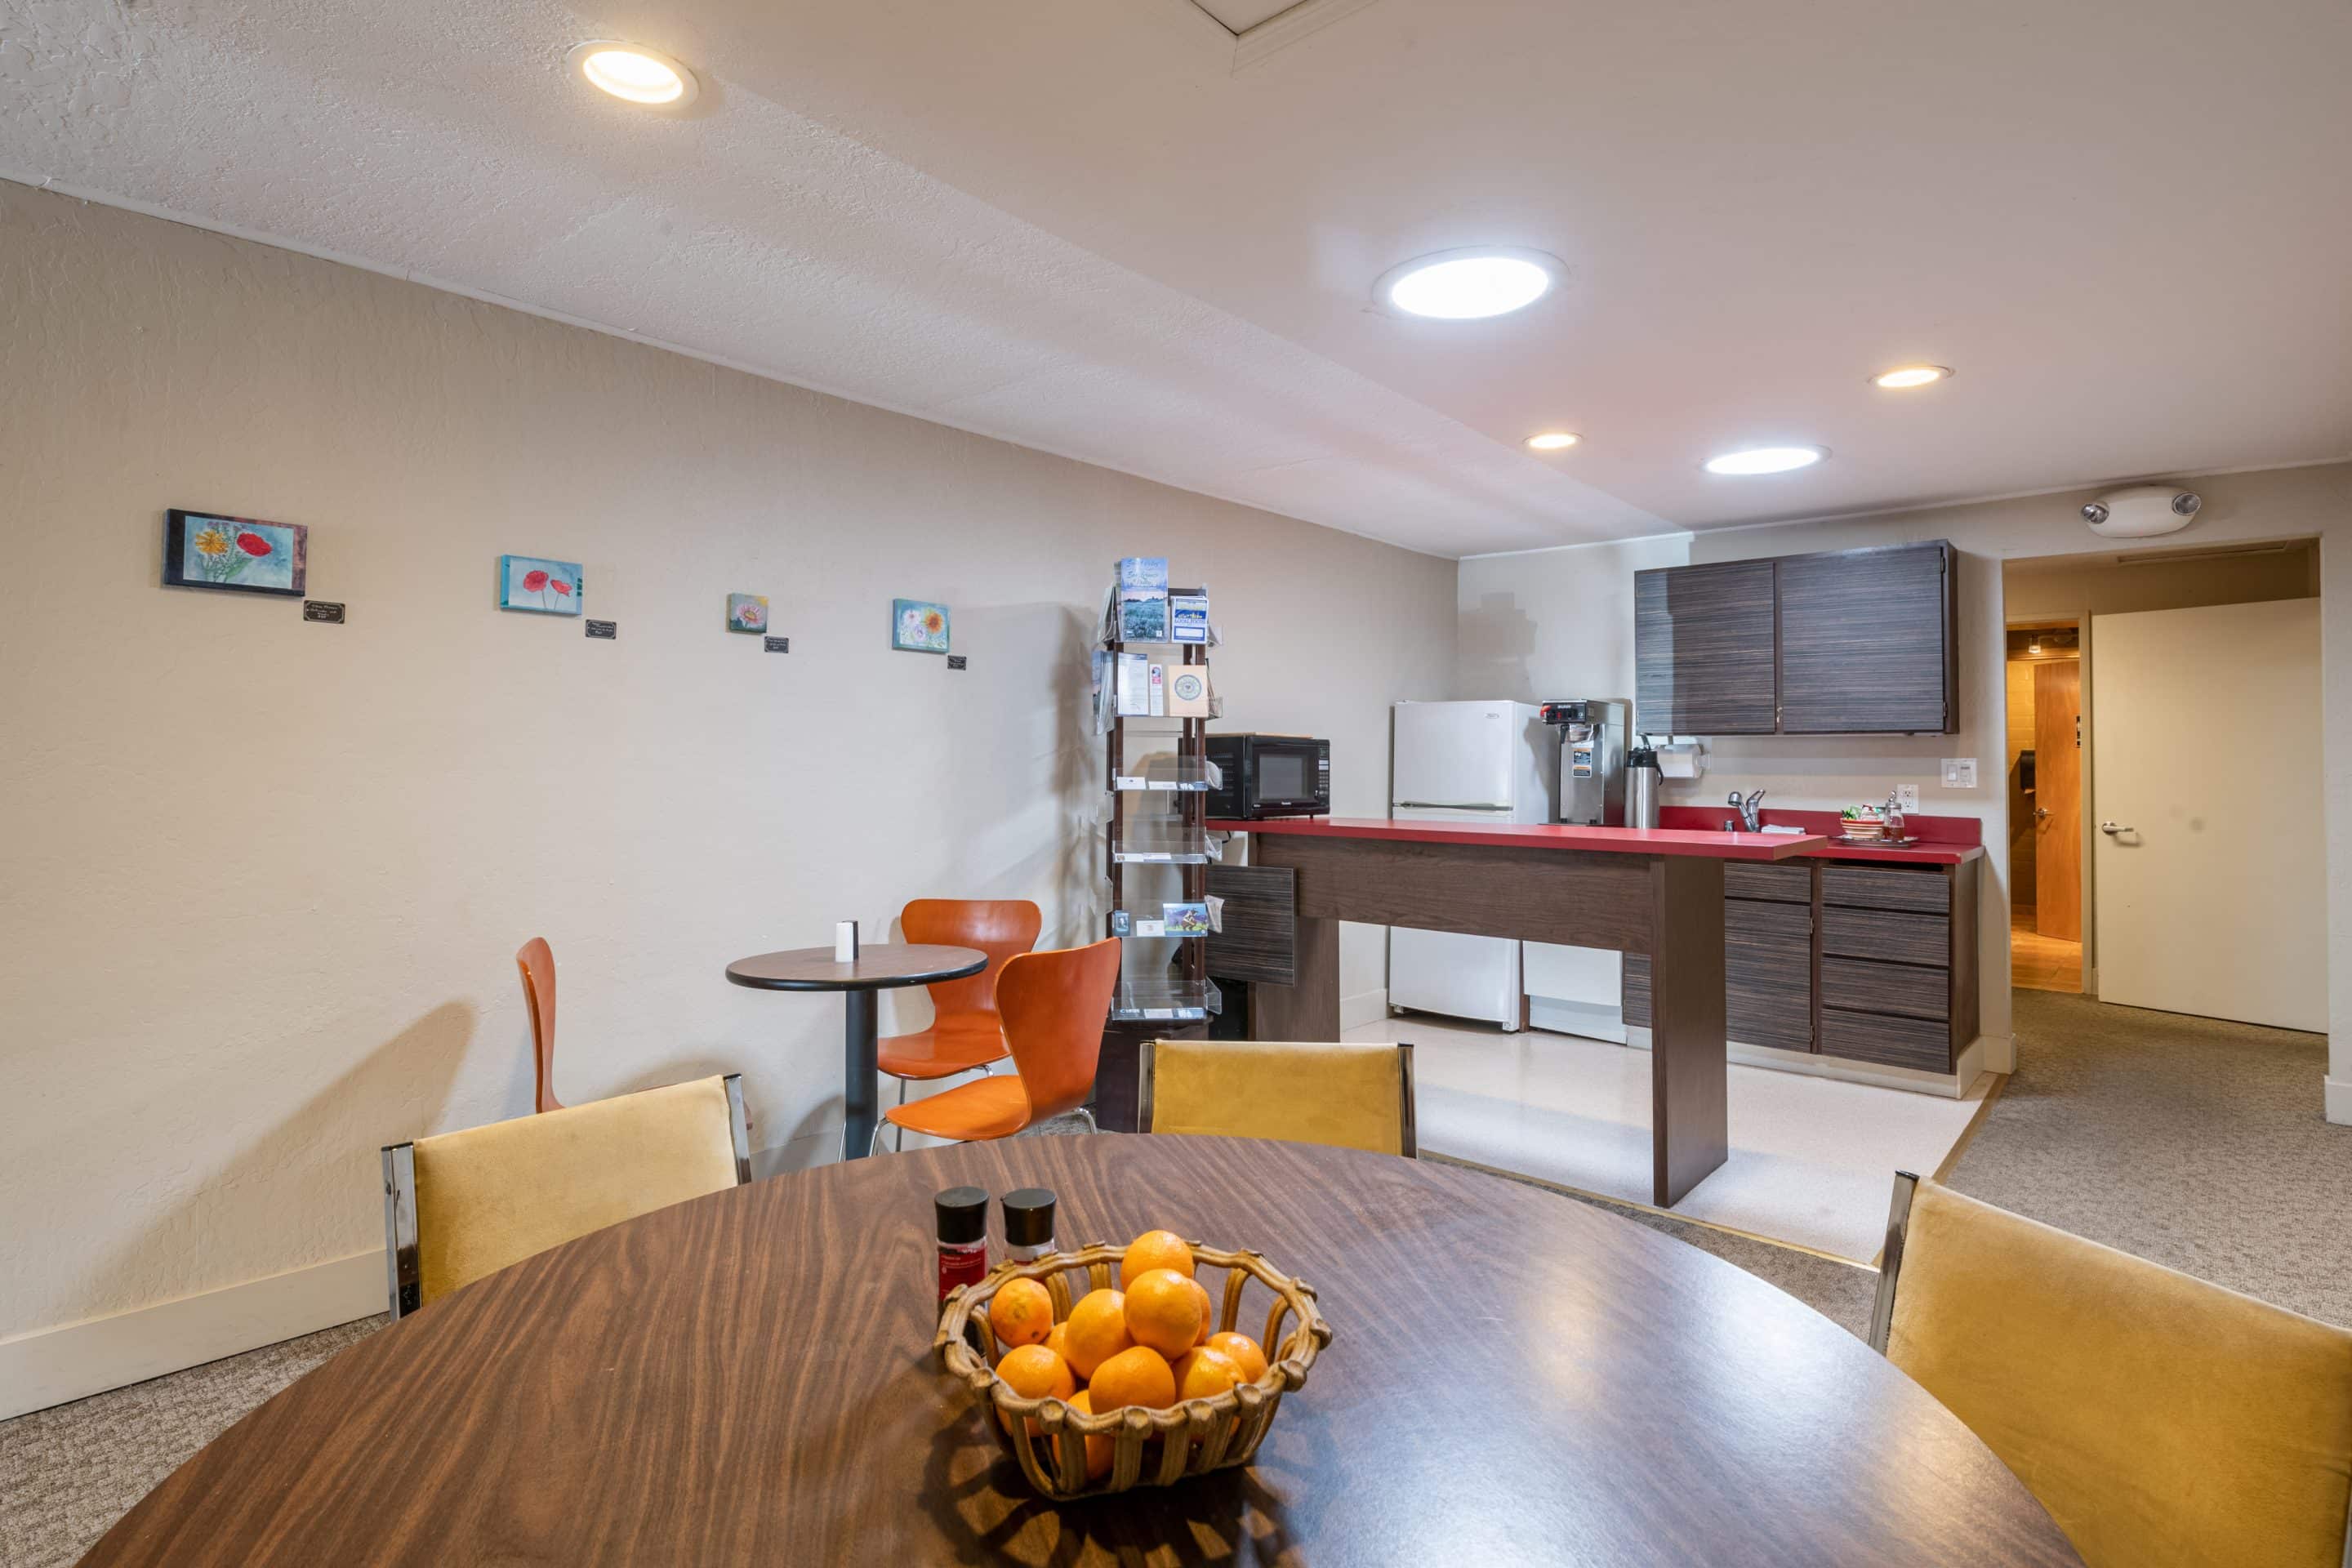
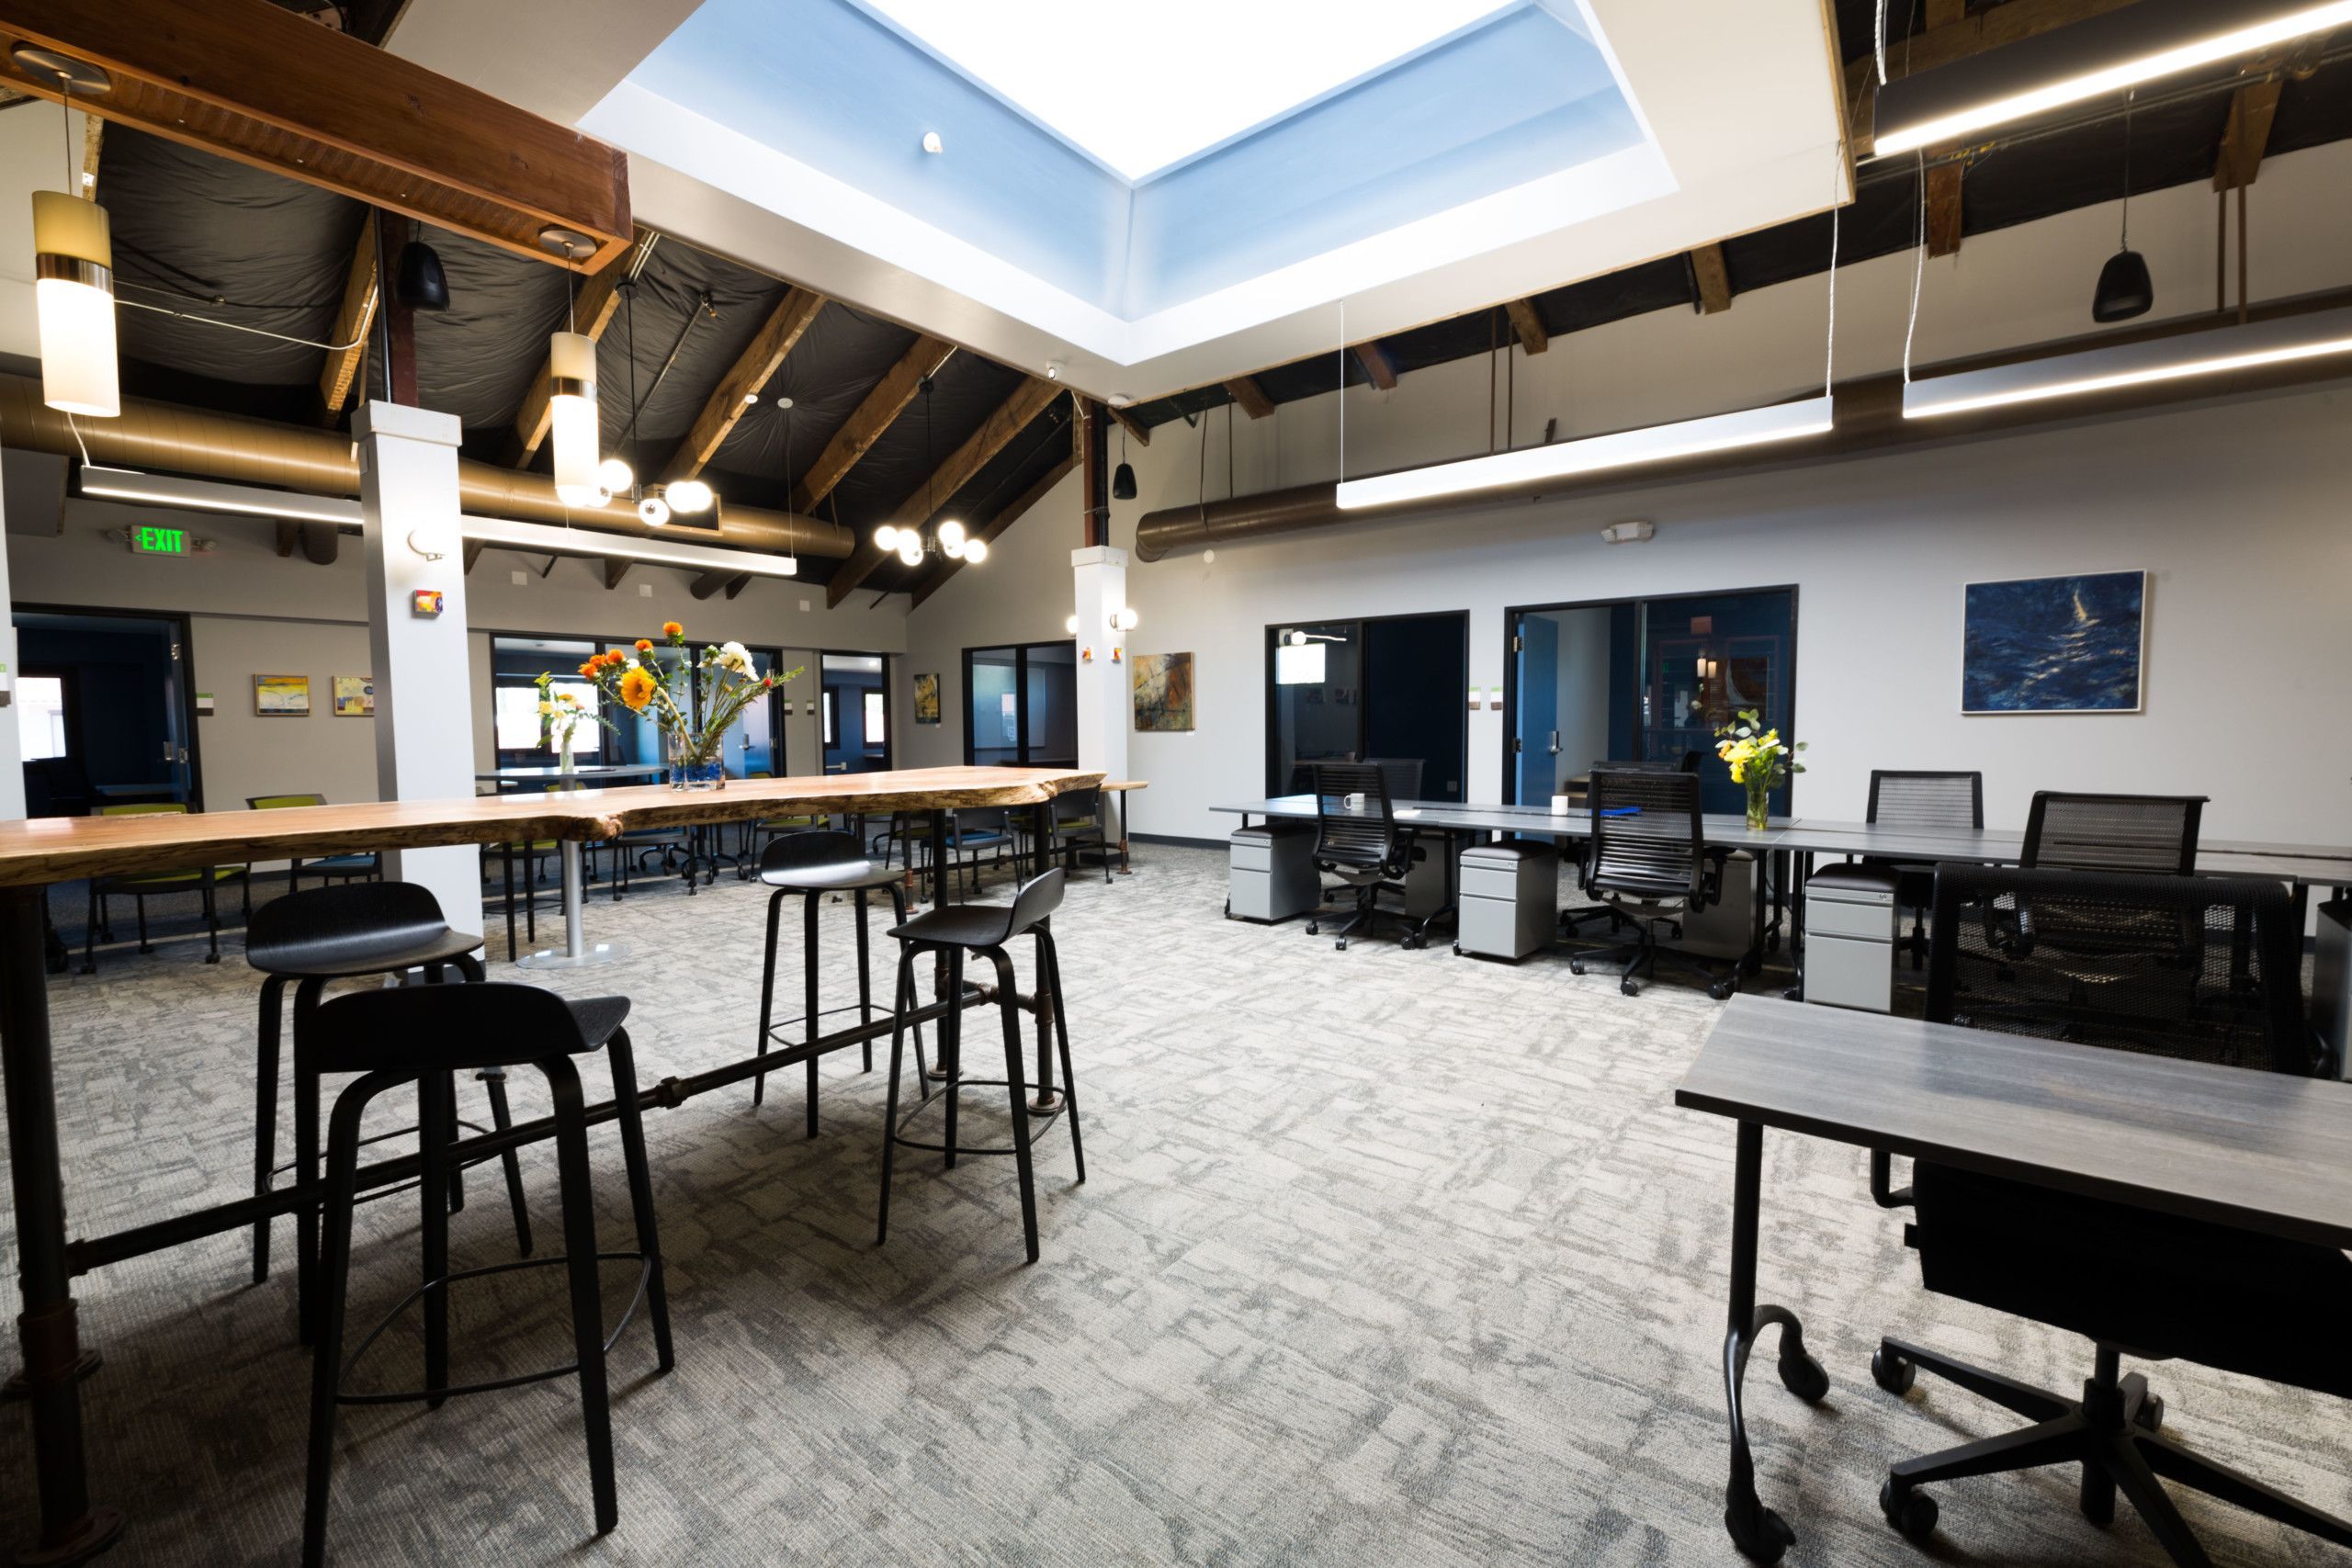
Lots of Space
To think of new ideas!

To Redeem Offer: Call 408-608-0761
Buy One Bucket of Hours, Get One Half Off
Need the flexibility to just drop in from time to time, but the privileges of a membership? Our Buckets of Hours are just right for you. And now, save big when you buy two buckets. Purchase the first bucket using the links below and let the Community Manager know you want this special during your first visit.
Like the Open Coworking Space vibe? Buy a Bucket of 10 Days for $250, Get the Second Bucket for 50% Off.
Need a Workstation? Buy a Bucket of 20 Hours for $230, Get the Second Bucket for 50% Off.
Need Conference Room hours?Buy a Bucket of 10 Hours for $445, Get the Second Bucket for 50% Off.
Minimum increment is half hour. Includes key card for 24/7 access to the workspaces. Conference rooms, private offices, phone cubes and administrative services billed separately. One-time membership registration fee of $50 applies.
To Redeem Offer: Call 408-608-0761

To Redeem Offer: Call 408-608-0761
Grow Your Business Sale – Up to 30% Off
When you are a startup, every dollar counts. We want to support your launch by offering a graduated rate starting at a price you can afford. Mention the Grow Your Business special to your Community Manager while signing up, and enjoy to the following discounted rates on Private Office Unlimited or Workstation Unlimited plans:
A one-time $50 registration fee applies to all membership plans. Rates quoted below are subject to availability.
When you sign up for a 6-month commitment:
30% off your 1st month
20% off you 2nd month
10% off your 3rd month
5% off your remaining 3 months
When you sign up for a 1-year commitment:
30% off your 1st month
20% off your 2nd month
10% off your remaining 10 months
Get started today! Check out our floorplan to see what’s available or schedule a tour to see it in person.
To Redeem Offer: Call 408-608-0761

To Redeem Offer: Call 408-608-0761
Refer A Friend – Earn $50
When you become a member of Satellite Workplaces, you have the opportunity to welcome friends and collaborators any time. When they decide to join too, you get $50 off your next month’s bill! Be sure your referral names you as the source during registration. And . . . thank you!
Send them this link:
https://thesatellite.satellitedeskworks.com/member-sign-up?center=13
To Redeem Offer: Call 408-608-0761
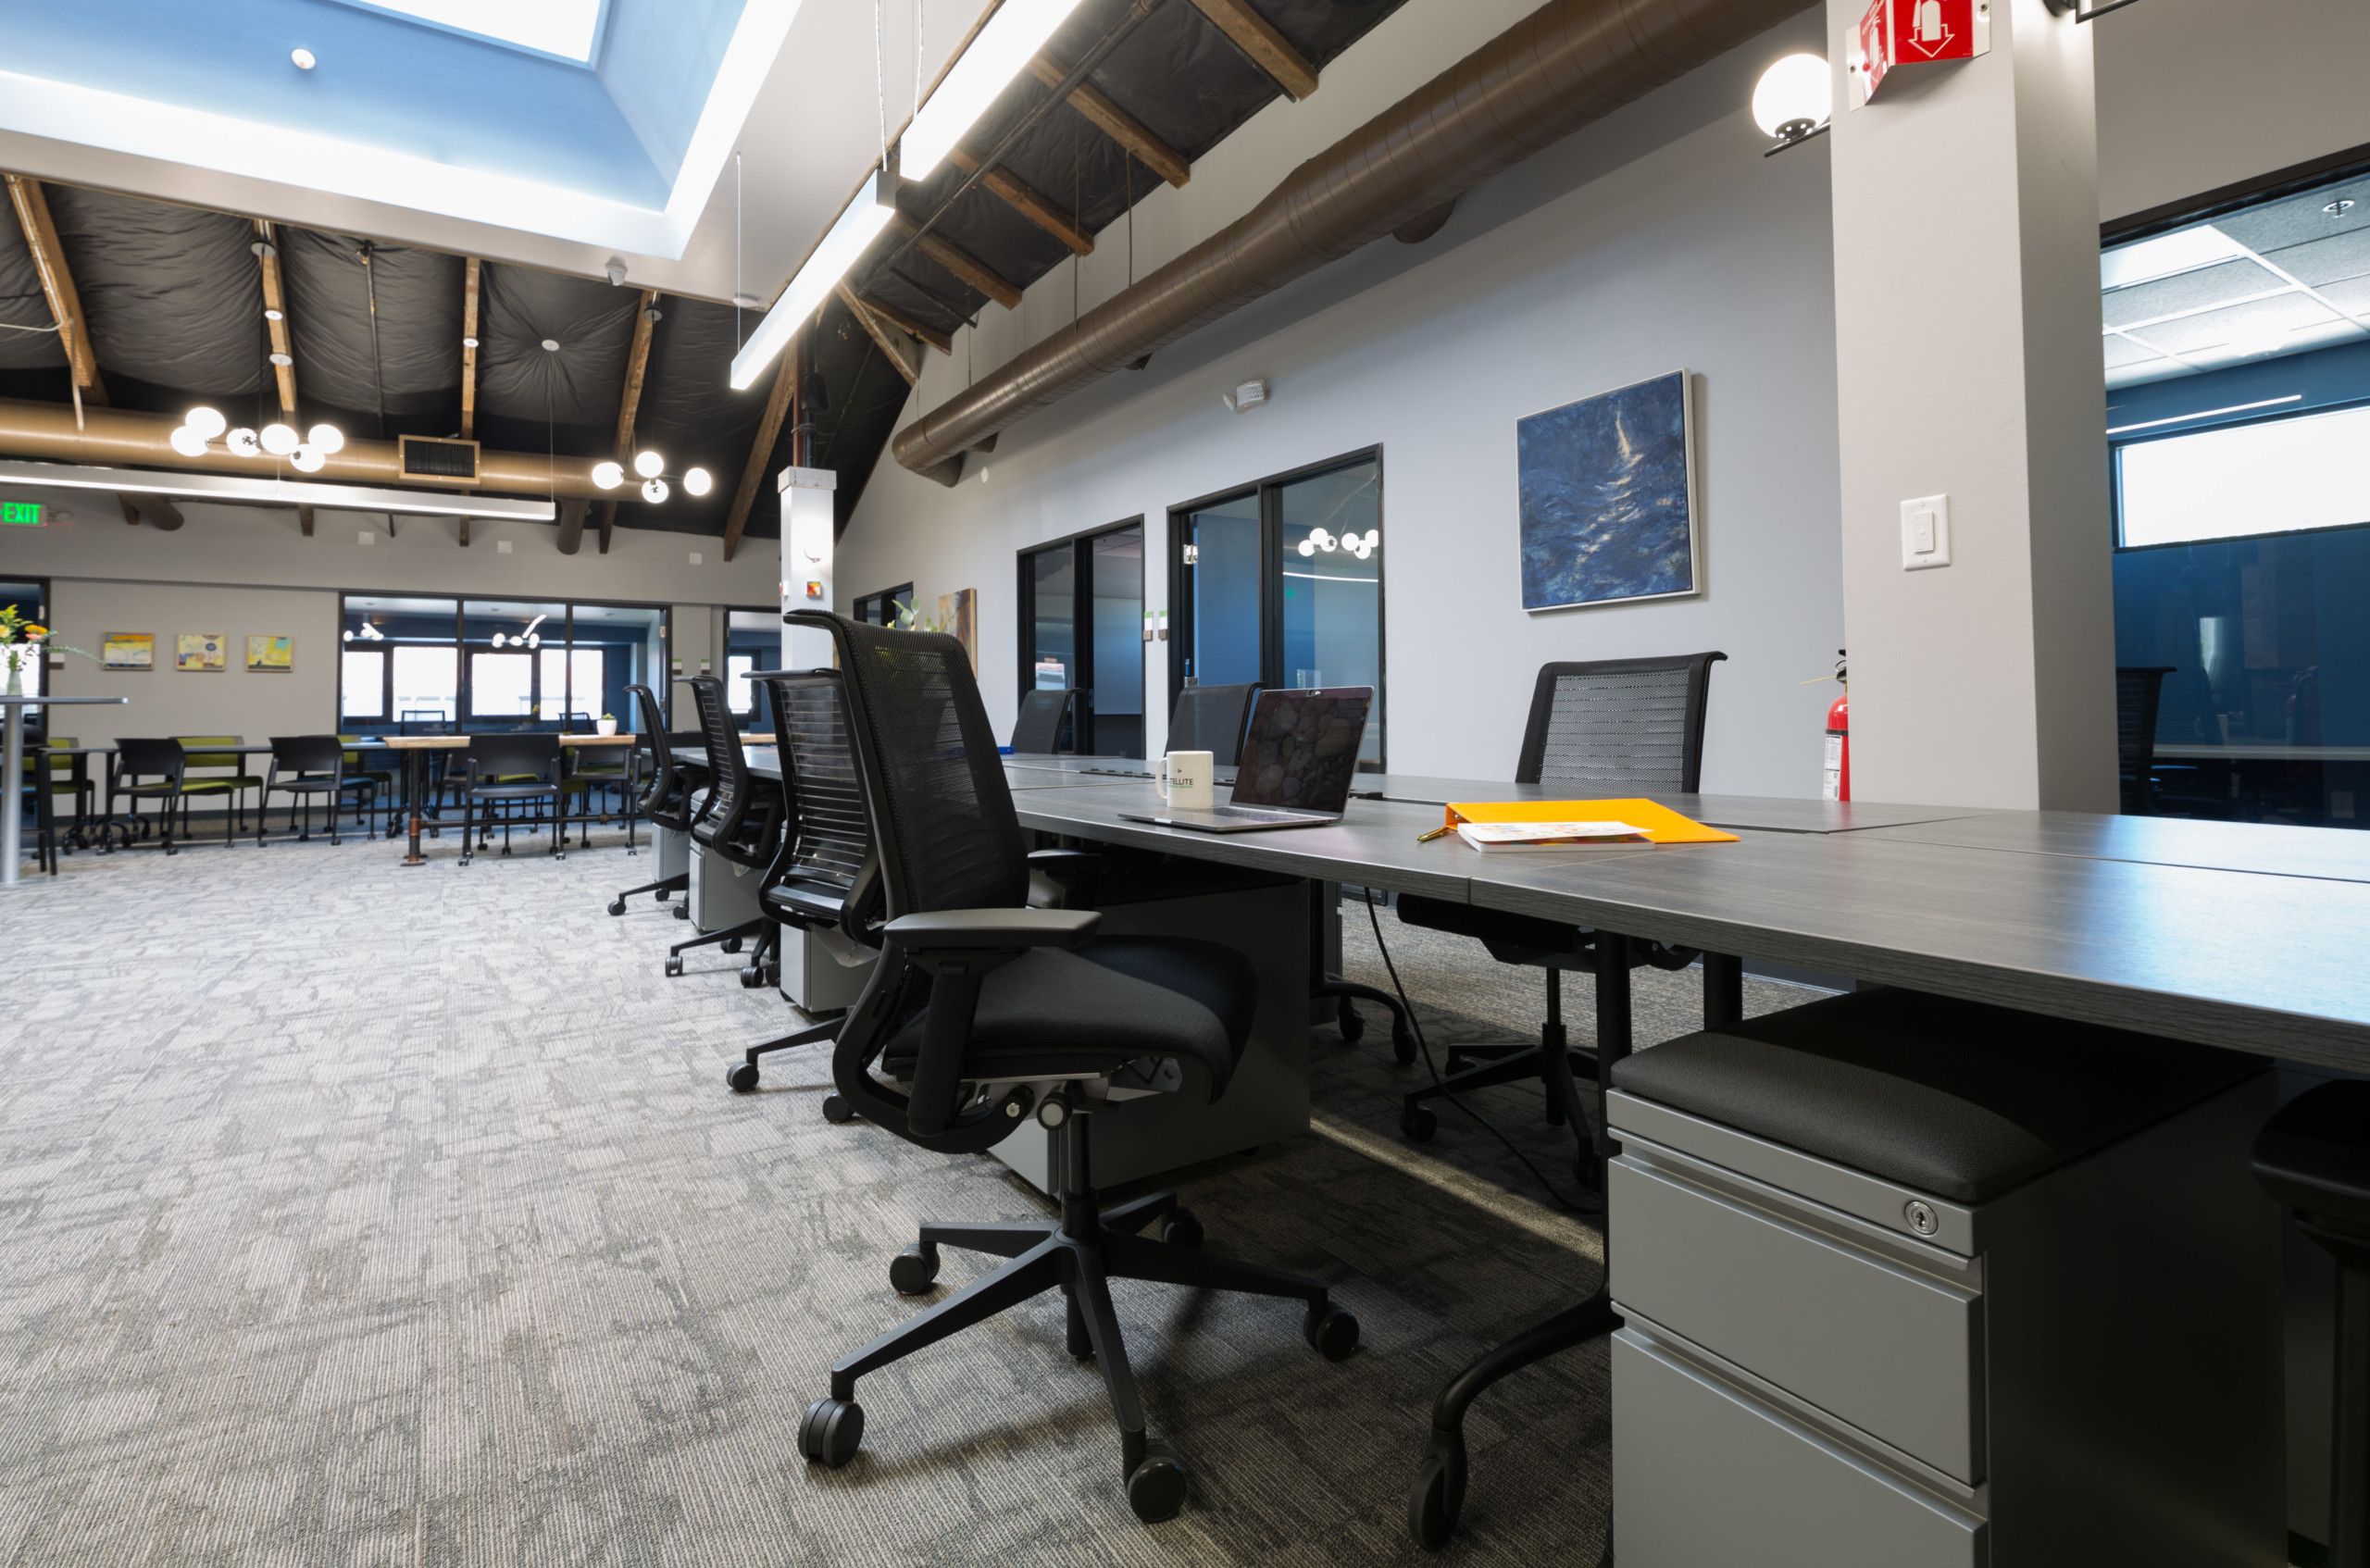
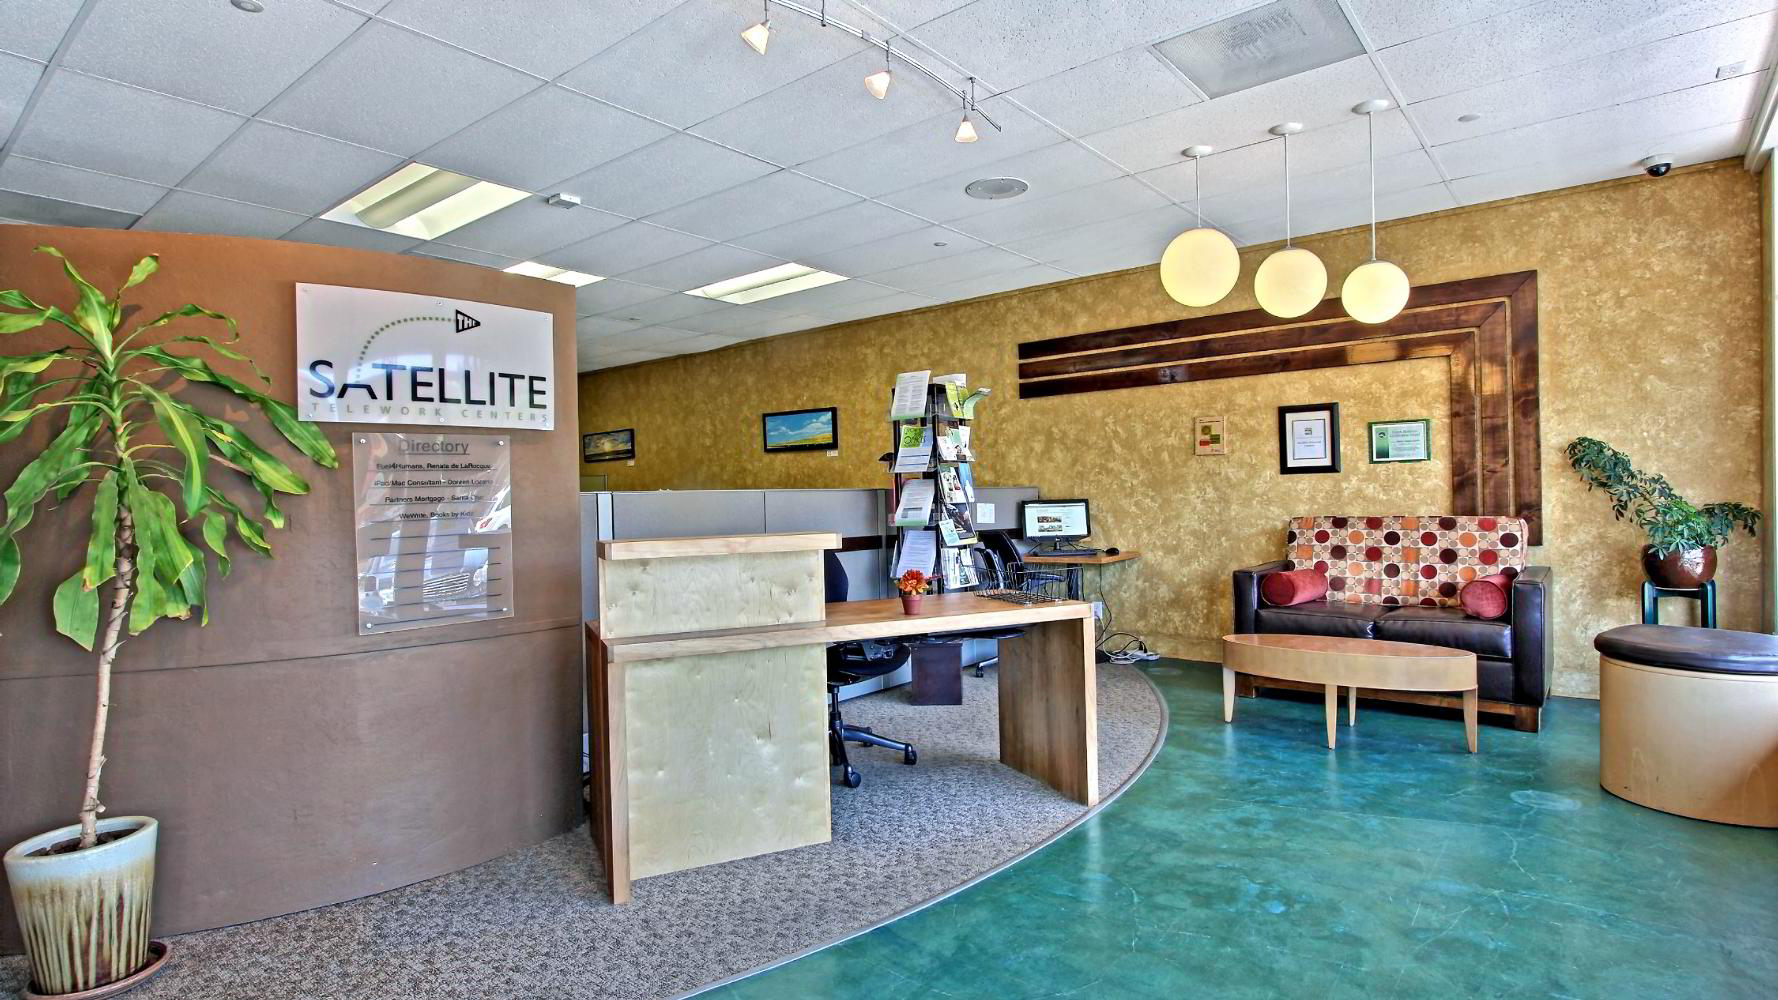
Best option for those with everything in their laptop. Drop into any open seat and get to work. Good people around and productive, comfortable space. Select an option below:
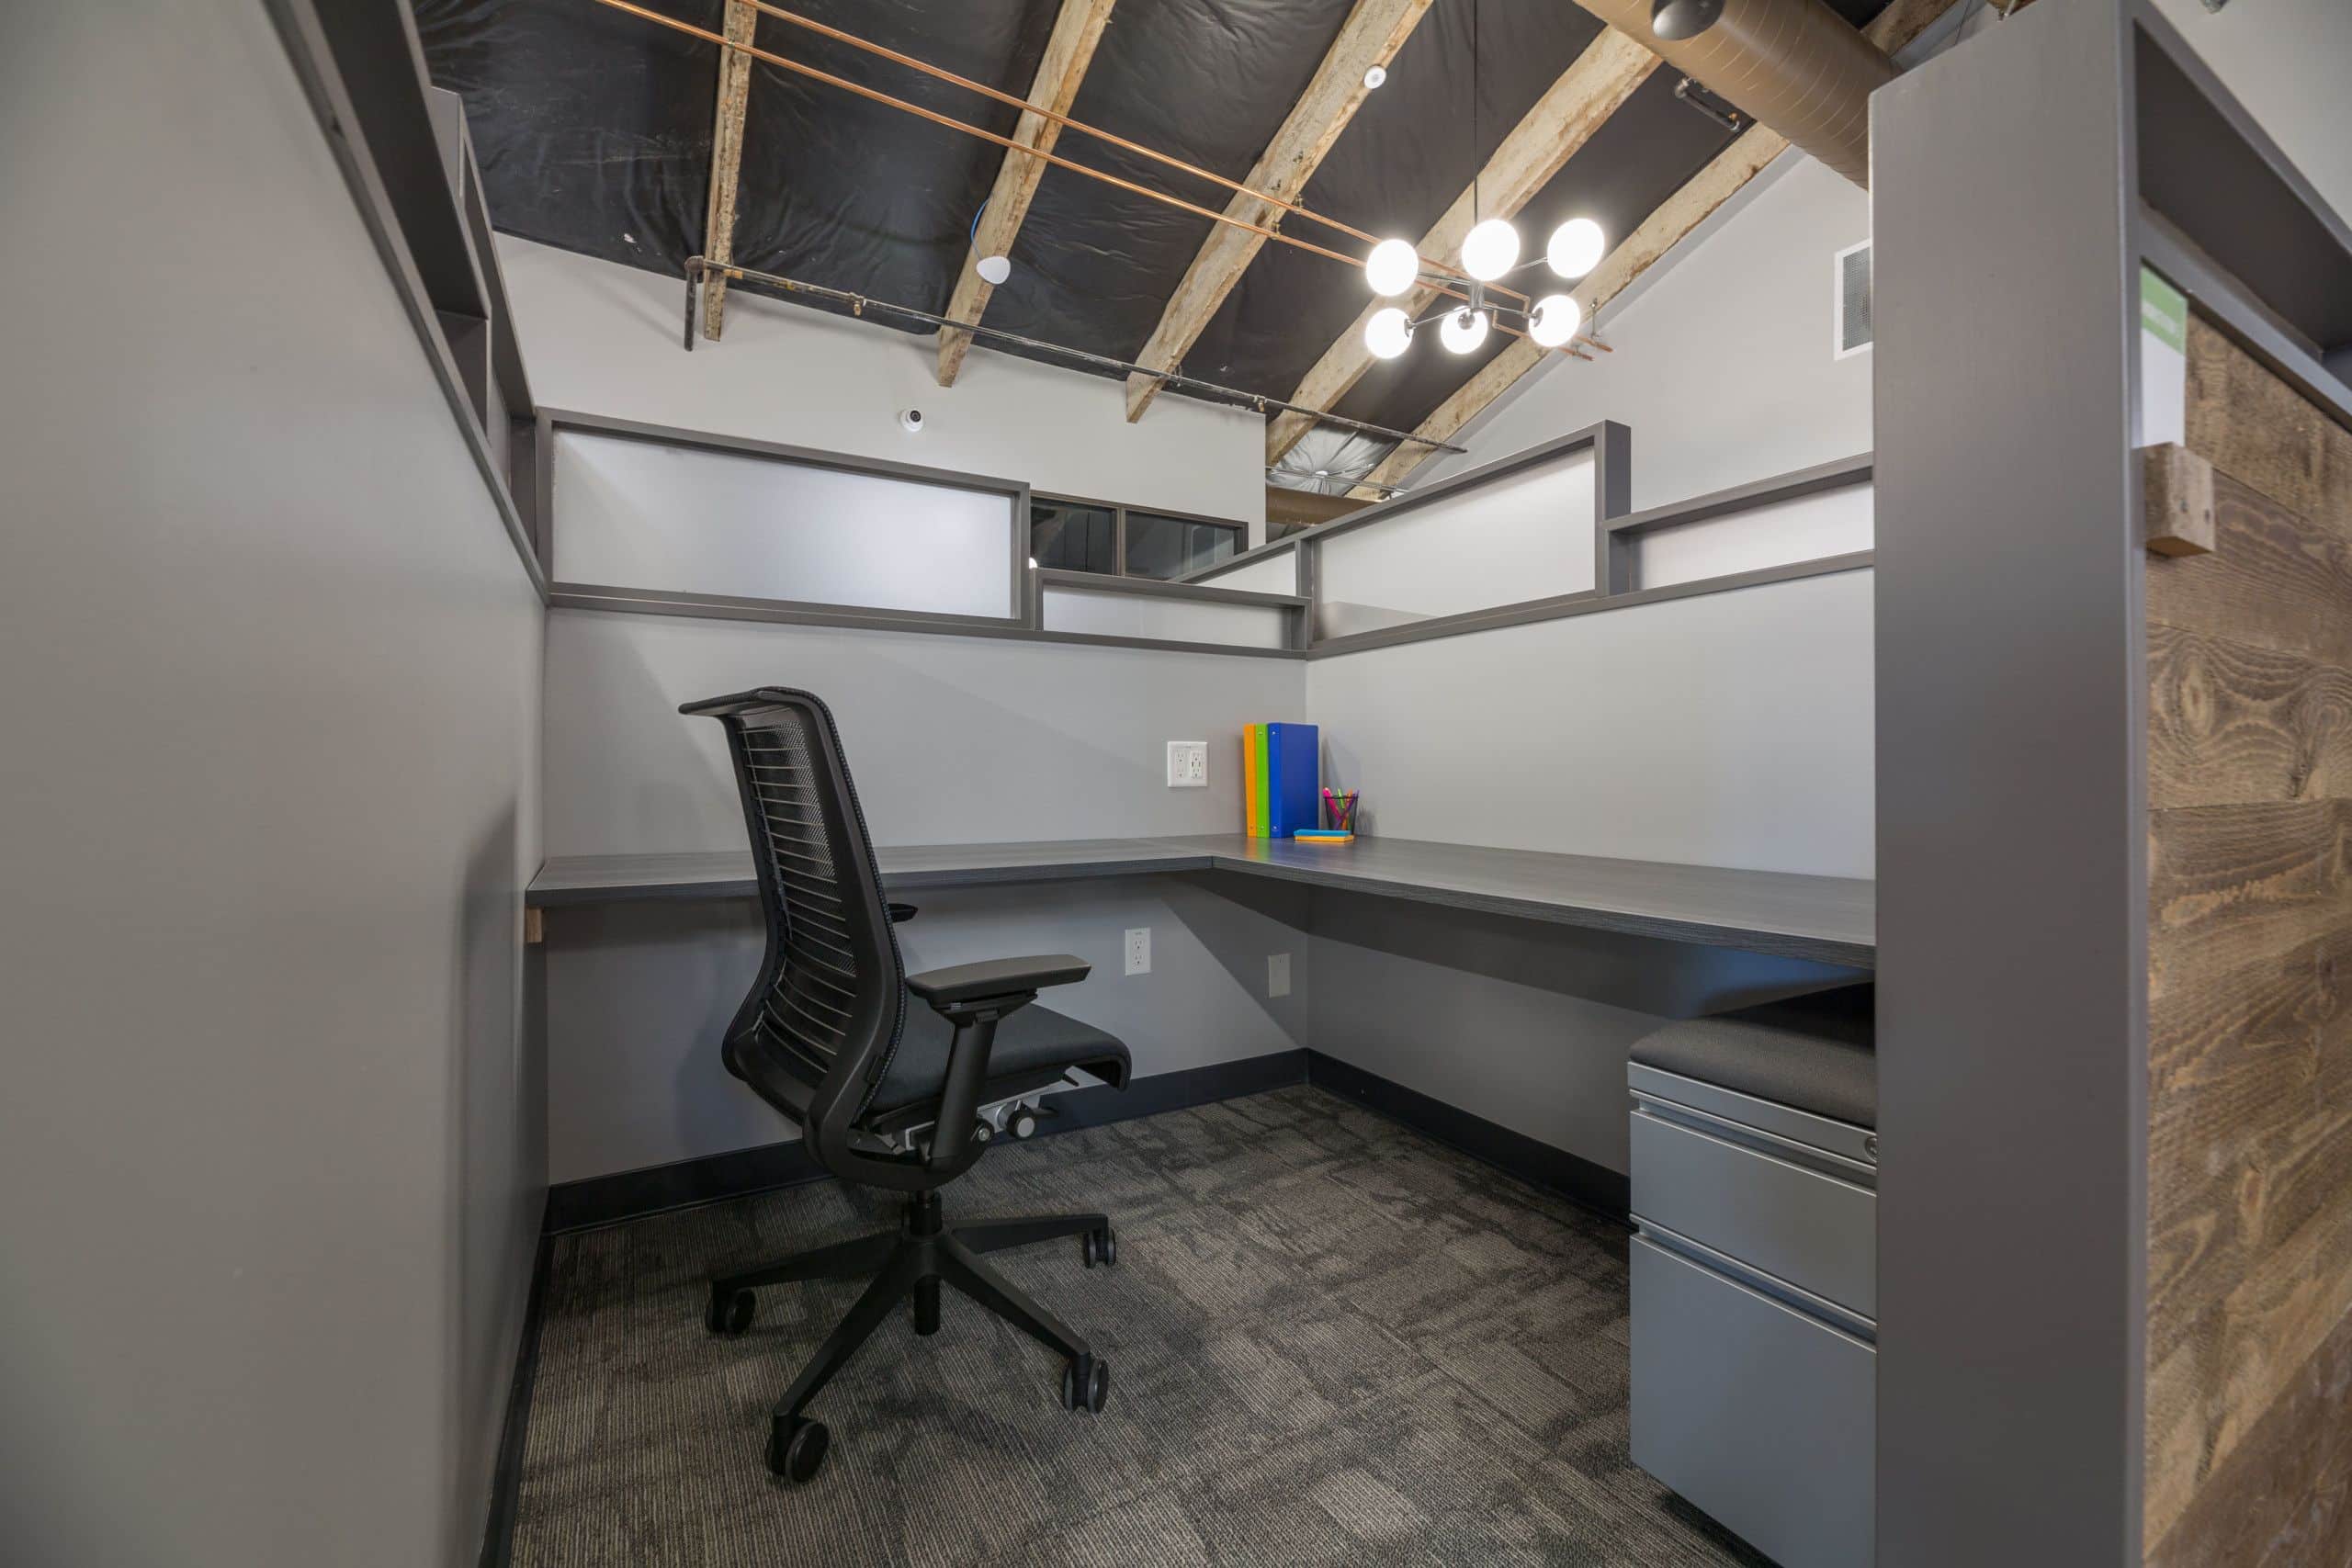
Best for those who want their own space, storage & hardwired connections. Workstations are 6’x6’. Select an option below:
Best for those who want more privacy & space. Great for teams. Get a beautiful, comfortable office with all the other Satellite Workplaces amenities, one that’s just right for you! Check out the floorplan to see what’s available and give us a call to see it in person.
24/7 access to all Satellite services and spaces with no monthly commitment. Pay only for what you use, at reduced member rates, billed monthly. Select below to learn more:
Just need conference rooms? Or day passes? Or the occasional office? We’ve got you covered. Prepay for a bucket of hours to use within 18 months. No recurring monthly costs. Buckets refill automatically when used up.

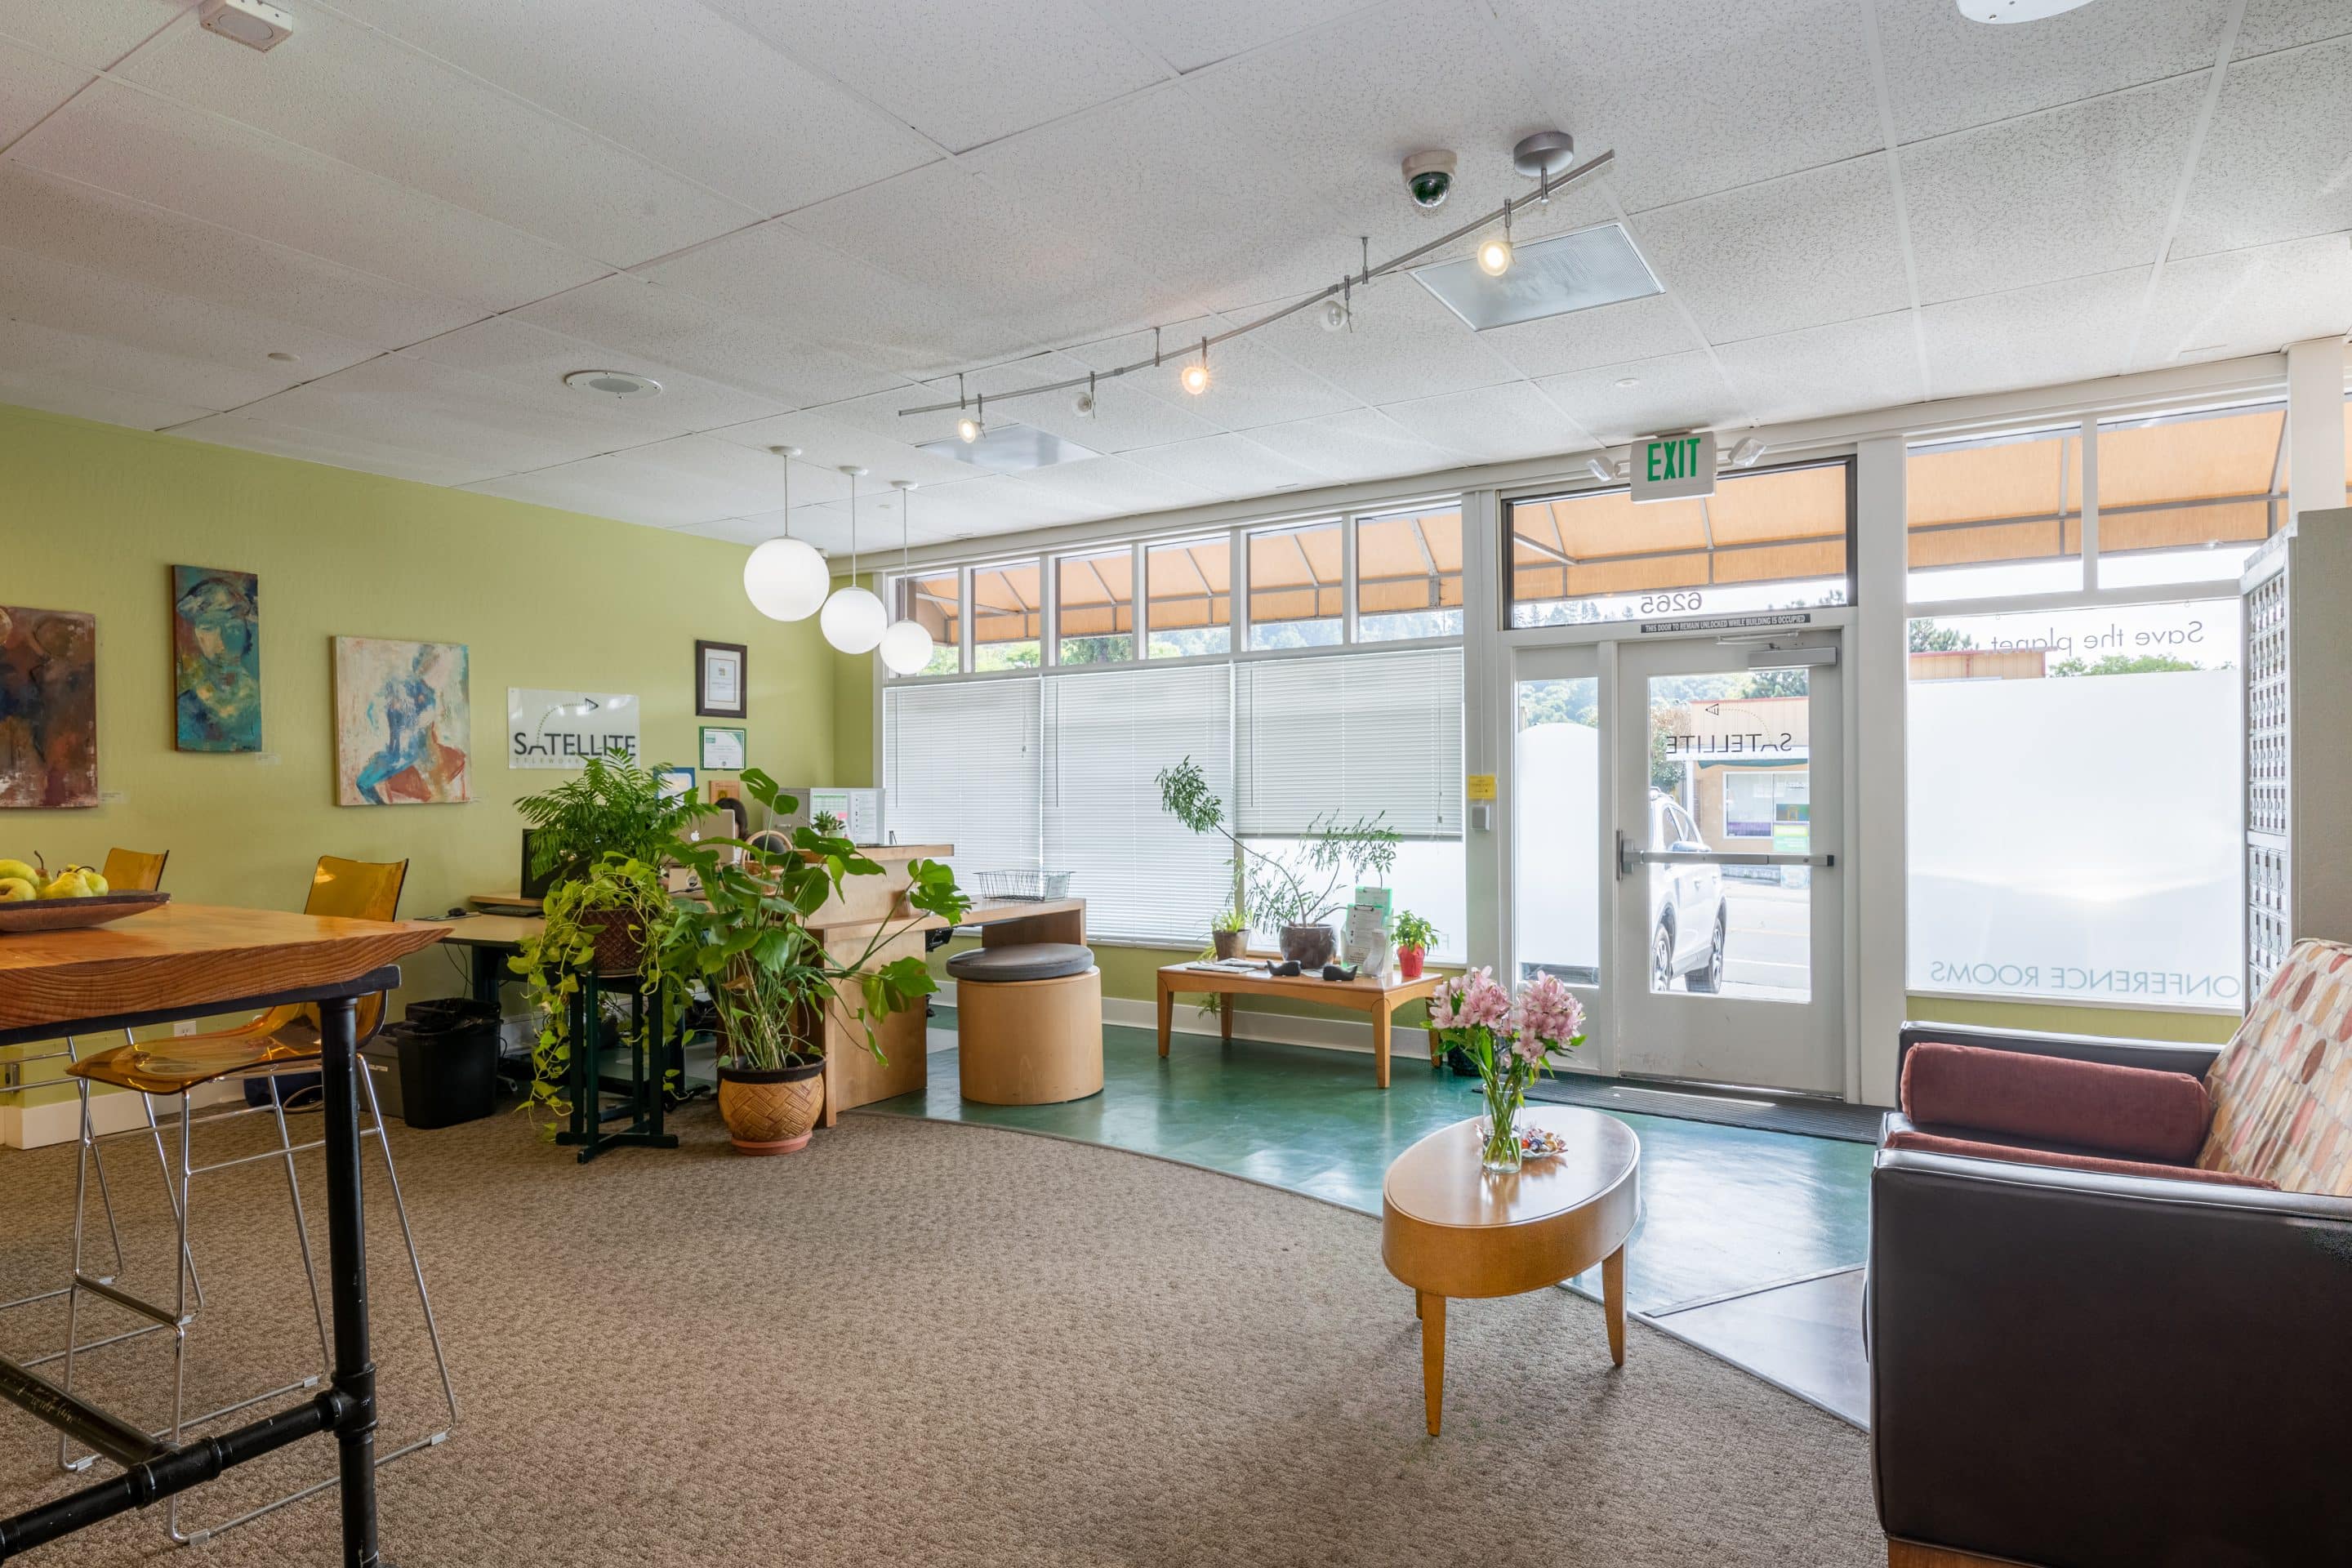
Best for those who need a business address and occasional use of space. Includes mailbox, mail and package service, and everything on Access Plan (24/7 access to all Satellite services and spaces with no monthly commitment. Pay only for what you use, at reduced member rates, billed monthly.)

Includes VoIP phone number with voicemail to email, call forwarding and more.

All the benefits of Business Presence plus a Virtual Phone Plan.